
Expert Topic for experienced builders.
After preparing and exporting your animation data, you can bring it into Bottango and map it to parts in your project to create a new animation. Before importing, make sure your project is already set up to animate.
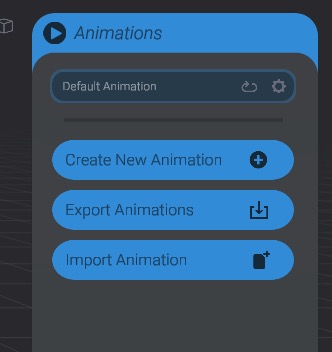
In Animate mode, click Import Animation in the animation list and select the data file. Currently, .atom files are the only supported file type. Bottango reads the file and opens the import log.
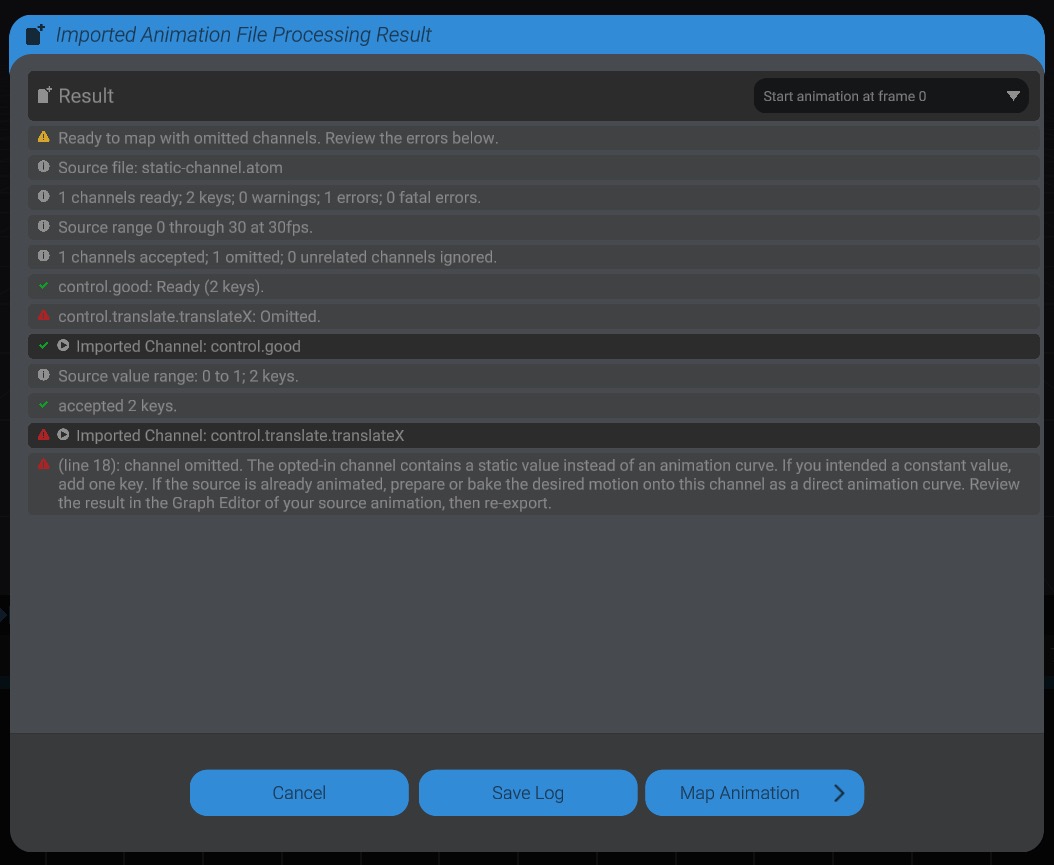
The log summarizes which channels are ready to map and explains any changes, warnings, or omissions. Check that the channels you expect are included; an import can continue even if some channels are omitted.
Read the messages for affected channels and follow their advice. If source changes are needed, adjust the source scene, export again, and retry the import. Use Save Log to save the full details for reference while making those changes.
Keep Start animation at frame 0 selected to place the beginning of the exported range at frame 0 in Bottango. To retain the original frame numbers, choose the option to preserve source frames instead. For example, if the first frame in the data is frame 100, you can choose whether to shift all keyframes 100 frames earlier so the animation starts at frame 0 or leave 100 frames of empty data at the beginning of the new animation.
When you are ready to continue, click Map Animation.
Mapping connects each imported channel to the part it should animate in your project.
Map Imported Tracks list.Select Destination Channel. For example, a 2D Pose Blend offers X and Y, while a color event offers Red, Green, and Blue.Mapped channels show a check mark. Selecting a destination track highlights its source row in the matching graph color, helping you visually associate the imported channel with its curve.
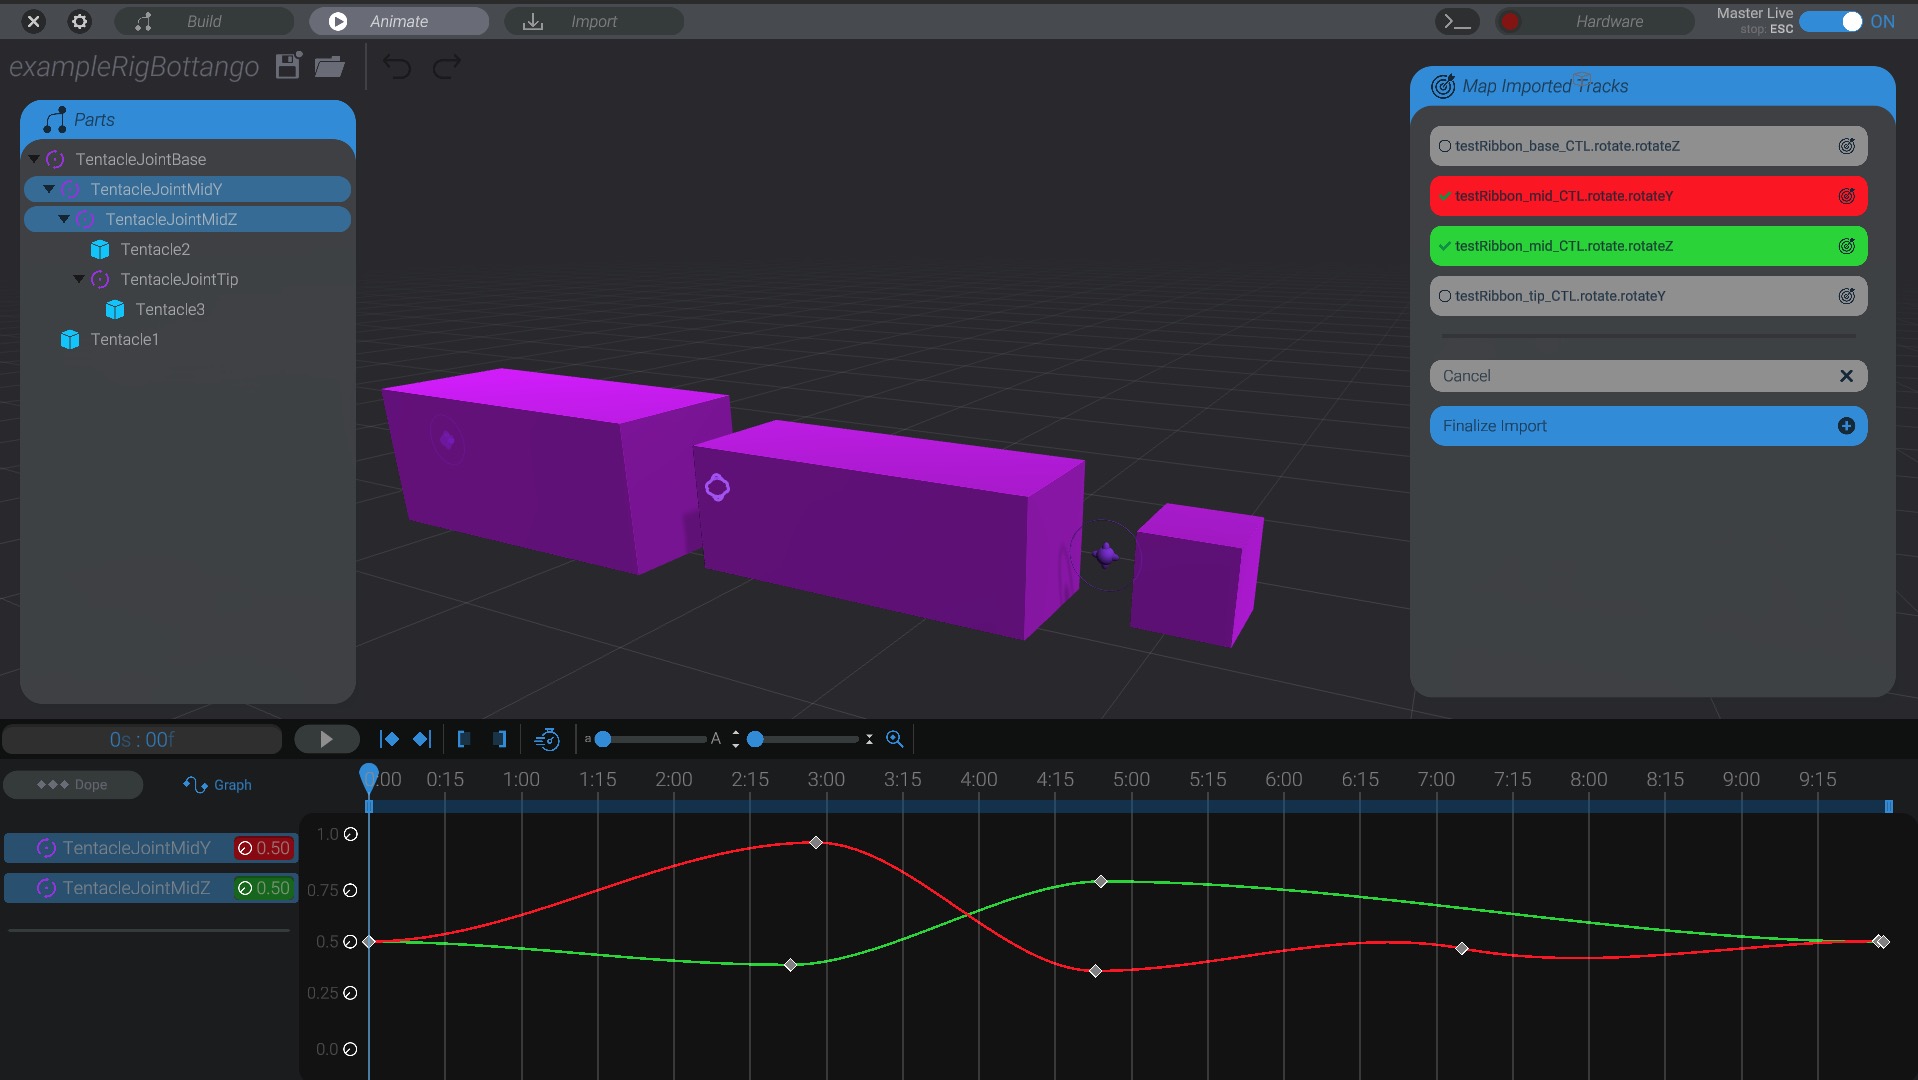
Click a source row again to change its destination. Assigning another source to an occupied destination replaces the previous assignment. Channels left unmapped are not included in the finished animation.
Play or scrub the animation to check the resulting motion, including its beginning, end, and movement range. Follow any mapping warning about limited motion and review the affected part before finishing.
The preview lets you inspect the imported curves, but animation editing is locked until you finish importing.
Click Finalize Import to add the imported animation to your project as a new animation. You can then edit its keys and handles normally. Your existing animations remain in the project. Canceling discards the preview and returns to the previously selected animation.
After you finalize the import, the new animation is no longer associated with the external data file. Future changes to that file will not update the imported animation. To use the revised data, import the file again to create a new animation.
When you import another file, Bottango may offer to reuse assignments from the last finalized import in this project. Choose Reuse Last Mapping to apply the matching assignments from your previous import, or Start Unmapped to assign everything yourself.
Each import creates a new animation; it does not update the animation from your previous import.