Essential Topic for learning Bottango.
Here is the view of an empty, brand new project:
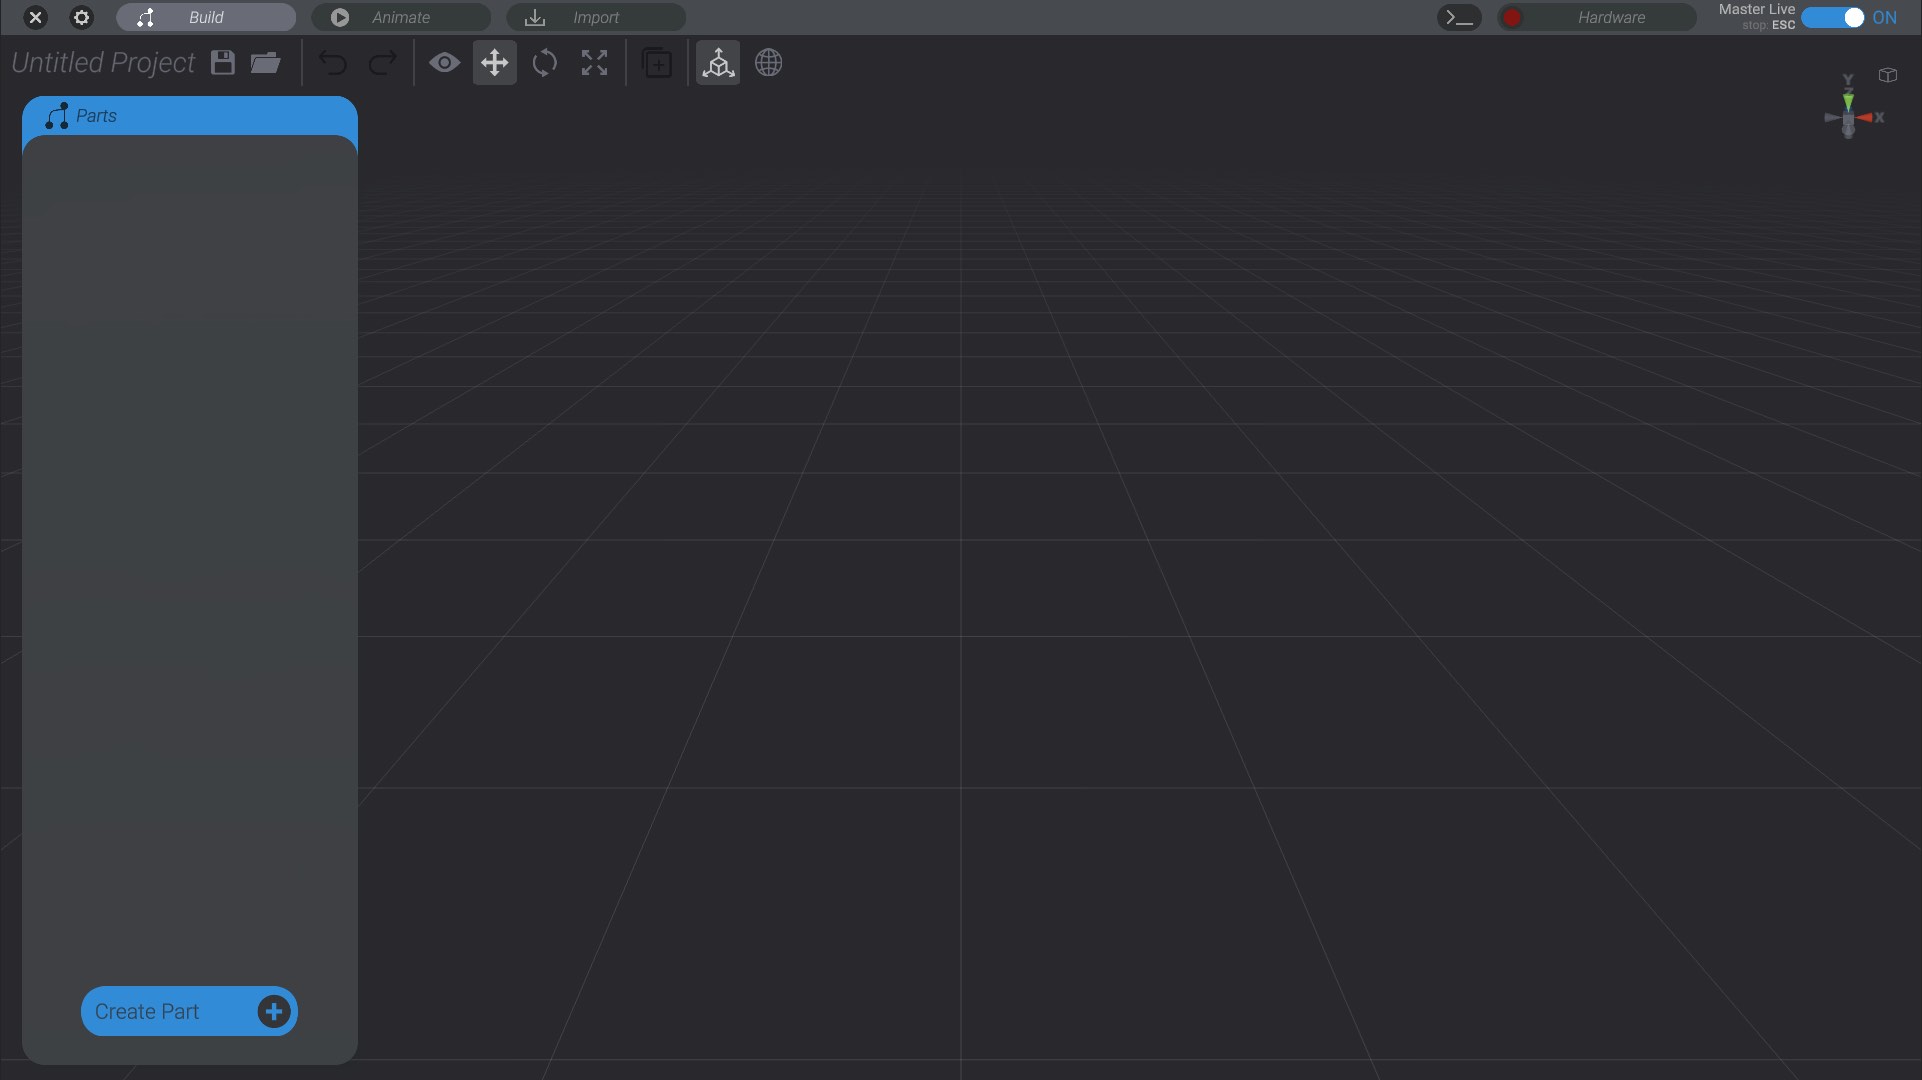
Along the top of the window, you will see a dark area with tab-like buttons. These are the mode tabs, and how you switch between the various modes of Bottango.

Bottango has the following modes. We will discuss them in greater detail in later sections; the following is just an overview. Simply click a mode button to enter that mode. The currently selected mode will be shown in a lighter gray than the others.
You can click the “X” button in the very left to close out of the current project and return to the home screen.
This is the starting mode, and where you build and define your robot using tools like Structures and Joints.

Create the animations that will play back on your robot once it’s been designed in the Build view. The animation workflow starts in Starting Animating.

Import audio and video tracks to use in animations, as well as import 3D models to use as structures. See Importing Audio and Video and Importing a Model.

Configure and establish connections between Bottango and hardware drivers, and view and control the status of motors. There’s also a small button to view the hardware log.

In addition, you will see the current “Master Live” status of Bottango in the far right corner. We’ll learn more about “Master Live” in Driver and Master Live.

Below the mode tabs, you’ll see the file and tool controls.

The very first thing you’ll see is the name of the current project. Since this is a new project, Bottango shows “Untitled Project.”
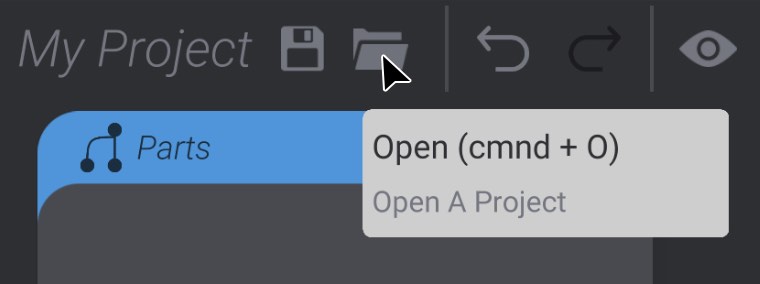
To the right of the project name are save and load buttons. The disk button allows you to save the project. If the project has never been saved before, it will prompt you to choose a location and name for the project file. The folder icon allows you to load a Bottango project. Bottango project files have the “.btngo” extension.
Once you have saved a file, the name of the project will show up:

While you work on your project, if you have unsaved changes, the save icon will be badged to remind you:

Holding down shift while clicking the save button will allow you to “Save As” and create a duplicate version of the current project.
Bottango will also create an “autosave” file while you have a project open. This autosave file will be located next to your original save file. If Bottango closes a project, the autosave file will be automatically deleted unless Bottango encounters an error or crashes.
Many tools and options in Bottango have tooltips. Hover your mouse over a part of the UI to see a description and hotkeys for the element.
After the file name, save, and load buttons are a series of tools that you can use to configure and animate in Bottango. What tools are available depends on both the current mode you are working in, as well as your current selection. We’ll talk about each tool more in the context that it is most commonly used, rather than cover them all now. Just know that you will only be presented tools that are useful to you in the context of your current actions.
However, two tools that are always available are the undo and redo buttons. The left-facing arrow is Undo, and the right-facing arrow is Redo. Additionally, you can enter control/command + Z to undo, or control/command + Shift + Z to redo.
