Essential Topic for learning Bottango.
Bottango is a 3D application, so you can control your robot in 3D space. Try each of these controls to test out navigating the 3D space.
option (macOS) or alt (Windows) while dragging with left click to rotate the camera. The camera will rotate around the last set pivot.option + command (macOS) or alt + control (Windows) while dragging with left click to pan the camera. Panning the camera will also move the camera pivot.F” while a part is selected to focus in on that part. (If you have a blank project, there will not be a part yet. Remember to try this step once you create your first part)Focusing on a part will zoom in and center the camera on the part. Additionally, the camera pivot will now be on that part, and the camera will rotate around it. If you have multiple parts selected, pressing F will focus the camera on the middle point between all selected parts.
In the top right of the screen, you’ll see a cube with axis buttons:

Click each axis to orient the camera in the clicked axis. You can click the center cube as well to return the camera to the home position.
As well, in the top right you’ll see a cube icon. You can click the icon to toggle between a perspective projection and an orthographic projection.
Here is the standard perspective projection:
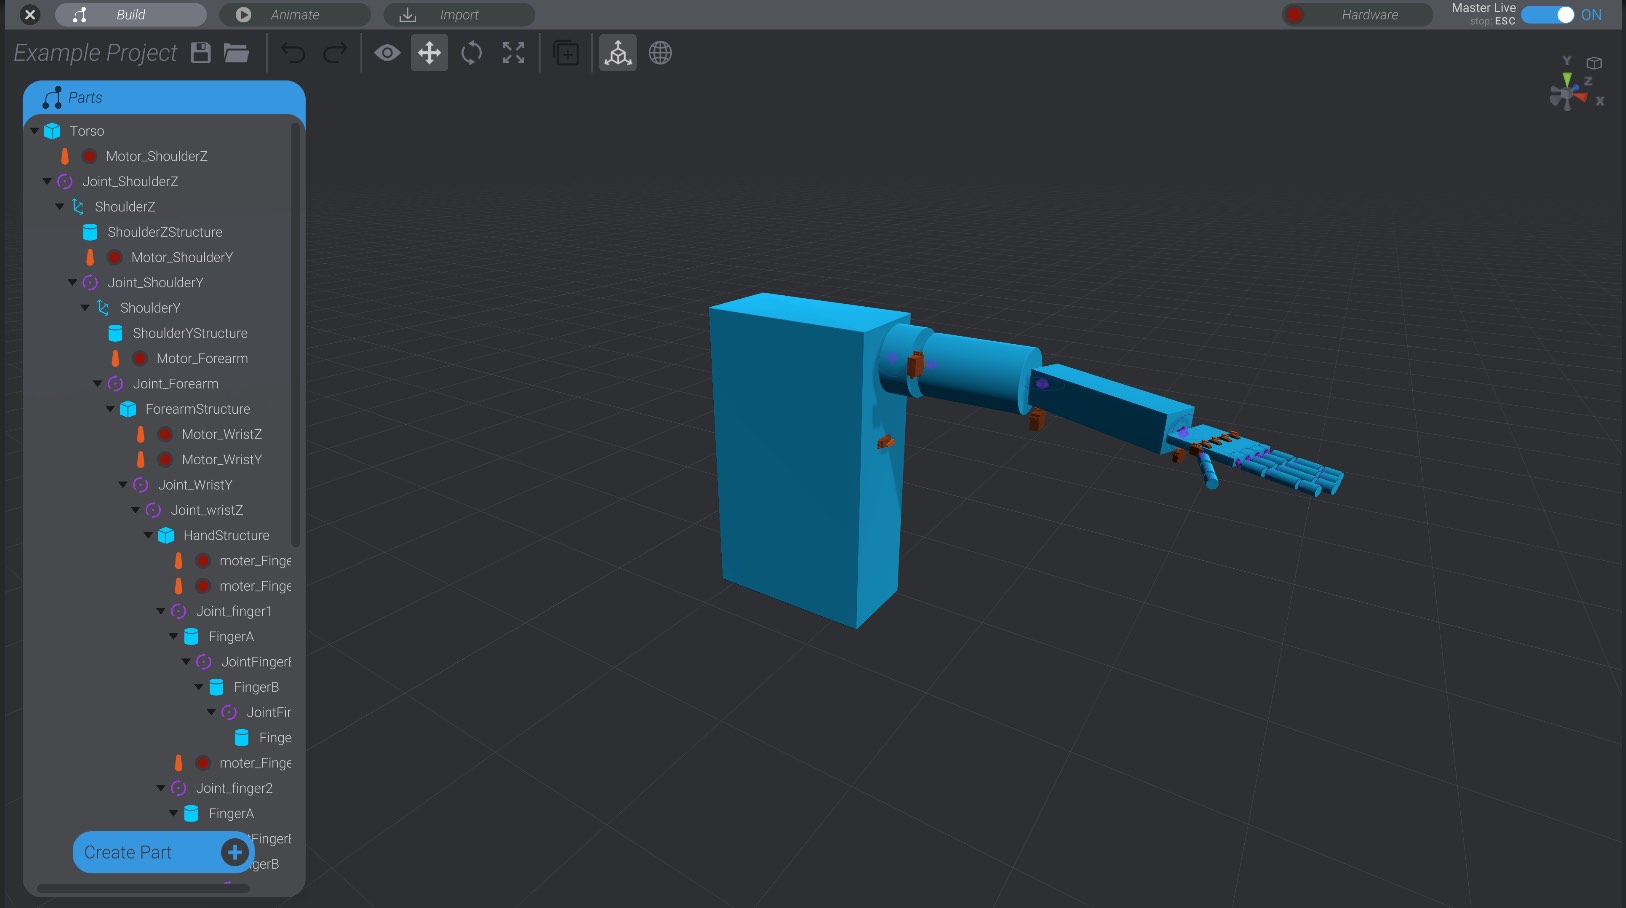
And the same view in an orthographic projection:
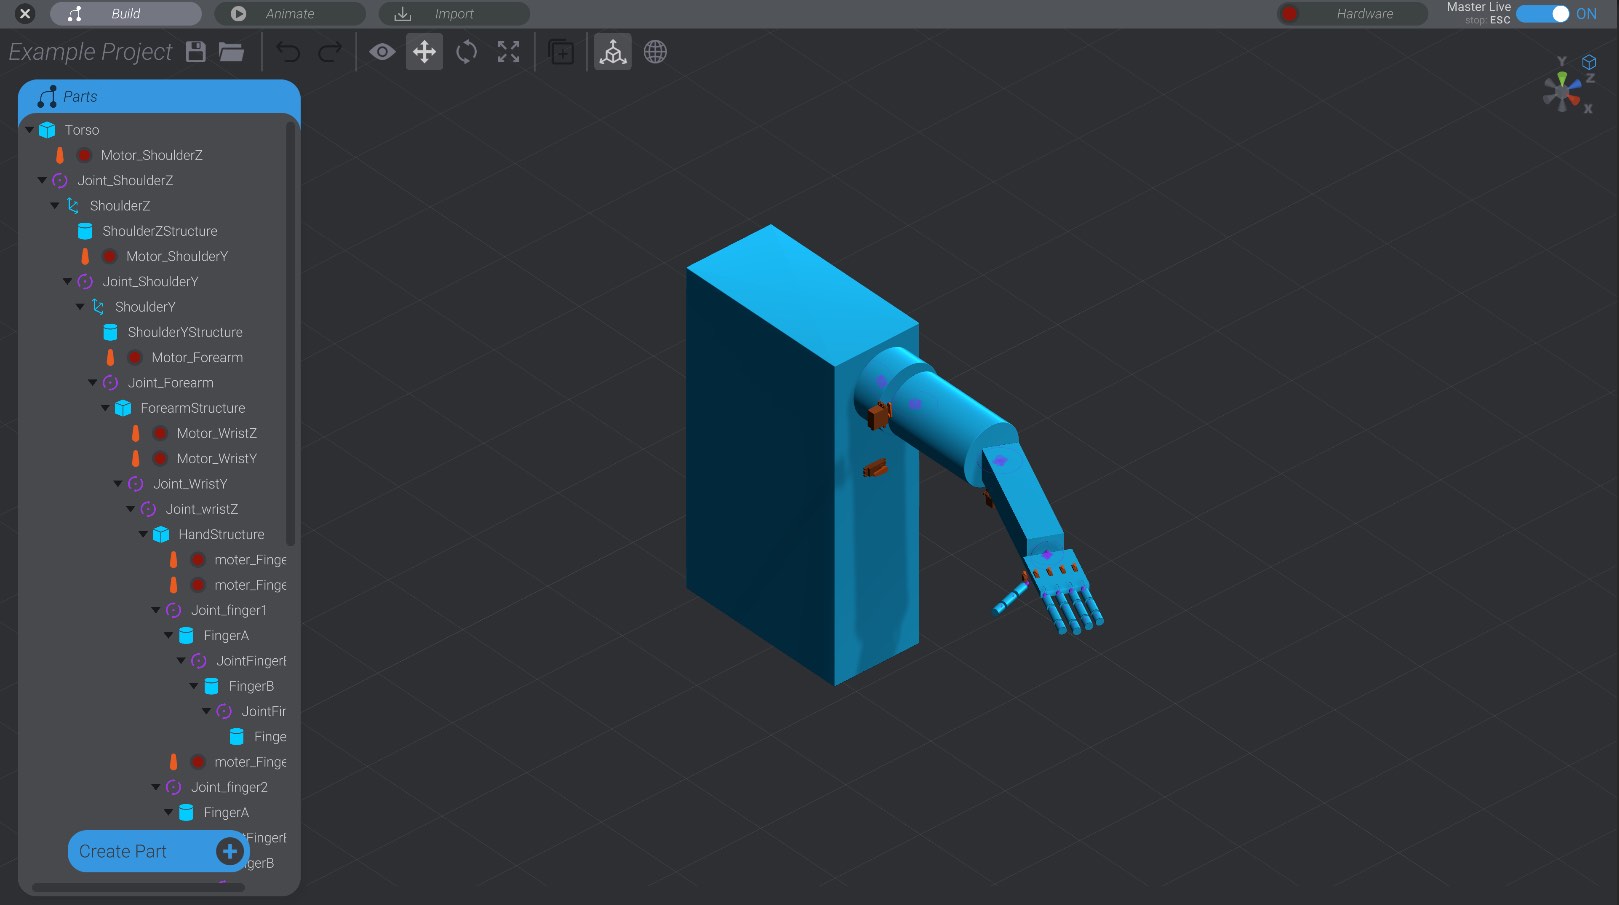
The orthographic projection can be useful for carefully aligning parts.