Advanced Topic Skip if you’re new, explore when you’re ready.
Create a custom motor using the create panel:
Then select the custom motor to configure it:
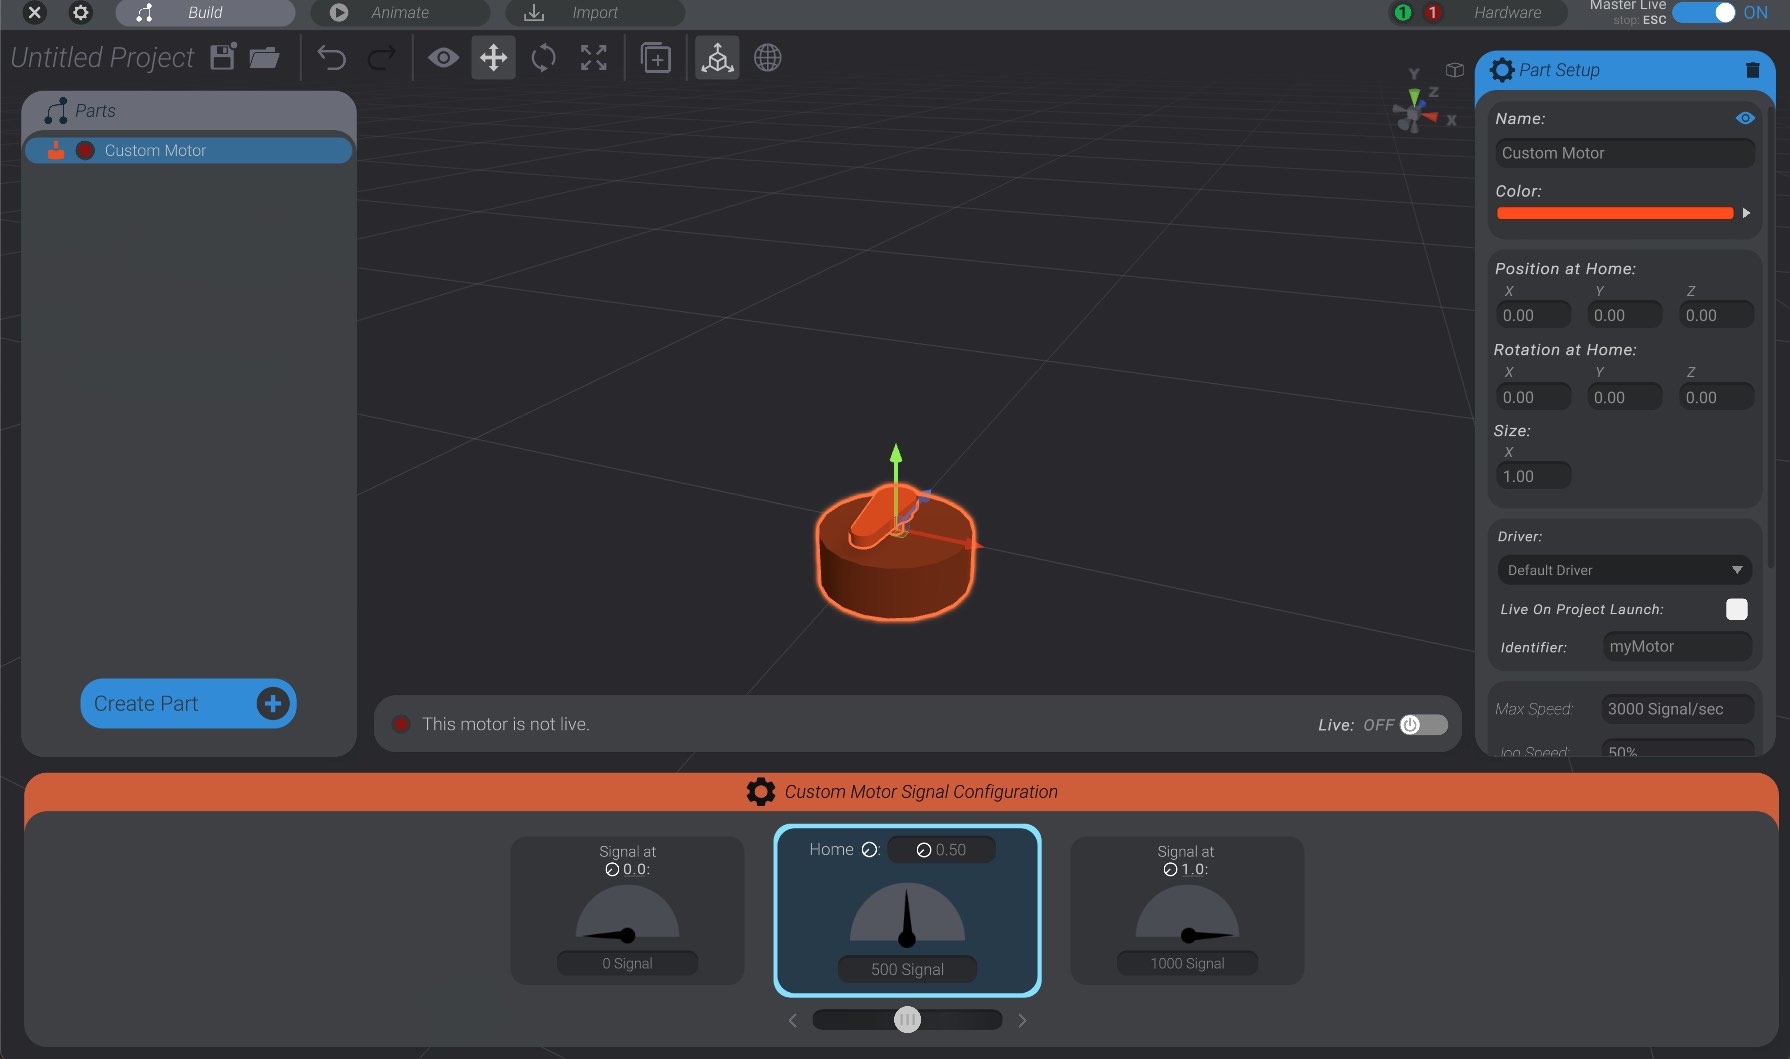
A custom motor can be attached to a joint just like a built-in motor (servo, stepper, etc.) As well, custom motors have minimum and maximum signal you can define, just like a servo’s minimum and maximum PWM, etc.
The biggest difference in configuring a custom motor requires you to enter a unique identifier. With built-in motors, the identifier is automatically created based on the pins/connection of that motor. With custom motors, you set the identifier to whatever you want.
Identifiers are text-based strings, and can have at most 8 characters. When you set the identifier of a custom motor in Bottango, this is the name of the motor that will be sent to the microcontroller when it is animating.
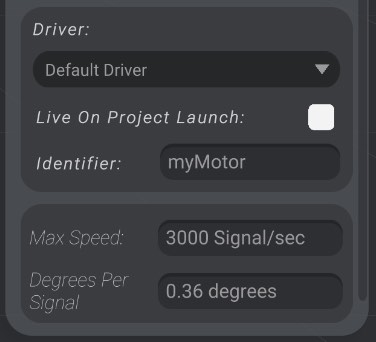
As well, you can set the maximum speed that the custom motor will be driven at. In the above example, this motor will not move more than 3000 of the user-defined signal units per second when animating.
Finally, you can set the degrees that the 3D representation of the motor will rotate per signal change. This does not affect the real-world hardware driving of the motor, but is just helpful to keep the 3D representation and the real-world motor in visual sync.