Beginner Topic used frequently in Bottango workflows.
You create custom events in the Create Part menu, just like other parts. When you create a custom event, you can see that there are four to choose from:
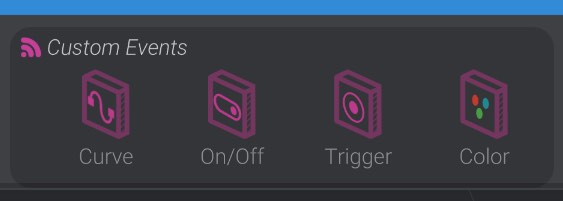
Curved custom events are animated on the animation timeline with movement values, just like motors and joints. A curved custom event sends a value between a movement of ![]() 0.0 and
0.0 and ![]() 1.0. An example when you might use a curved custom event is dimming a light or adjusting the speed of a continuously rotating motor.
1.0. An example when you might use a curved custom event is dimming a light or adjusting the speed of a continuously rotating motor.
On/off custom events send an on/off signal, instead of a curved movement between 0.0 and 1.0. An example of when you might use an on/off event is turning a light on or off, or turning a continuously rotating motor on or off.
Trigger custom events fire on each keyframe for that event in the animation. They don’t have any other data when the keyframe is expressed, just that a keyframe is at this moment. An example of when you might use a trigger custom event is playing a sound using your microcontroller, or releasing confetti from a closed container.
Color custom events send an RGB color value. An example of when you might use a color custom event is setting the color on an RGB LED.
When you create a custom event, you’ll see an interface for the custom event created in the 3D scene:
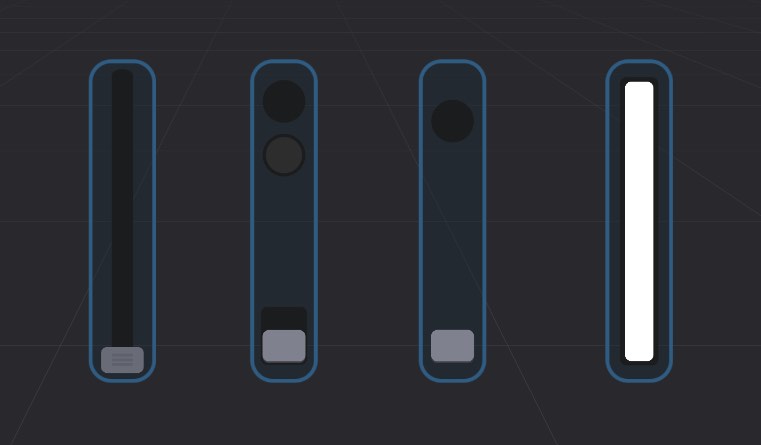
From left to right in the above screenshot: