Beginner Topic used frequently in Bottango workflows.
You can click on a custom event to select it, just like any other part. When it is selected, you’ll be able to configure the custom event.
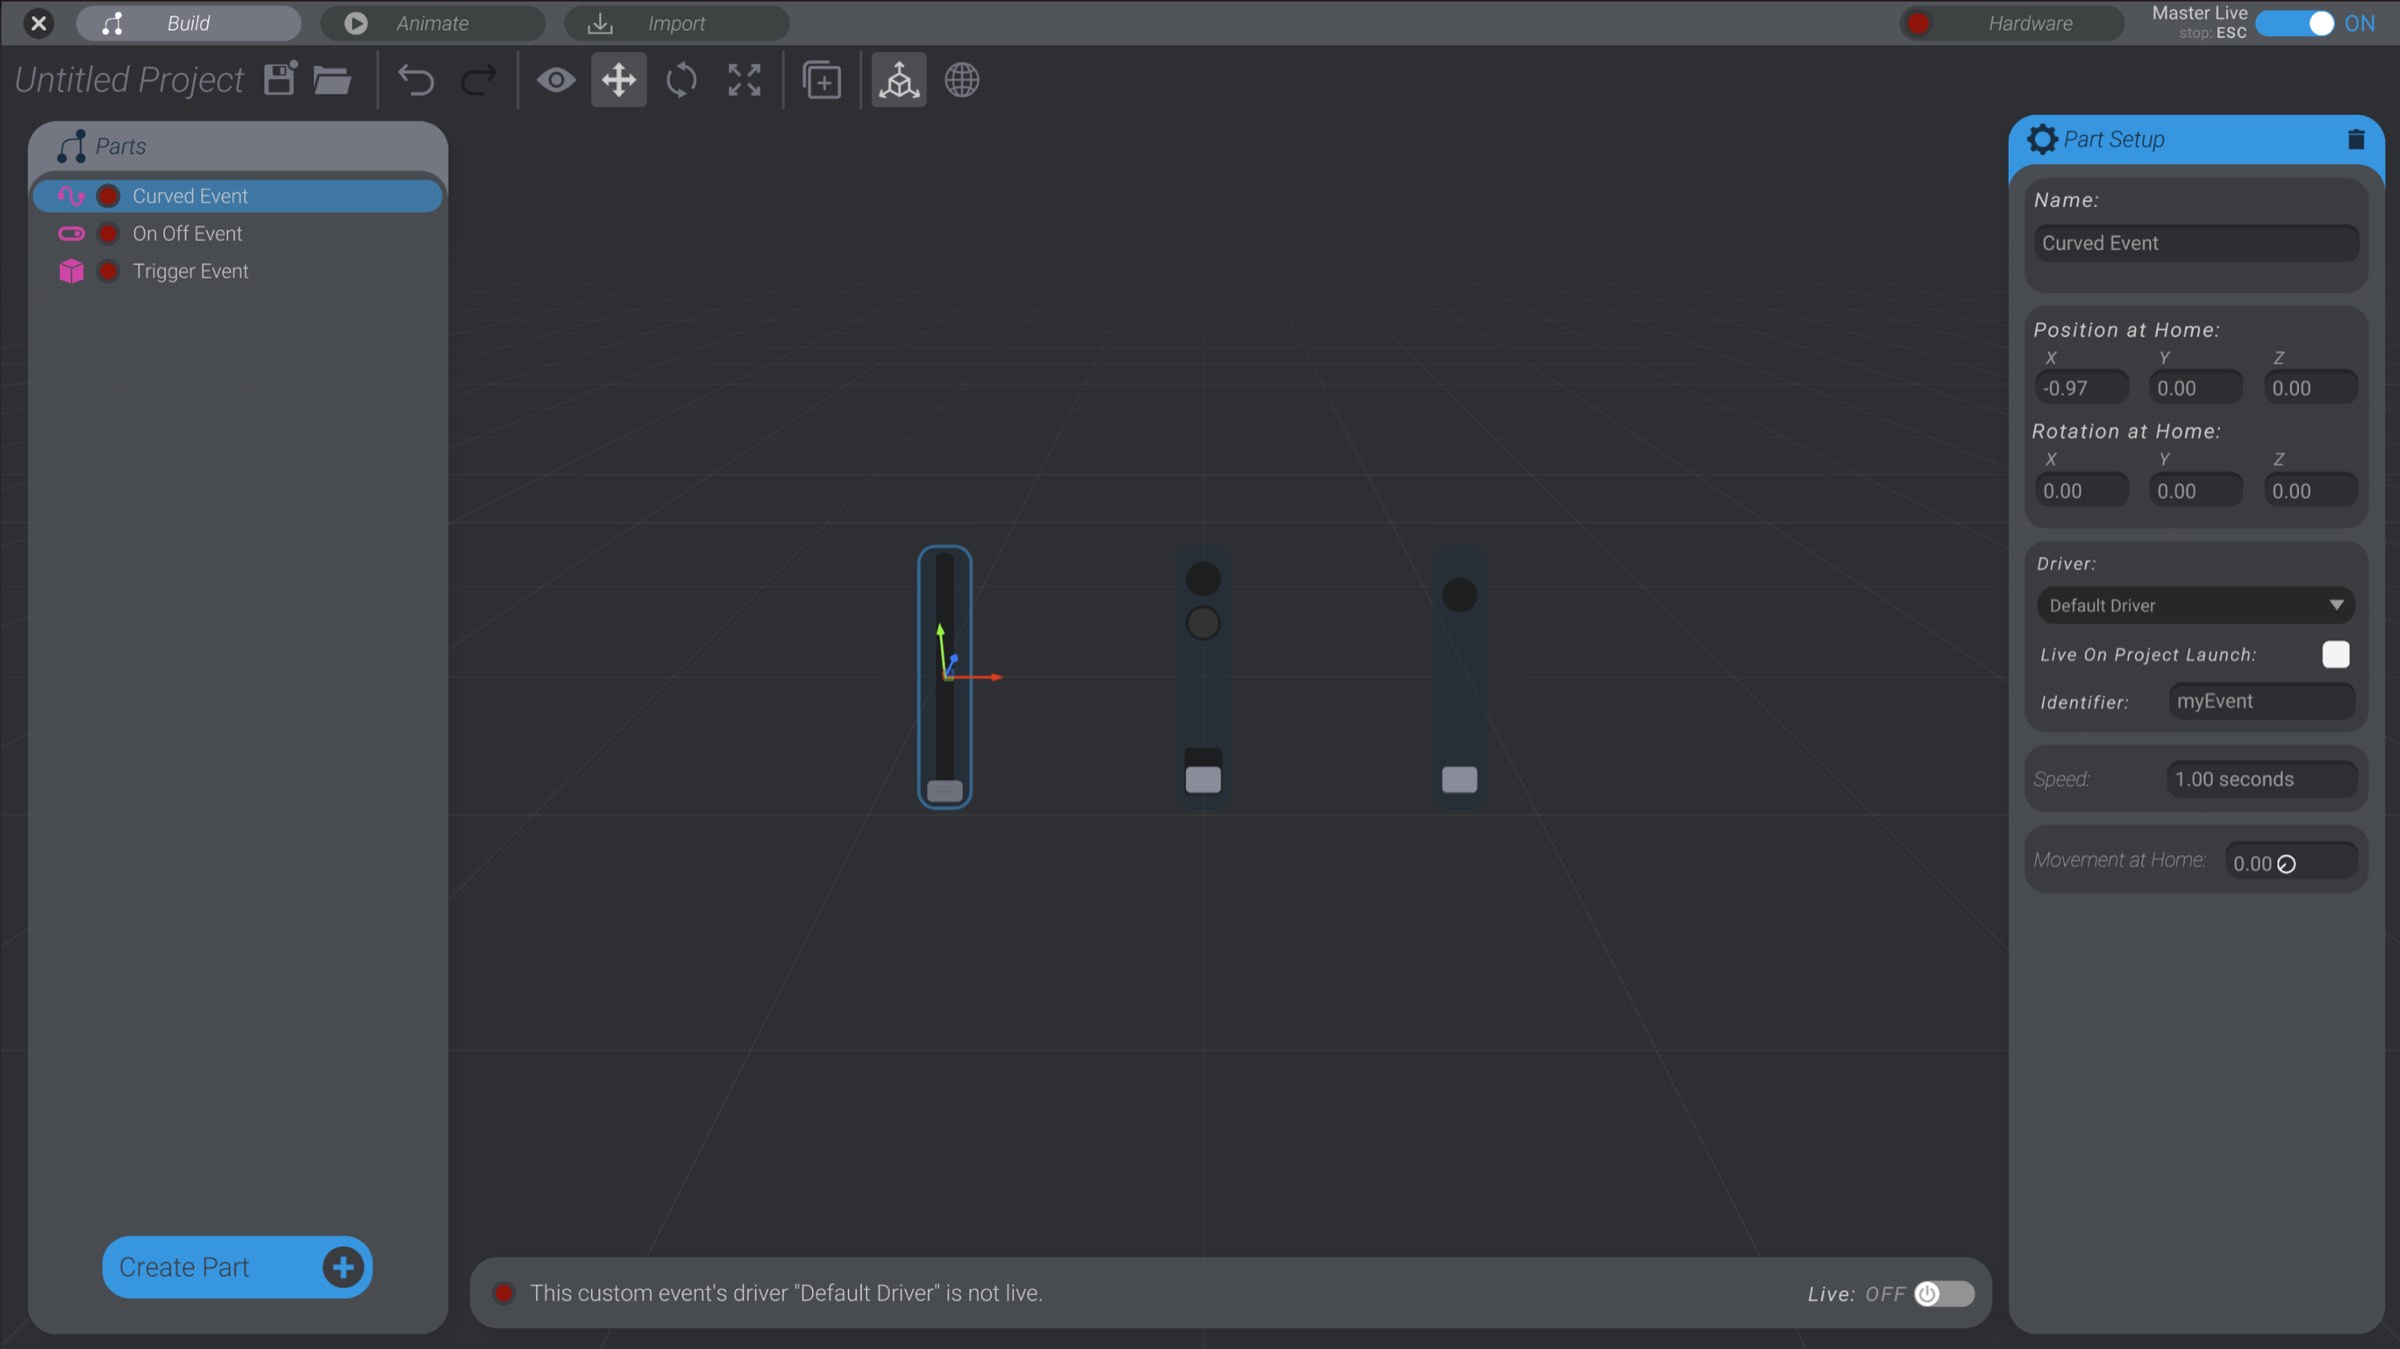
Here you can see the specific configuration content for a curved custom event as an example:
To configure trigger events created via imported media with “Play On Hardware” enabled, use the options in Importing Audio and Video and Media Events. However, the same ideas below still apply to trigger events created via media.
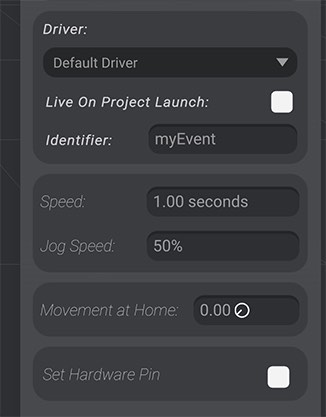
If your need for the custom event is as simple as setting the state of a hardware pin on your driver, you can enable “Set Hardware Pin” on the event.
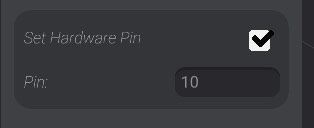
With this option enabled, you’ll set the state of the pin on the hardware based on the state of your driver:
Will analog write (if possible) to the pin, with ![]() 0.0 being no voltage, and
0.0 being no voltage, and ![]() 1.0 being max analog write voltage. If the pin you’ve selected can support analog values,
1.0 being max analog write voltage. If the pin you’ve selected can support analog values, ![]() 0.5 will be half max analog write voltage, etc.
0.5 will be half max analog write voltage, etc.
On sets the pin high, and off sets the pin low.
Will toggle the state of the pin for 250ms and then set the pin back. You can select if the pin is taken high or low when the event fires. The pin will be the opposite state until fired. You can change the timing of the pin change duration in the Bottango Arduino configuration file.
Custom events have an associated driver, just like motors. You can select the driver to use for the custom event in the same dropdown as a motor.
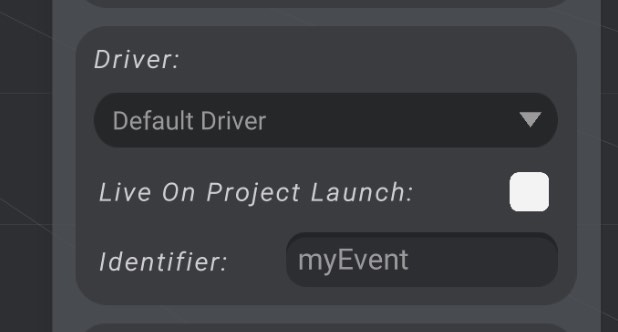
As well, you can set a custom event live/not live, and control whether the custom event is live on project launch, in the same way as a motor.

However, custom events have one additional modifiable property: an identifier. All effectors in Bottango, including motors, have an identifier. The identifier of an effector is how Bottango knows which motor is targeted in an animation curve or other communication from the desktop app to the hardware driver. With motors, the identifier is automatically created based on the pins or connection of that motor. With custom events, you set the identifier to whatever you want. Each event controlled by a hardware controller must have a unique identifier.
Identifiers are text-based strings, and can have at most 8 characters. When you set the identifier of a custom event in Bottango, this is the name of the effector that will be sent to the microcontroller when it is animating.
In your own custom logic in the Bottango Arduino code, you can use that identifier to know which event just fired or has just changed its data.
As well, curved events and on/off events let you set their home state:

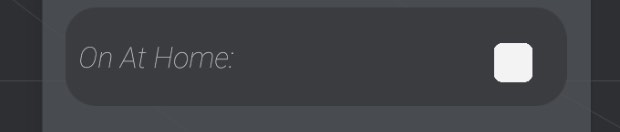
A curved event’s “movement at home” is where the curved event will return to when not being animated. An on/off event’s “on at home” is whether the event is on or off when not being animated.
Finally, curved events allow you to set the maximum speed.
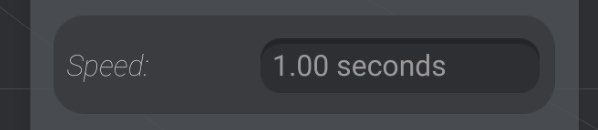
The speed you set for a curved custom event is the maximum speed to travel from 0.0 to 1.0 while animating. For example, if you input 2.5 seconds, your custom event will animate from 0.0 to 1.0 in 2.5 seconds at the fastest.