Beginner Topic used frequently in Bottango workflows.
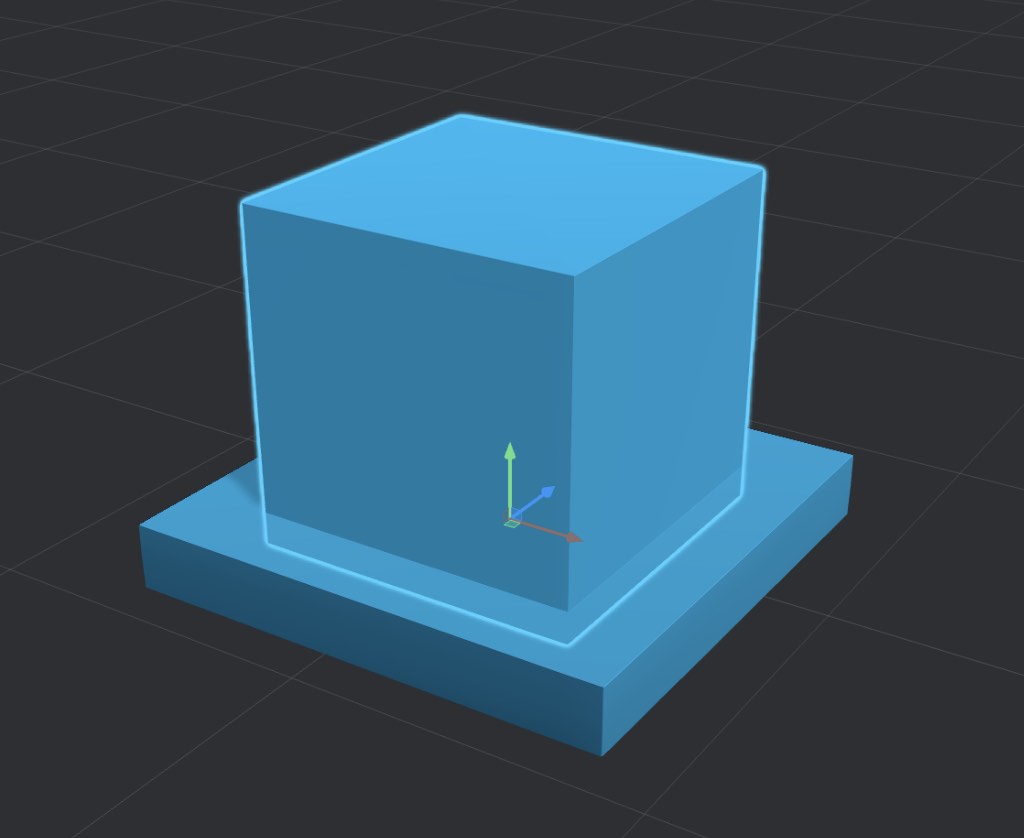
The base of this simple robot has two parts: the flat base we created already, and the taller extension.
Deselect the BaseStructure part so that nothing is selected.
Create a new cube structure, and name it “BaseExtension.”
Change the pivot of “BaseExtension” to “Bottom”.

Every structure has a pivot. You’ll know where the pivot on a structure is by observing where the move/rotate/scale handle originates.
The pivot of a structure is the point from which size, position, and rotation are calculated for that part.
We changed the pivot of BaseExtension from center to bottom. This means when we resize it, it will change its size leaving the bottom where it is, and move the top up and down.
BaseExtension to be right at the top of BaseStructure.Just as with changing the size of a structure, there are three ways to move a part:

To change the active handles to position handles, click the tool icon, or press W.
Change the size of BaseExtension to 0.75, 2.0, 0.75.
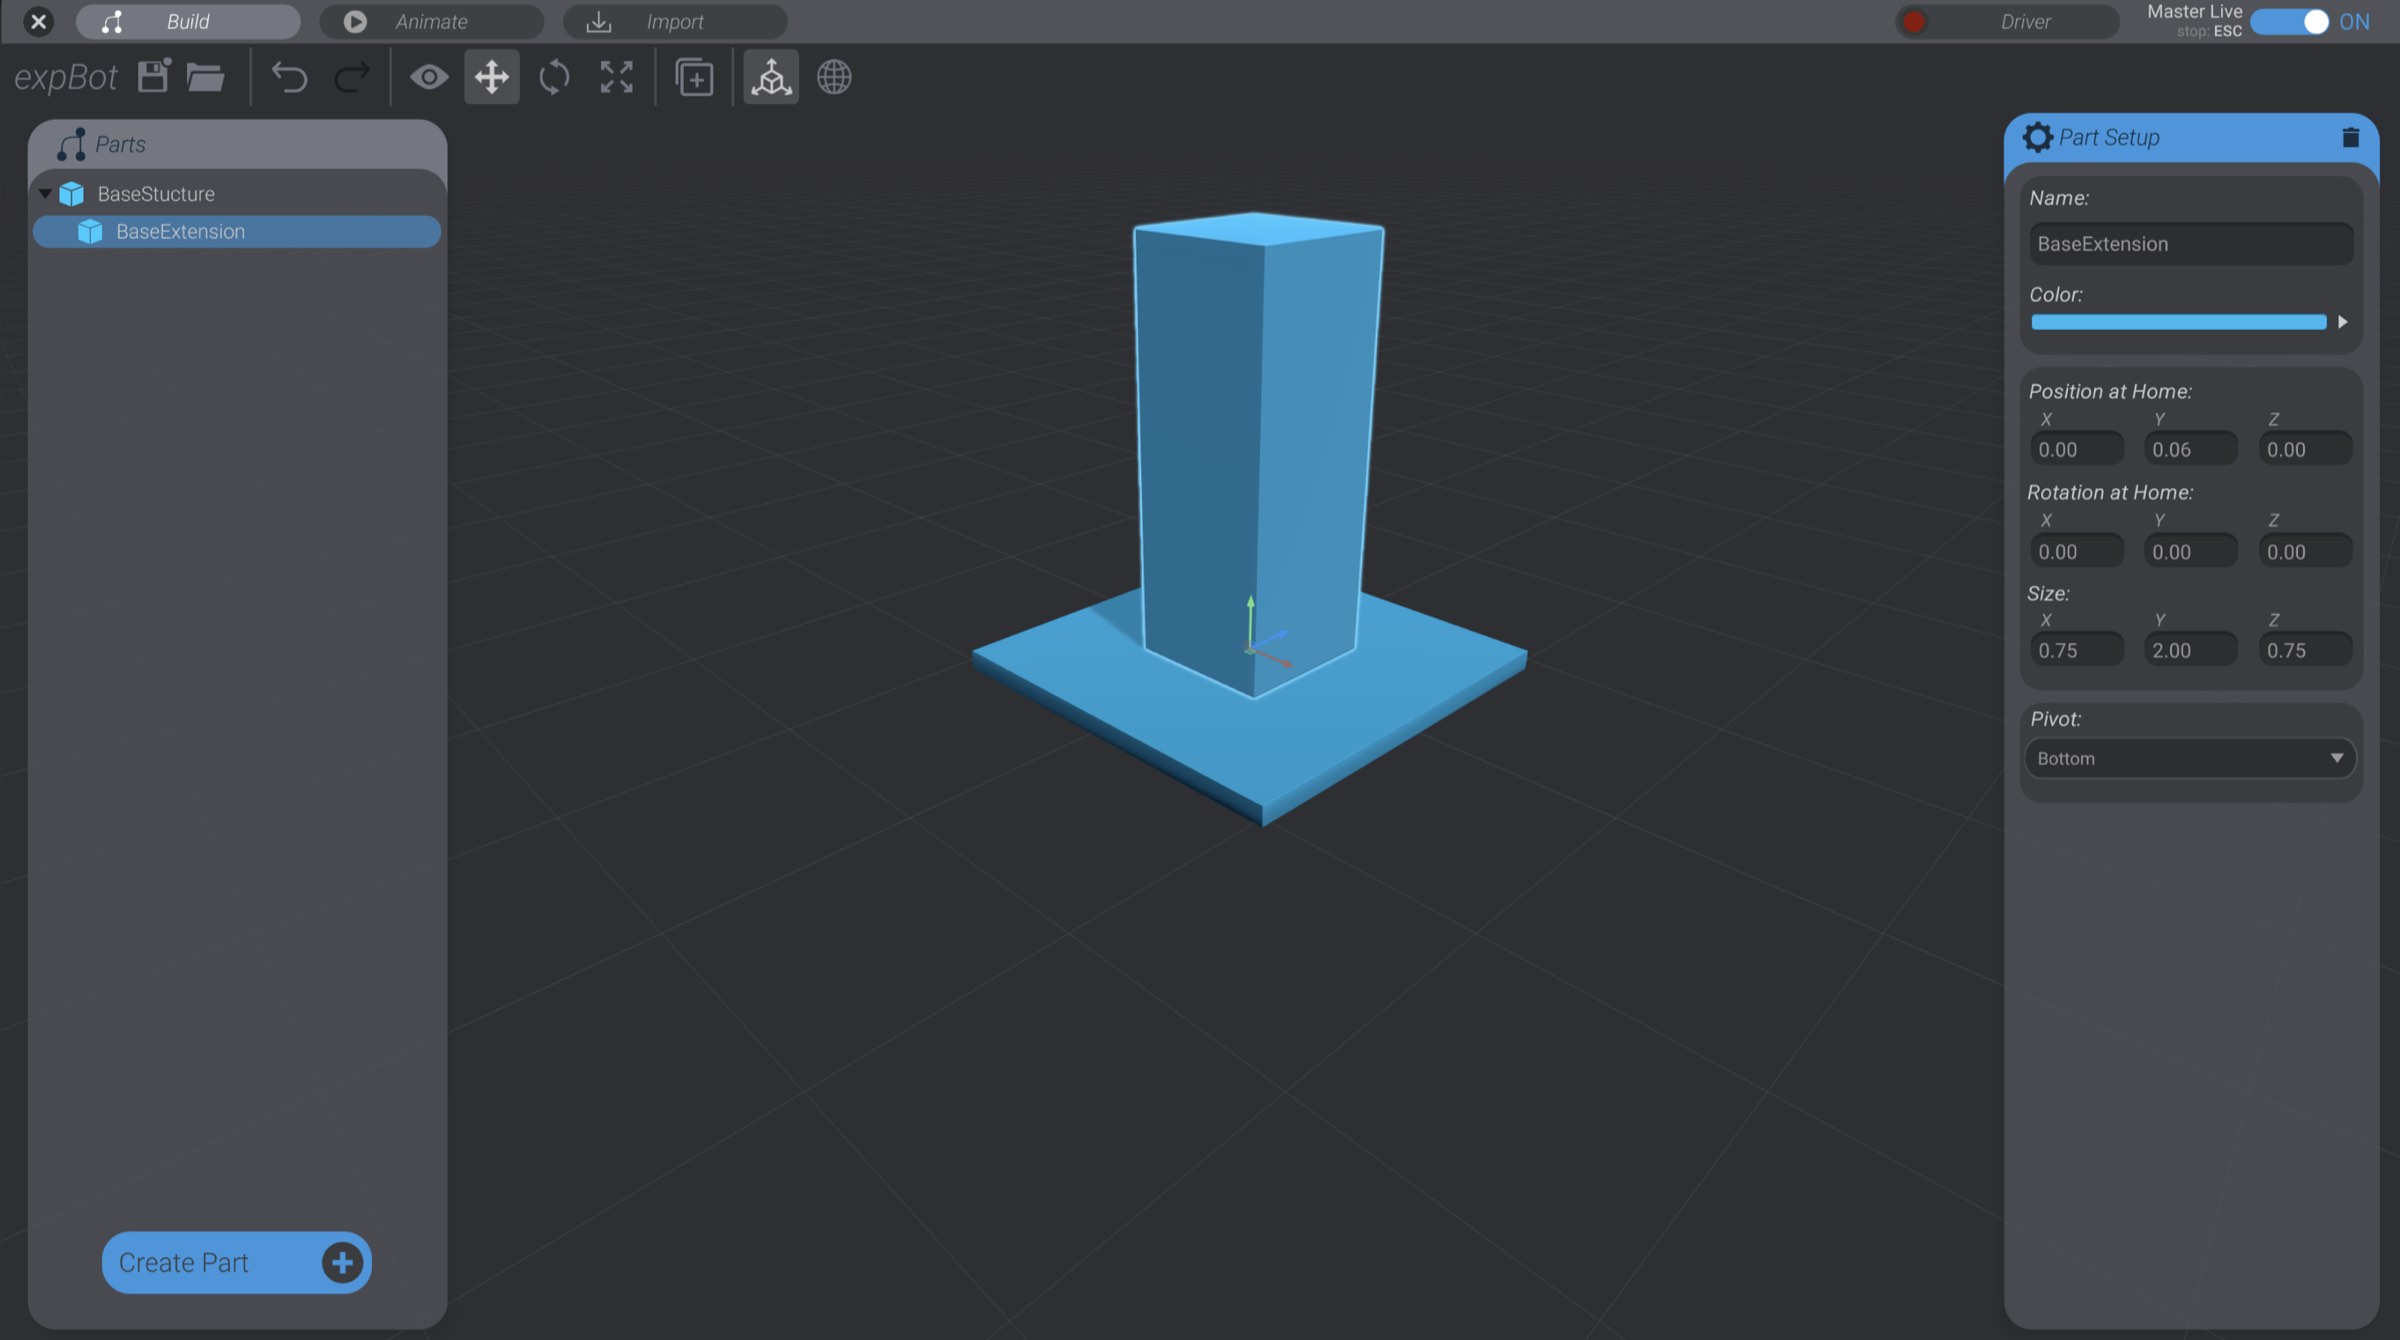
Again, because the pivot is bottom, the size changes leave the bottom of BaseExtension exactly where we want it.