Essential Topic for learning Bottango.
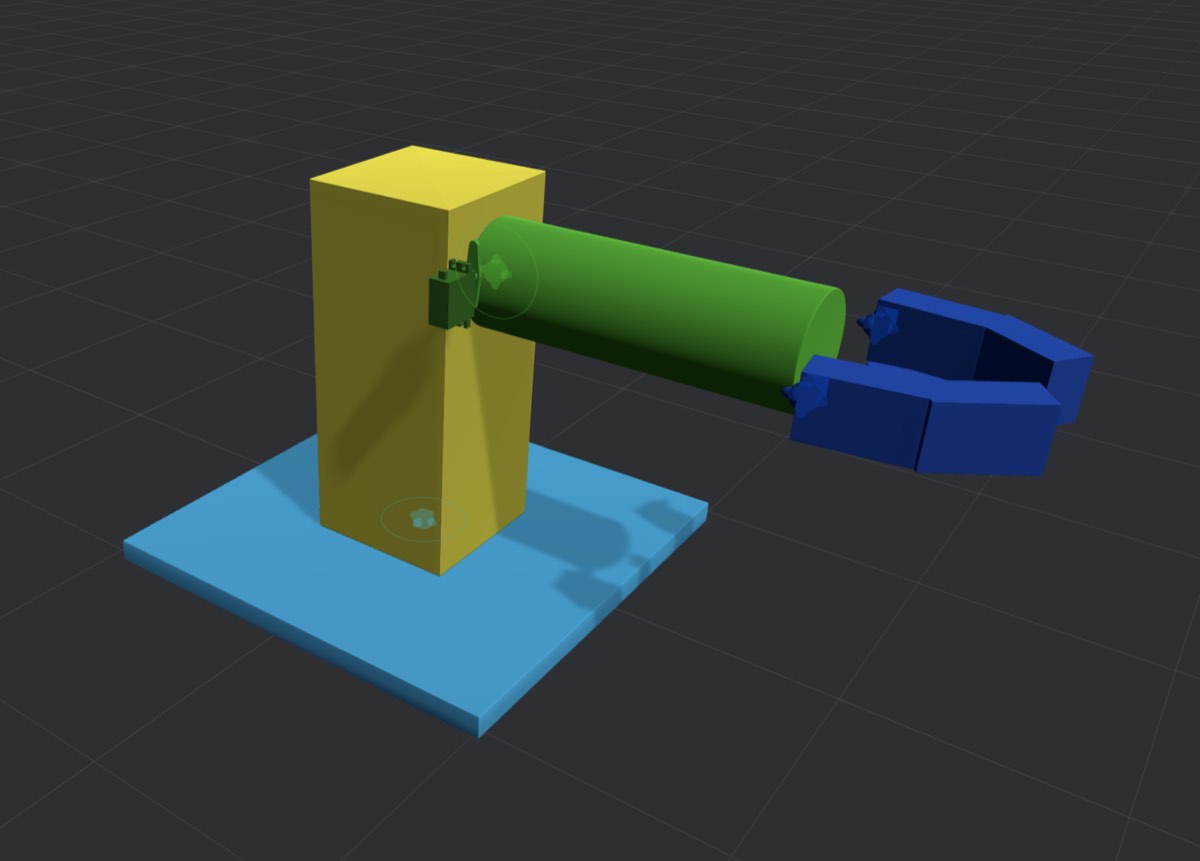
Let’s build the structure of a simple robot that looks a lot like the one below.
Open a new, blank project in Bottango.
Click “Create Part” to create your first structure:

This will cause the “‘Create a New Part`” window to show up:

Click “Cube” to create a new cube structure.
The four leftmost blue icons create different kinds of structures. There are four types of built-in structures:
Cubes, cylinders, and spheres all create parts of their namesake. Empty points can be useful when you need to group a series of parts under one invisible parent, or when you want to change the local axis of child parts.
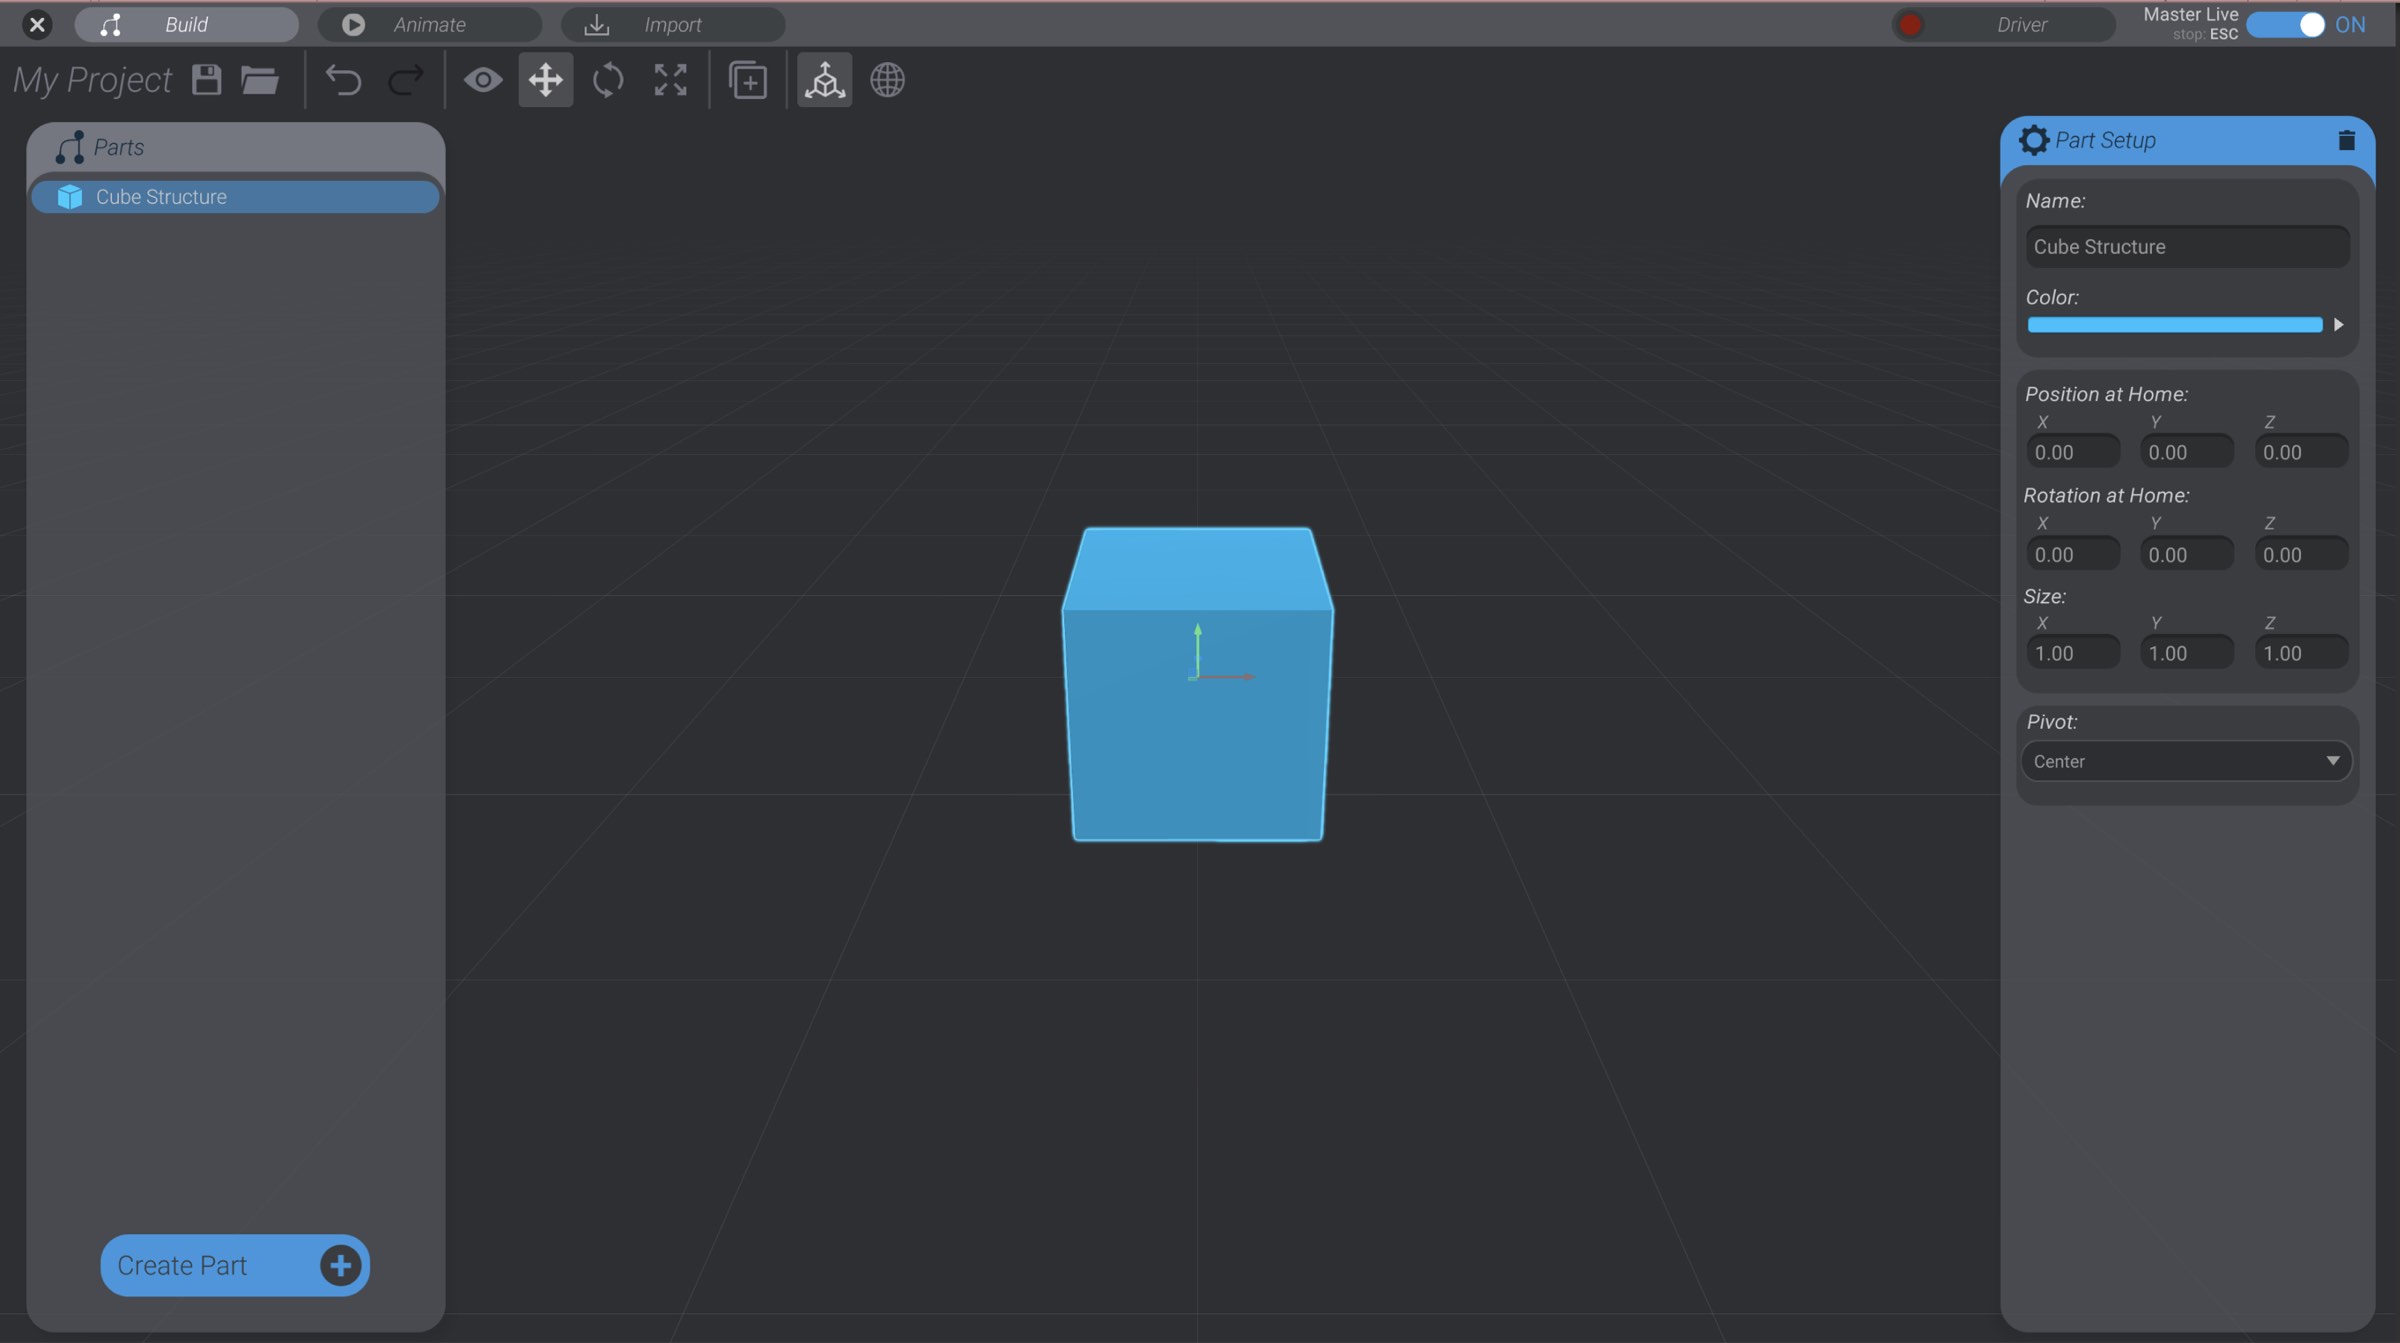
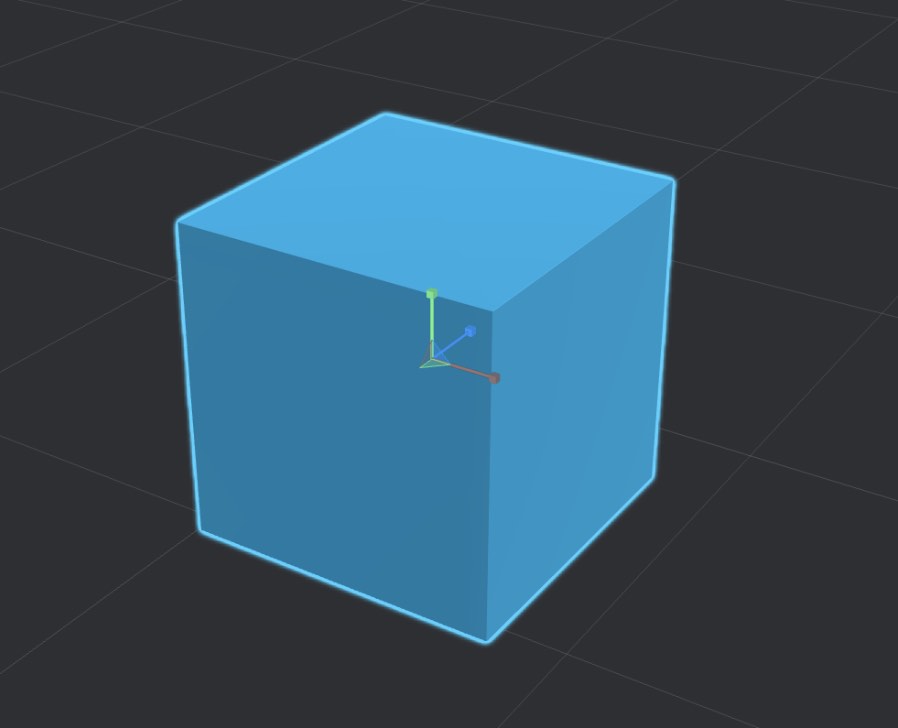
You’ll create a default cube at the center of your project, and select it automatically.
Every structure has the following characteristics:
You will see all these settings for the structure in the Part Setup window on the right side of the screen, whenever one structure is selected. Some structure types have additional settings. For example, you can change the sphere structure type to a hemisphere.
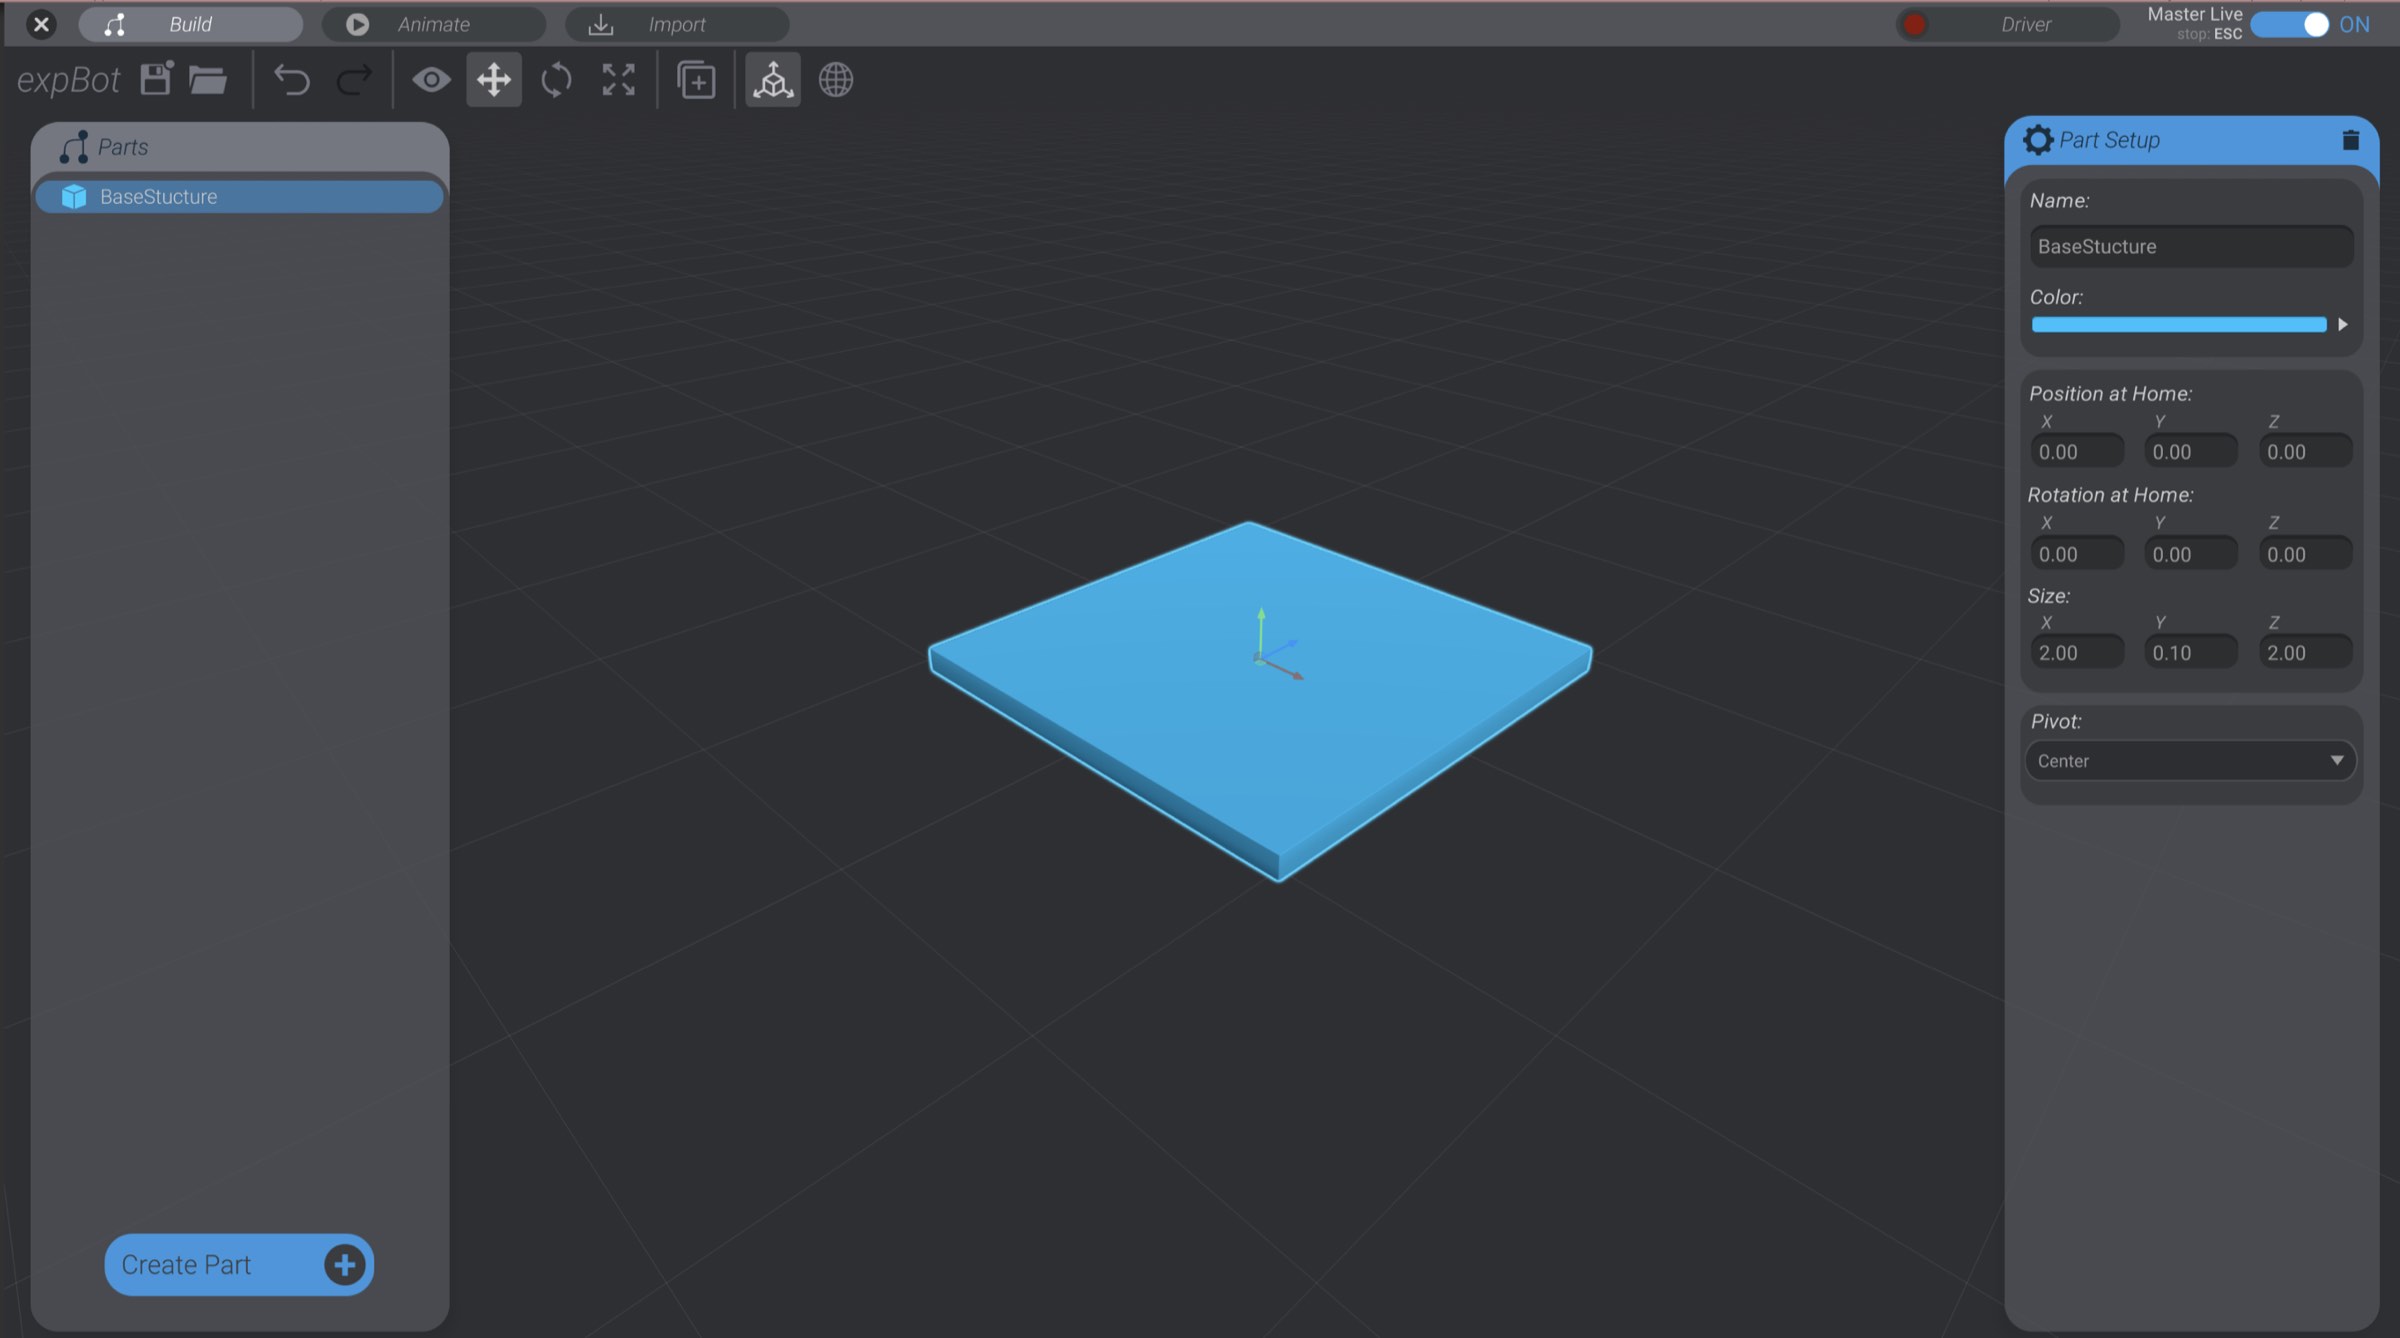
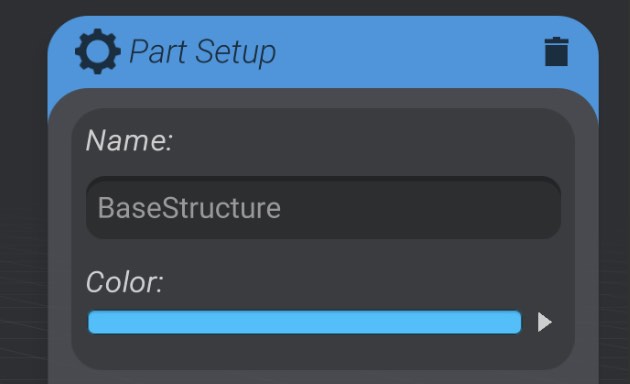
Rename the cube to “BaseStructure using the “Name” field in the “Part Setup” window.
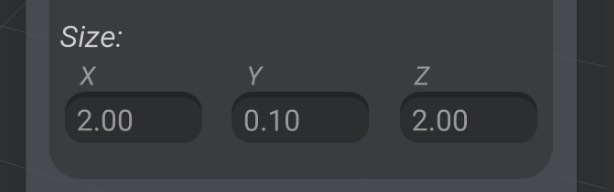
Resize the cube to 2.0 in the X dimension, 0.1 in the Y dimension, and 2.0 in the Z dimension.
There are three ways you can change the size of a structure:
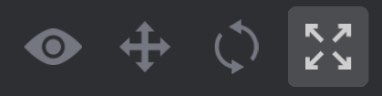
Select the scale tool in the tools panel to use the scale handle:
You can also press the R key to quickly change to the scale handle.
At this point you should have a single cube structure named “BaseStructure” in roughly this size: