Expert Topic for experienced builders.
Bottango can be controlled in multiple ways via the REST API. If you’d like more detailed information about the Bottango REST API, see External Control, REST API, and the full REST API reference. Example Python scripts are included in /AdvancedFeatures/Bottango REST API. For this section, we’ll assume you’re familiar with that functionality.
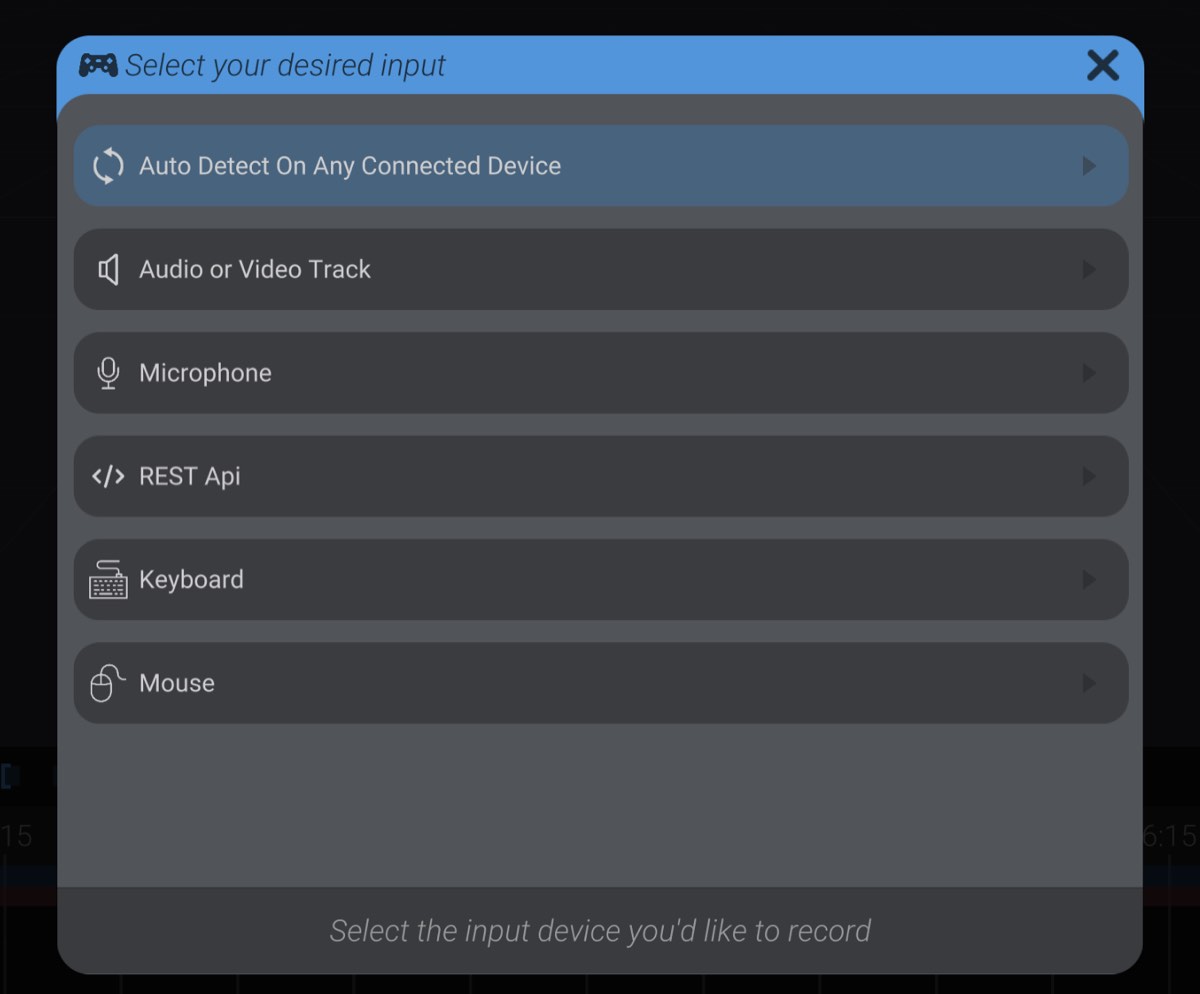
When you create or are remapping a control, select REST API from the list of input options.
Once that input type has been selected, you’ll be able to configure the options:
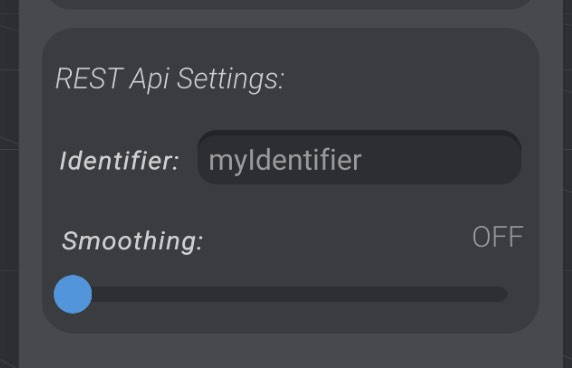
Most important is the Identifier string. This is the string your request should include in the identifier parameter to control this specific control mapping. The default value is shown here, “myIdentifier.” Multiple controls with the same identifier will all be controlled independently.
The smoothing option is available for controlling movement-based parts (joints, motors, etc.) but is off by default.
The value you send in the “value” parameter should always be a float between 0.0 and 1.0. Movement-based parts (joints, motors, an axis of a pose blend, etc.) will map as expected between the received value and their movement. On/off events will treat any non-zero number as on, and zero as off. Trigger events will treat any non-zero number as an event, and zero will be ignored.
Just like input from a gamepad, setting input over the REST API will be ignored if not actively recording.
Right now, the only supported closed-loop motor type compatible with teach mode is DYNAMIXEL actuators. We will add this functionality to user-defined closed-loop motors in a future version.
Creating a control map using a closed-loop motor effectively works no differently than any other control input type. Let’s say we wanted a DYNAMIXEL’s real-world position to be recorded to drive a joint. First we would create a new control map, select the joint we want to record input onto, and then select the motor we want to record input from. It is possible for the joint to be linked to the same motor that records input, as torque is disabled on the motor during recording.
When recording input on the motor, torque is disabled and the range of motion of the motor is used to translate the range of motion of the targeted part. As an example, a motor detected at its minimum signal would set the joint (if you targeted the mapping to a joint) to the joint’s minimum range of movement. Detected motor state outside the minimum and maximum range of signal is clamped to the minimum and maximum.
With this setup, you can now record the state of the motor and it will reflect back onto the joint. You could use this setup to puppeteer your real-world robot, turn that puppeteering into editable keyframes, and edit and play back the recorded real-world movements.
The only configuration option available in this control map is to add additional smoothing.
As a reminder, a control scheme is a set of mappings between parts and inputs, and the associated settings. You can have as many different control schemes as you want in your project.
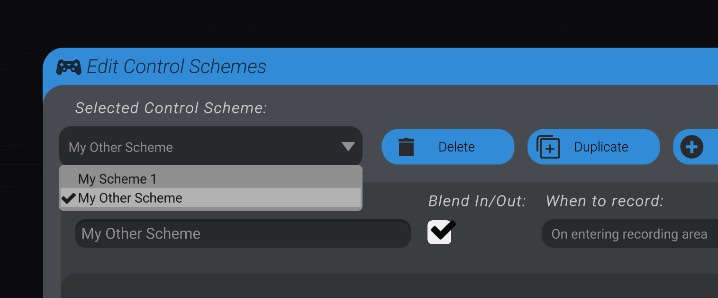
In the edit scheme menu, you can select which scheme is selected for editing:
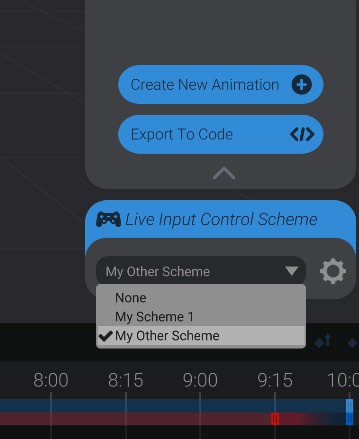
And in the Animate view, you can select from a dropdown which control scheme you’d like to have active for recording, or set it to none to disable recording entirely:
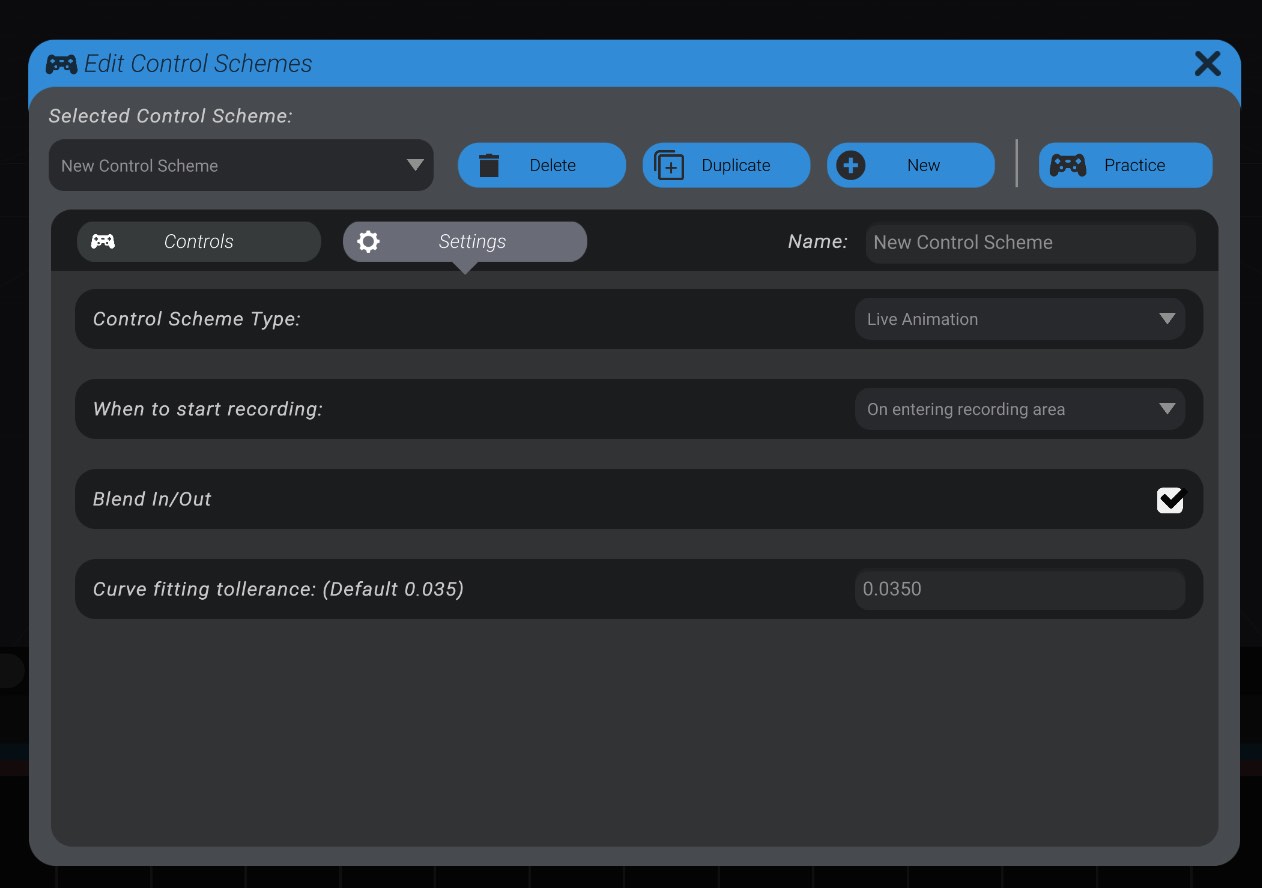
Remember back in Control Scheme Settings & Controls, there was a “Control Scheme Type” setting? This allows you to change from the default “Live Animation” type control scheme to a “Snapshot” control scheme.
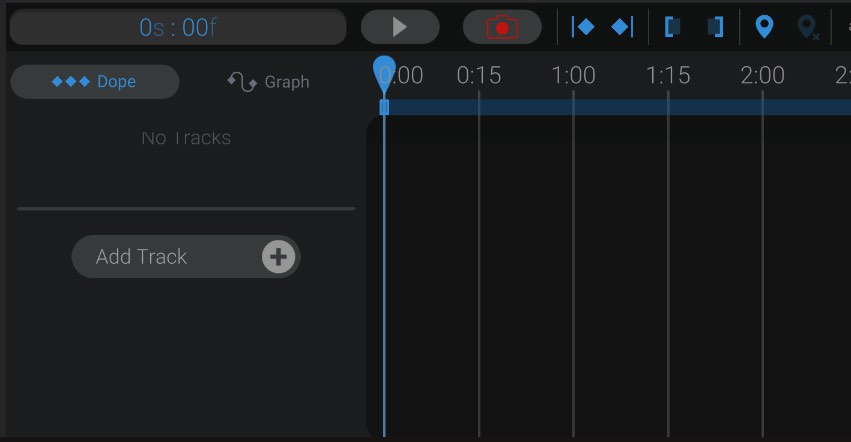
A snapshot control scheme does not record live input over time, but instead lets you set a pose of your robot using your live input, and then “captures” it into keyframes at the selected time on the animation. When you change your control scheme type to “Snapshot,” the record button is replaced with a camera icon, and the record area is removed.
Pressing the camera record button instead now activates all live input, and lets you set a pose using your live input.
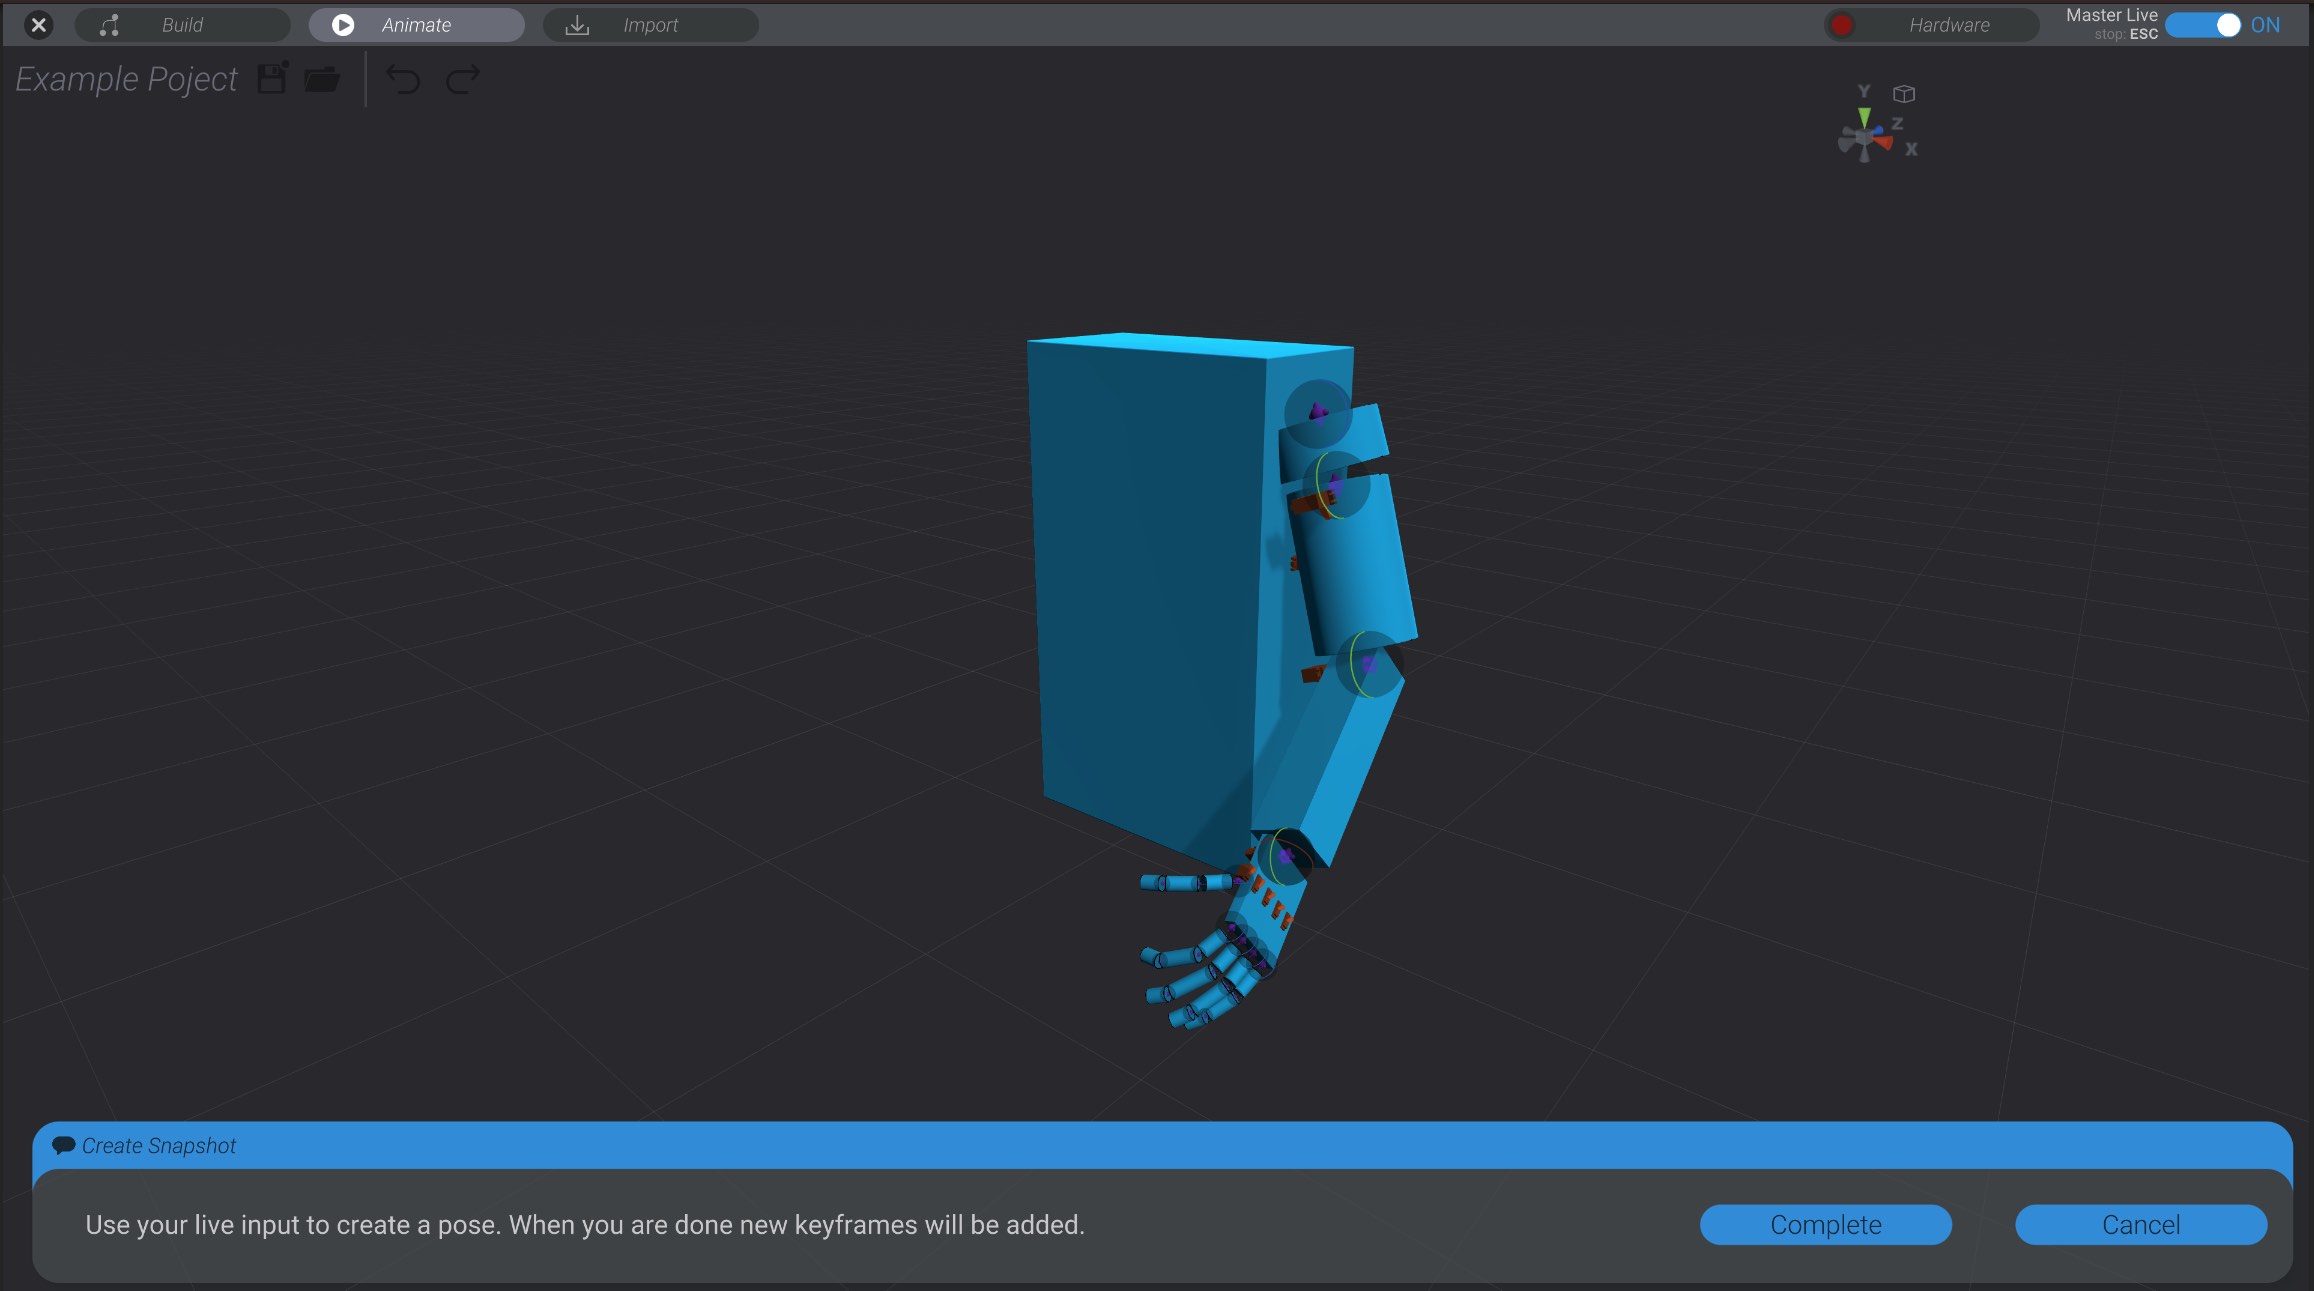
When you have your robot in the desired pose, press the “complete” button and new keyframes will be added for each live control in the control scheme at whatever time was selected when you entered snapshot recording.
As a piece of advice, snapshot recording is best suited to incremental-type controls. For example, nudging the robot’s arm joint using a gamepad stick from its current position, rather than setting its position absolute to the gamepad stick’s position. Otherwise, you need to hold each control exactly in position when “completing” the snapshot.
A future version of Bottango will include the ability to finish the snapshot using a controller, but for now you must click on the “complete” button.