Essential Topic for learning Bottango.
We need a way to associate the movement of a joint with the motion on a motor. Bottango allows you to link joints to motors to create that link.
Select the joint that is the parent of BaseExtension.
Notice how the joint says that there is no linked motor:
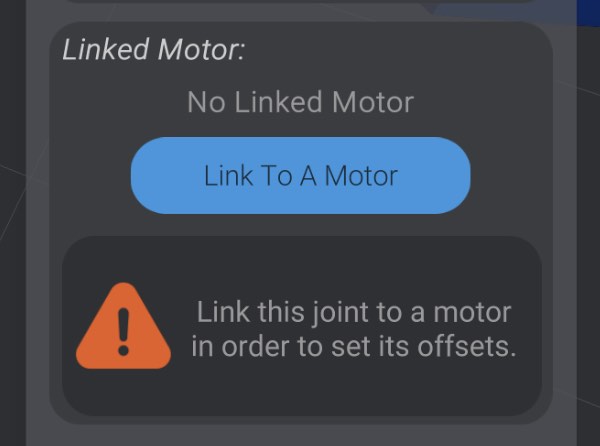
Click “Link To A Motor.” All valid motors will begin to glow, allowing you to select the motor you want to use to drive this joint.
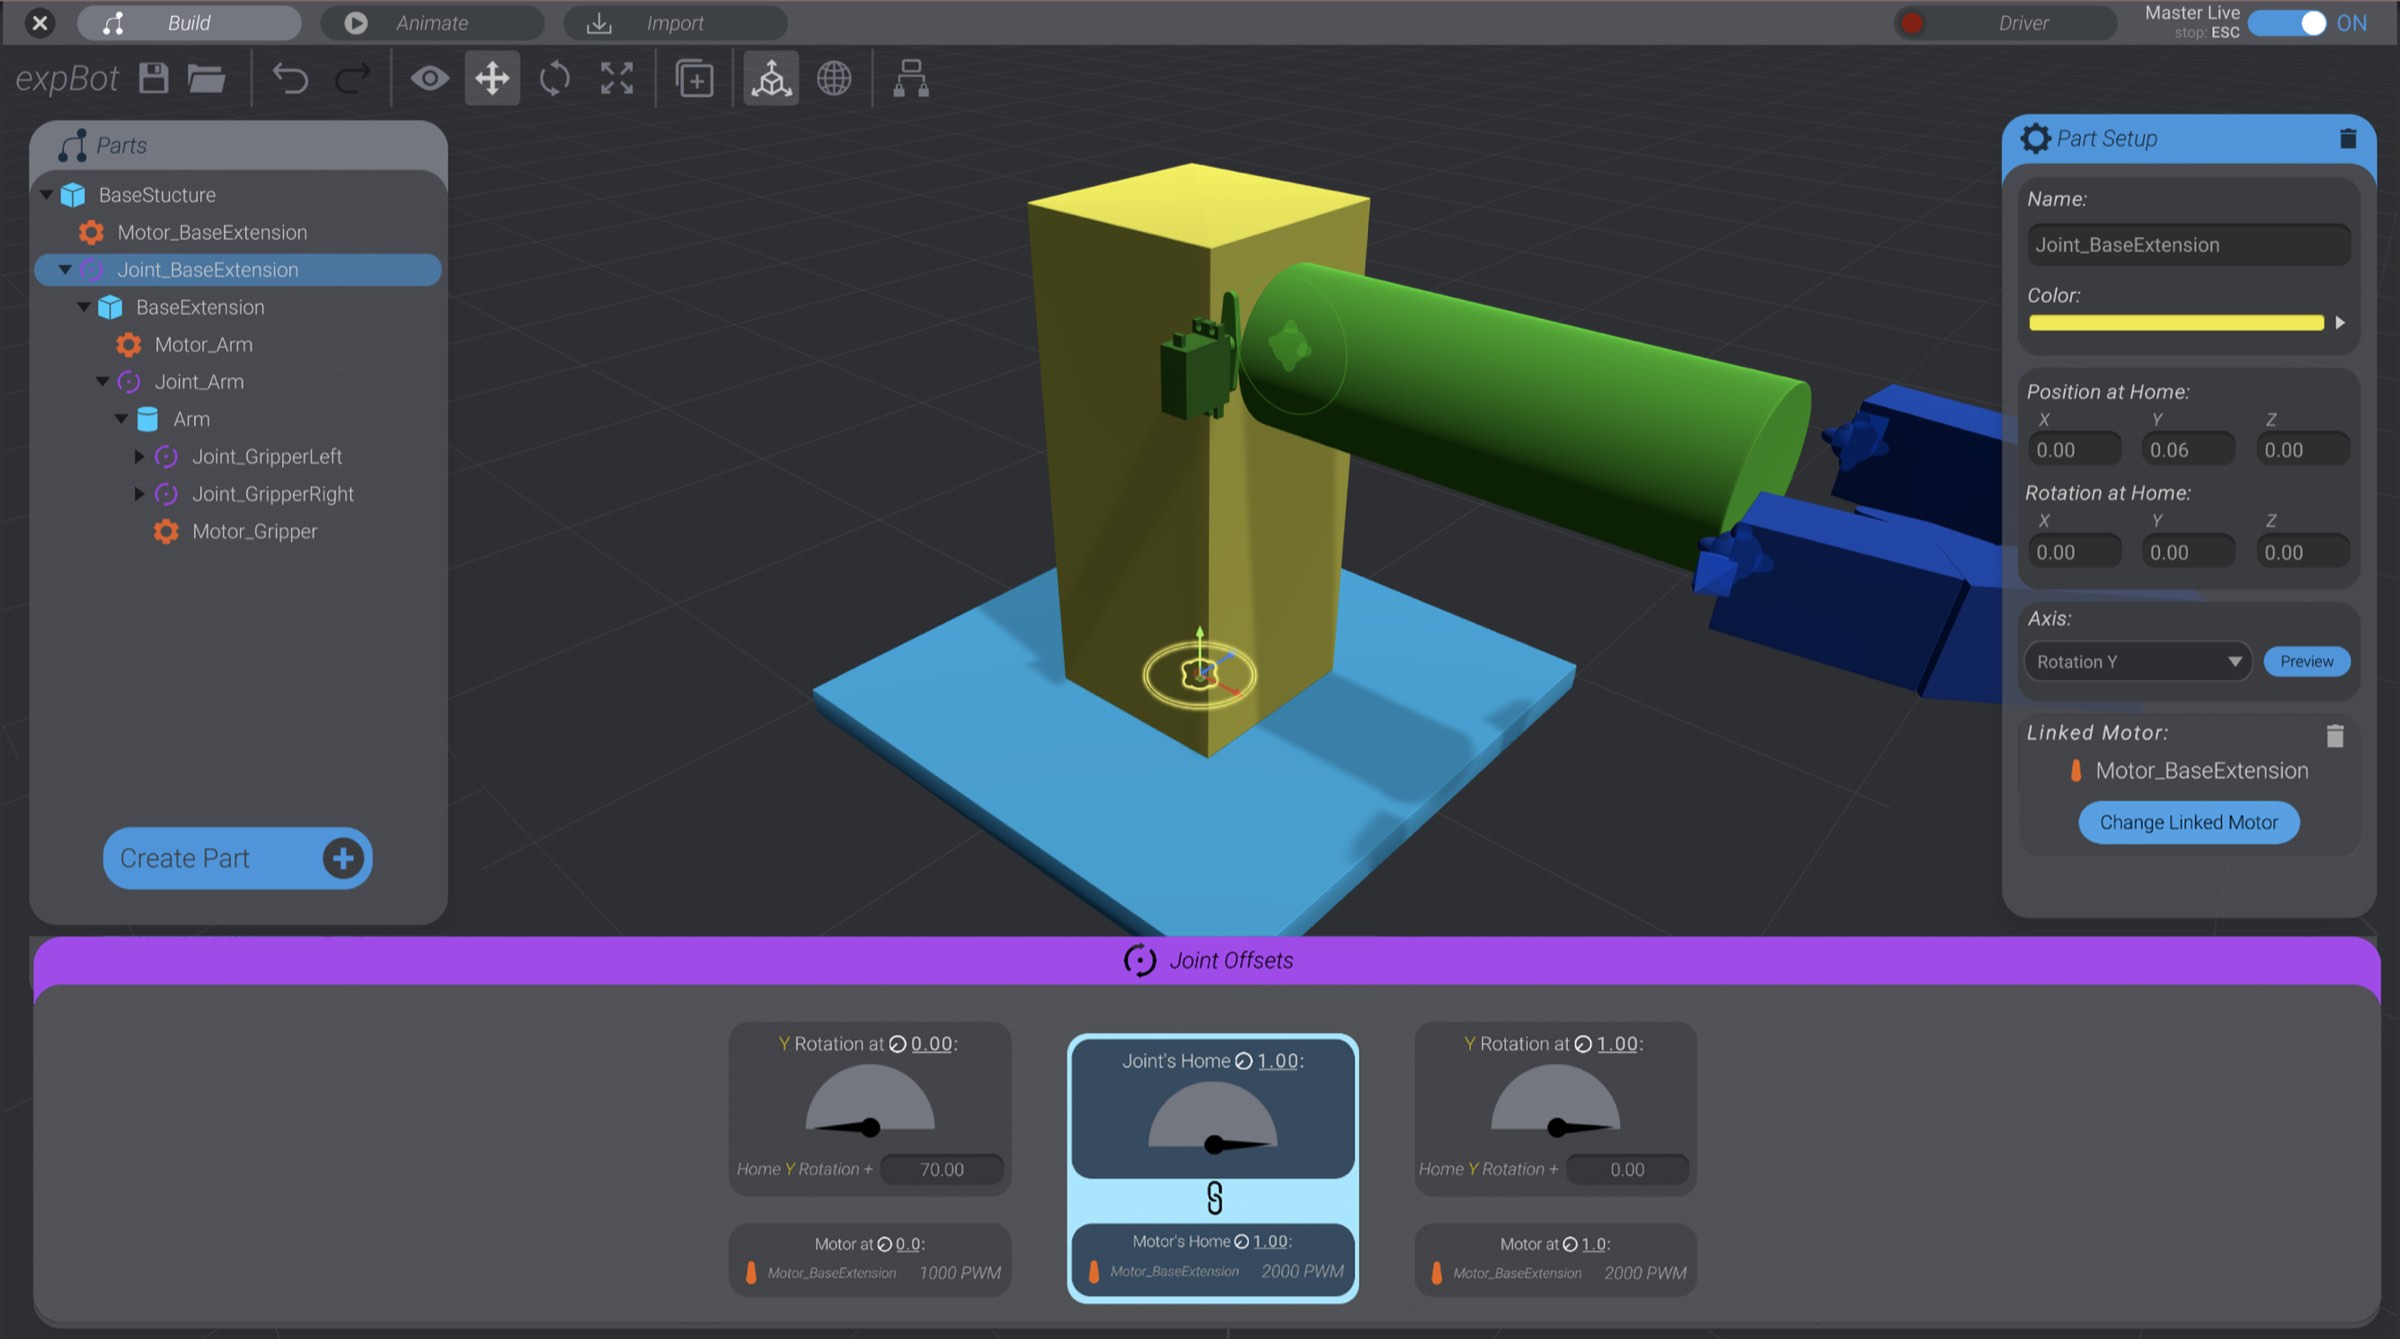
Select the Motor_BaseExtension. You can click either the 3D model or the motor in the parts list.
We have now linked this joint to Motor_BaseExtension, and can configure it further.
There are two joints that make up the articulation of the gripper, but only one motor. As the gripper motor moves, each joint moves to open and close the gripper by moving in opposite directions.
A motor can drive an unlimited number of joints; however, a joint can only link to one motor.
Here you can see I’ve created all three motors for the example robot: one to move the BaseExtension, one to move the Arm, and one to move both halves of the gripper:
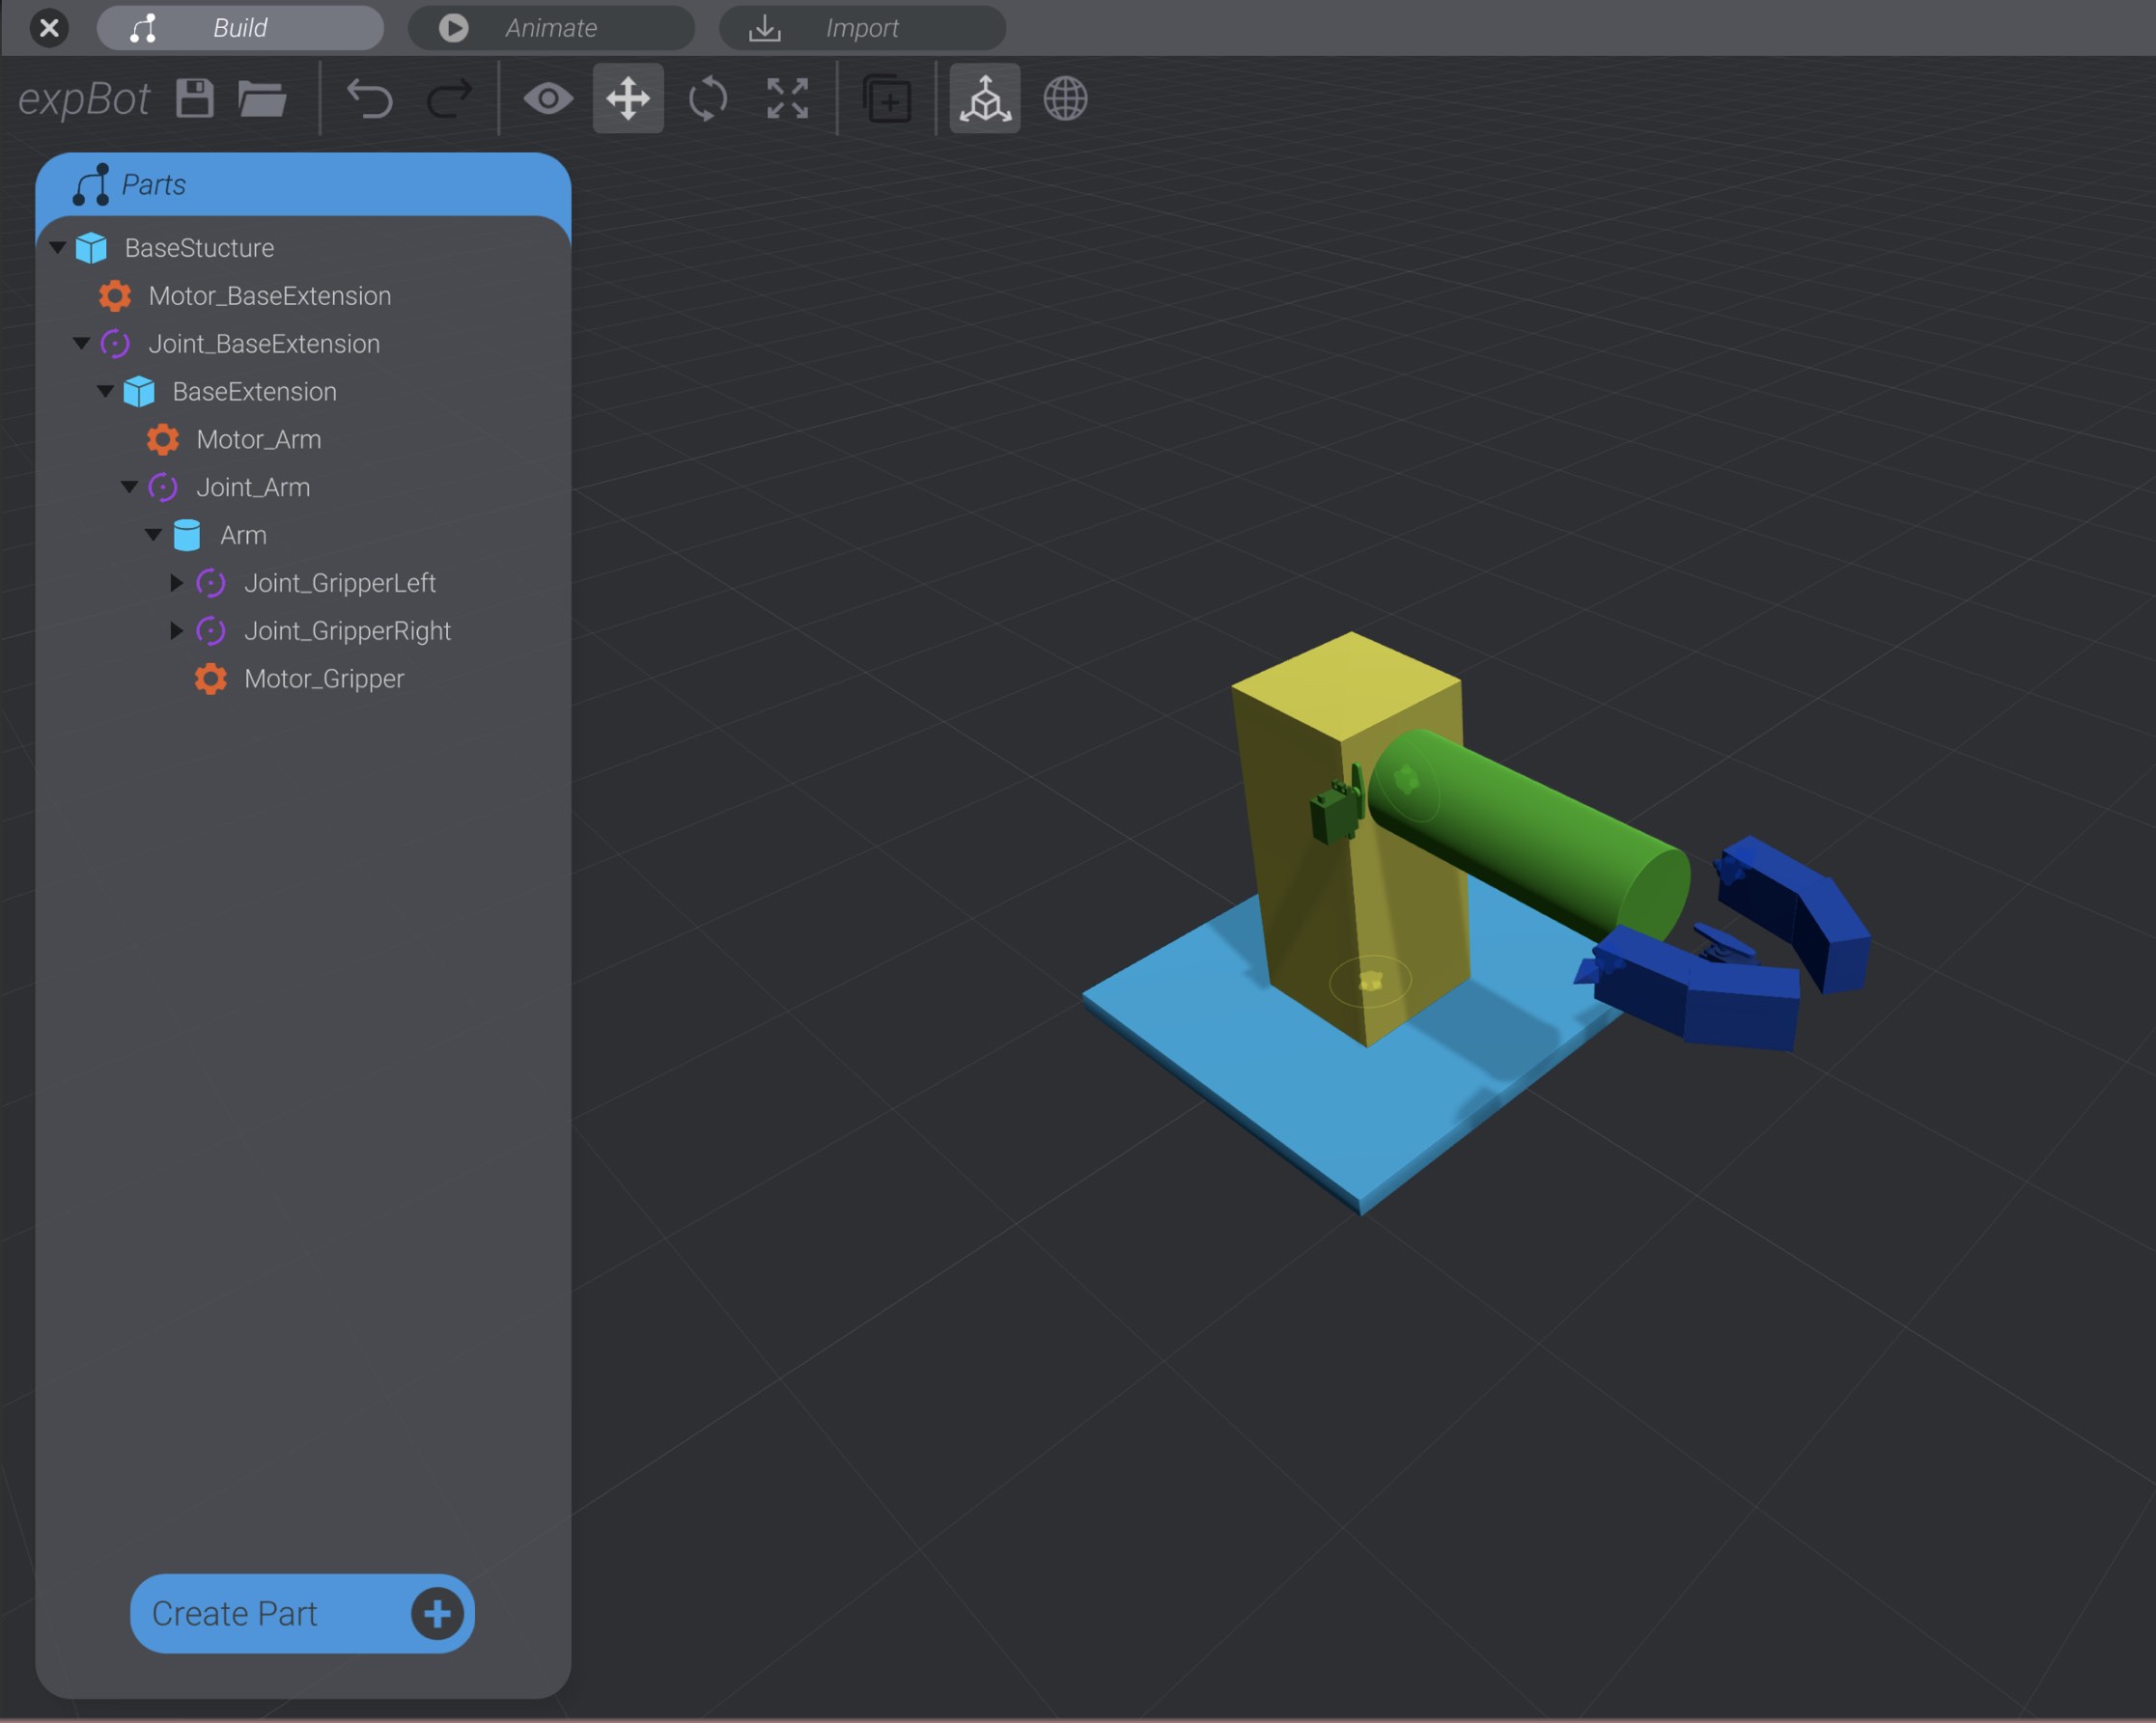
I have also moved, rotated, and parented them in a way that made sense for my robot’s real-life configuration. For example, the grabber motor is a child of the arm structure, just like the grabber structure, so that it all moves together when the arm moves.