Essential Topic for learning Bottango.
Let’s make a servo in the example robot to continue learning.
Select BaseStructure, and click Create Part.
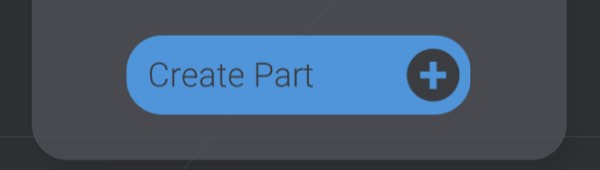
This will cause the create window to show up:

Click Servo to create a new servo.
The location and hierarchy placement of a motor doesn’t make any practical difference in the technical execution of your project. It’s just helpful for reminding you of which real motor is represented by a virtual one. Though you can leave your motors wherever you want in the project, it’s often helpful to make them children of the right parts and to put them roughly where they are in the real-world.
When you select a motor, the first few sections of the Part Setup window should look familiar to what you saw when creating structures.
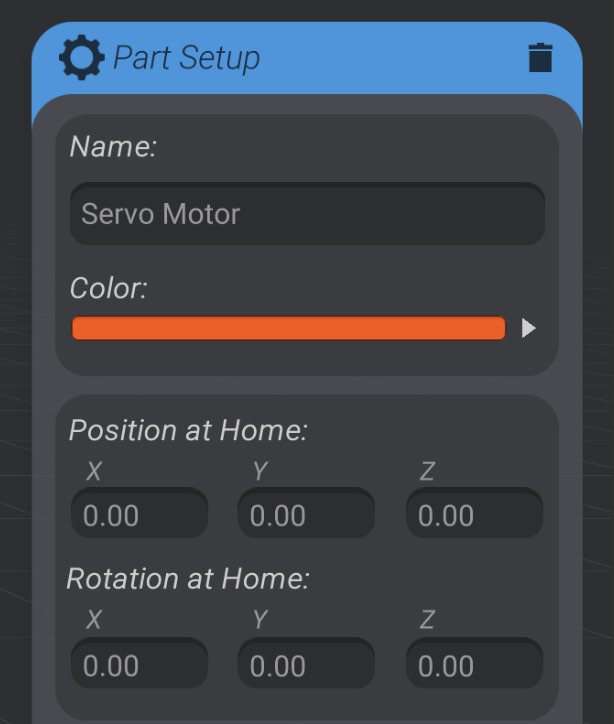
Motors have names, colors, and home position and rotations just like structures. However, motors do not have size.
Here, for example, the first motor we have created is named “Motor_BaseExtension” and is placed approximately where the real motor would be on the robot to rotate the equivalent real-world part.

You can move around the servo, and reparent it just as you would any other part in Bottango.