Beginner Topic used frequently in Bottango workflows.
The gripper in this robot is made out of two mirrored parts that move in opposite directions. Because of that, each side should be a child of its own joint. That way we can configure each joint to move in opposite directions as the motor they both use is driven. We can also use this part of the robot as an example of duplicating an assembly.
Using everything you’ve learned so far, create the first half of the gripper. Here it’s made of two cubes and a parent joint. This half of the gripper assembly (structures and joint) should be a child of the arm cylinder.
Set the axis of the gripper joint assembly to move in the Z-axis.
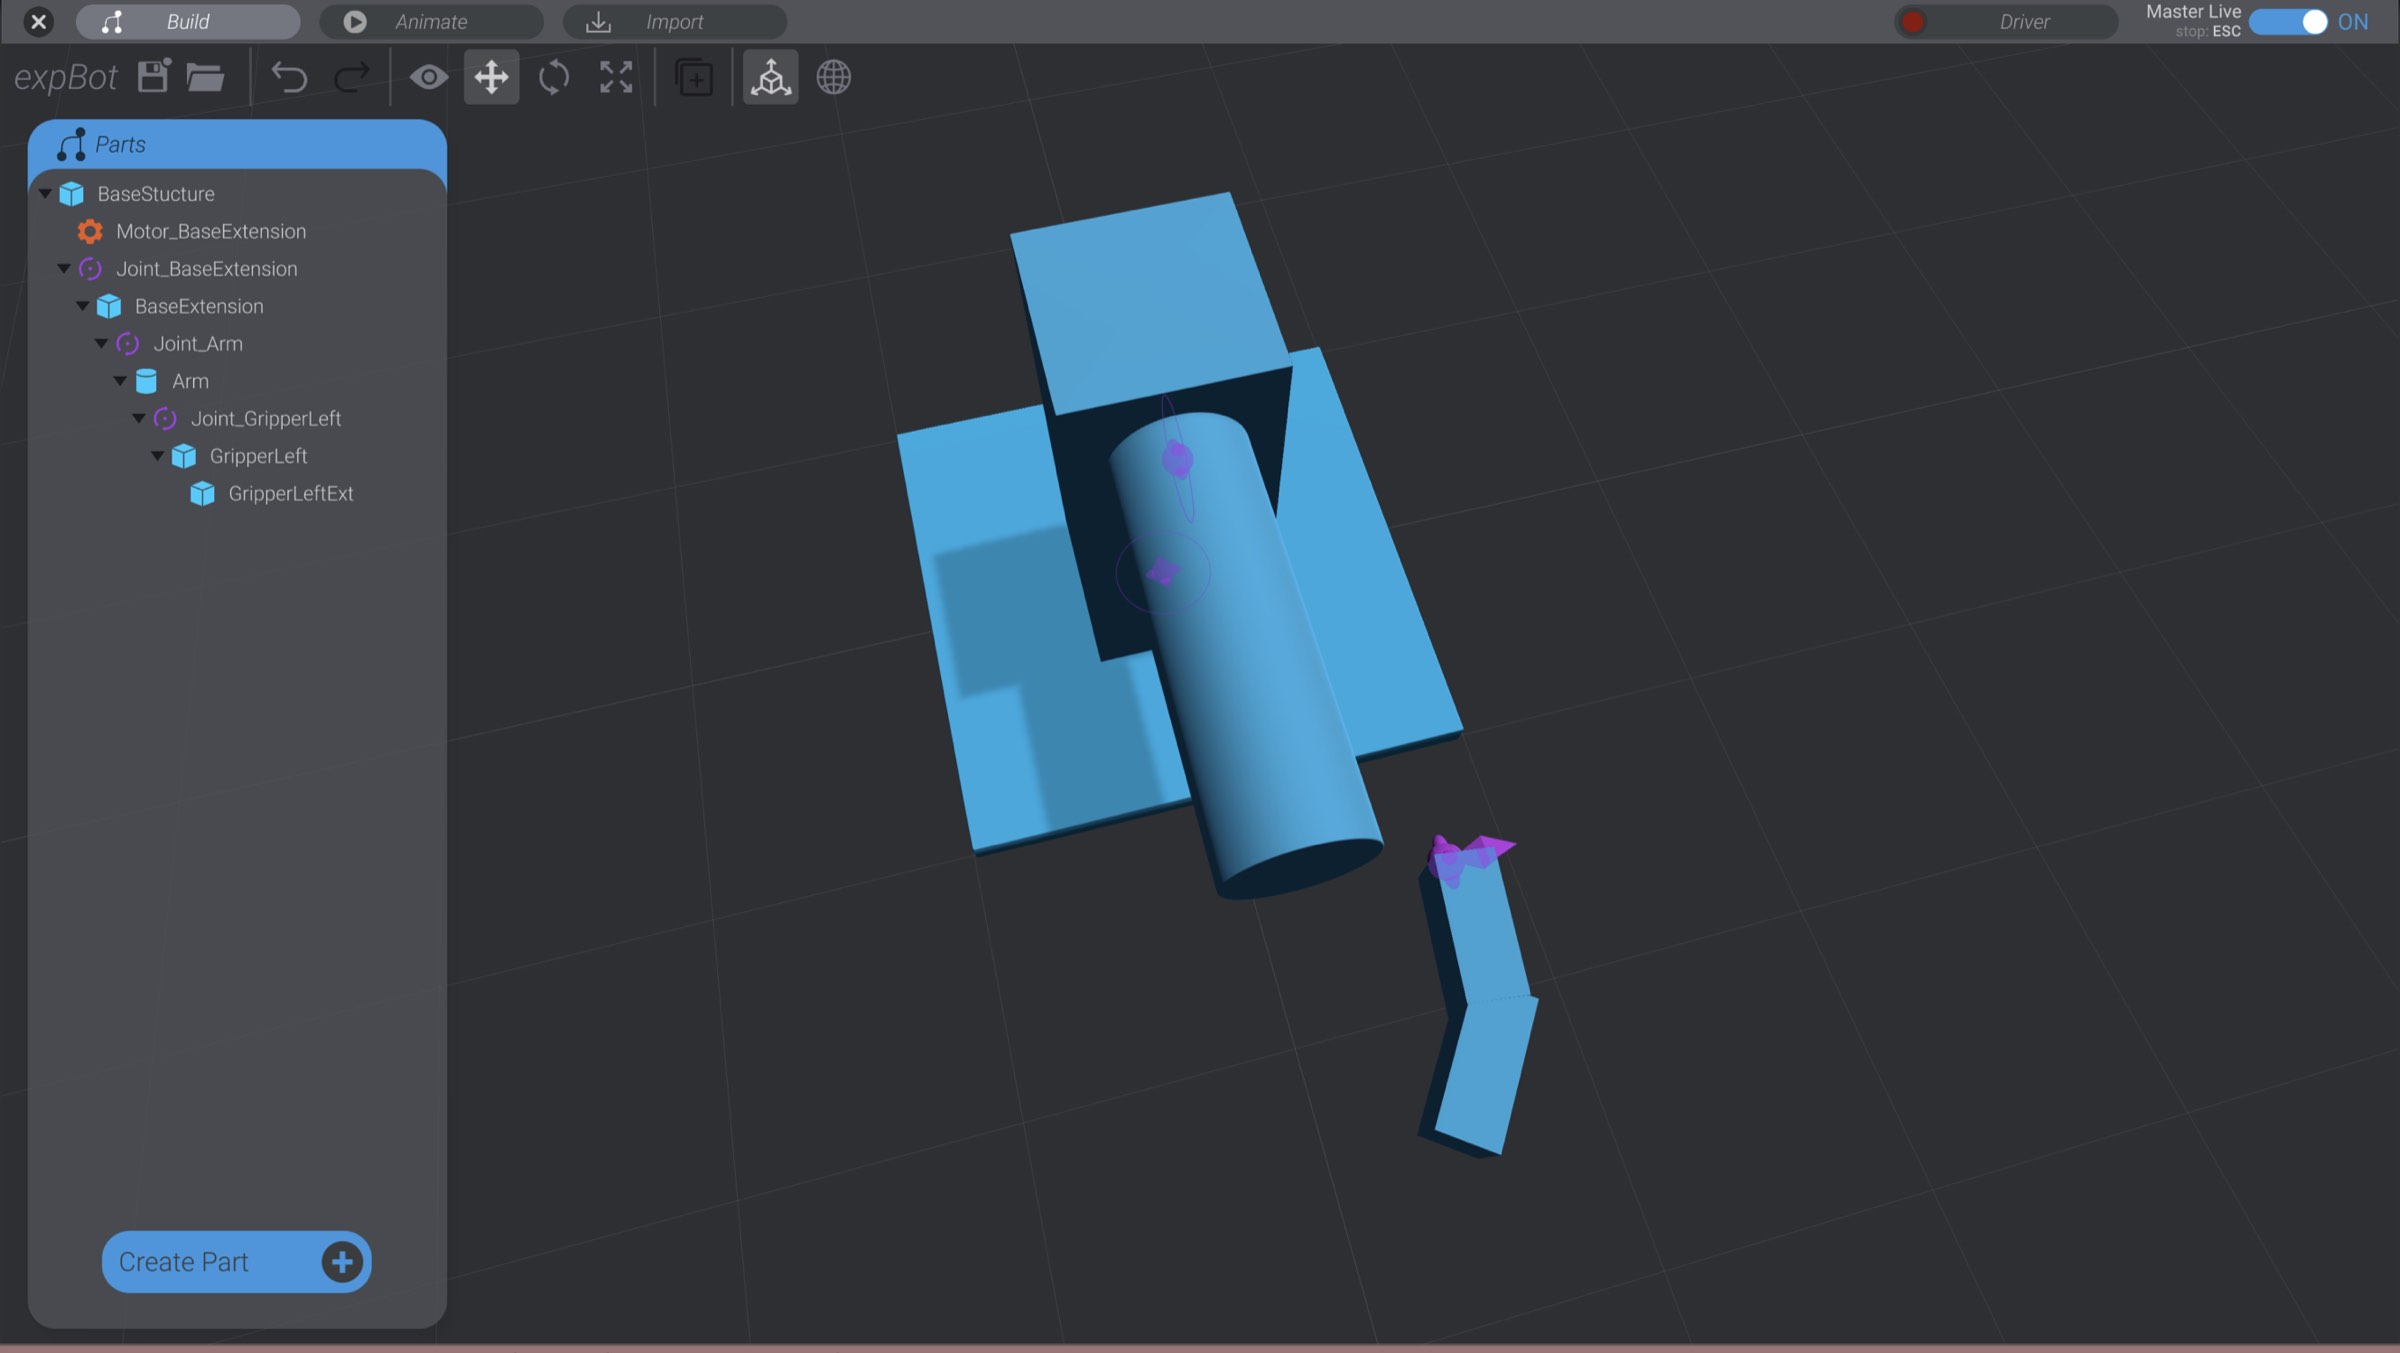
Duplicate the first half of the gripper and associated child parts.
In the tools panel of Bottango, there’s a “Duplicate” button. Click that, or press control/command + D with at least one part selected to duplicate the selected parts. When you duplicate a parent, its children are duplicated as well.

Duplicating one gripper half should keep the newly duplicated structures as children of Arm. This is exactly what we want.
Move, rotate, and rename the duplicated gripper to form the other half of the gripper.
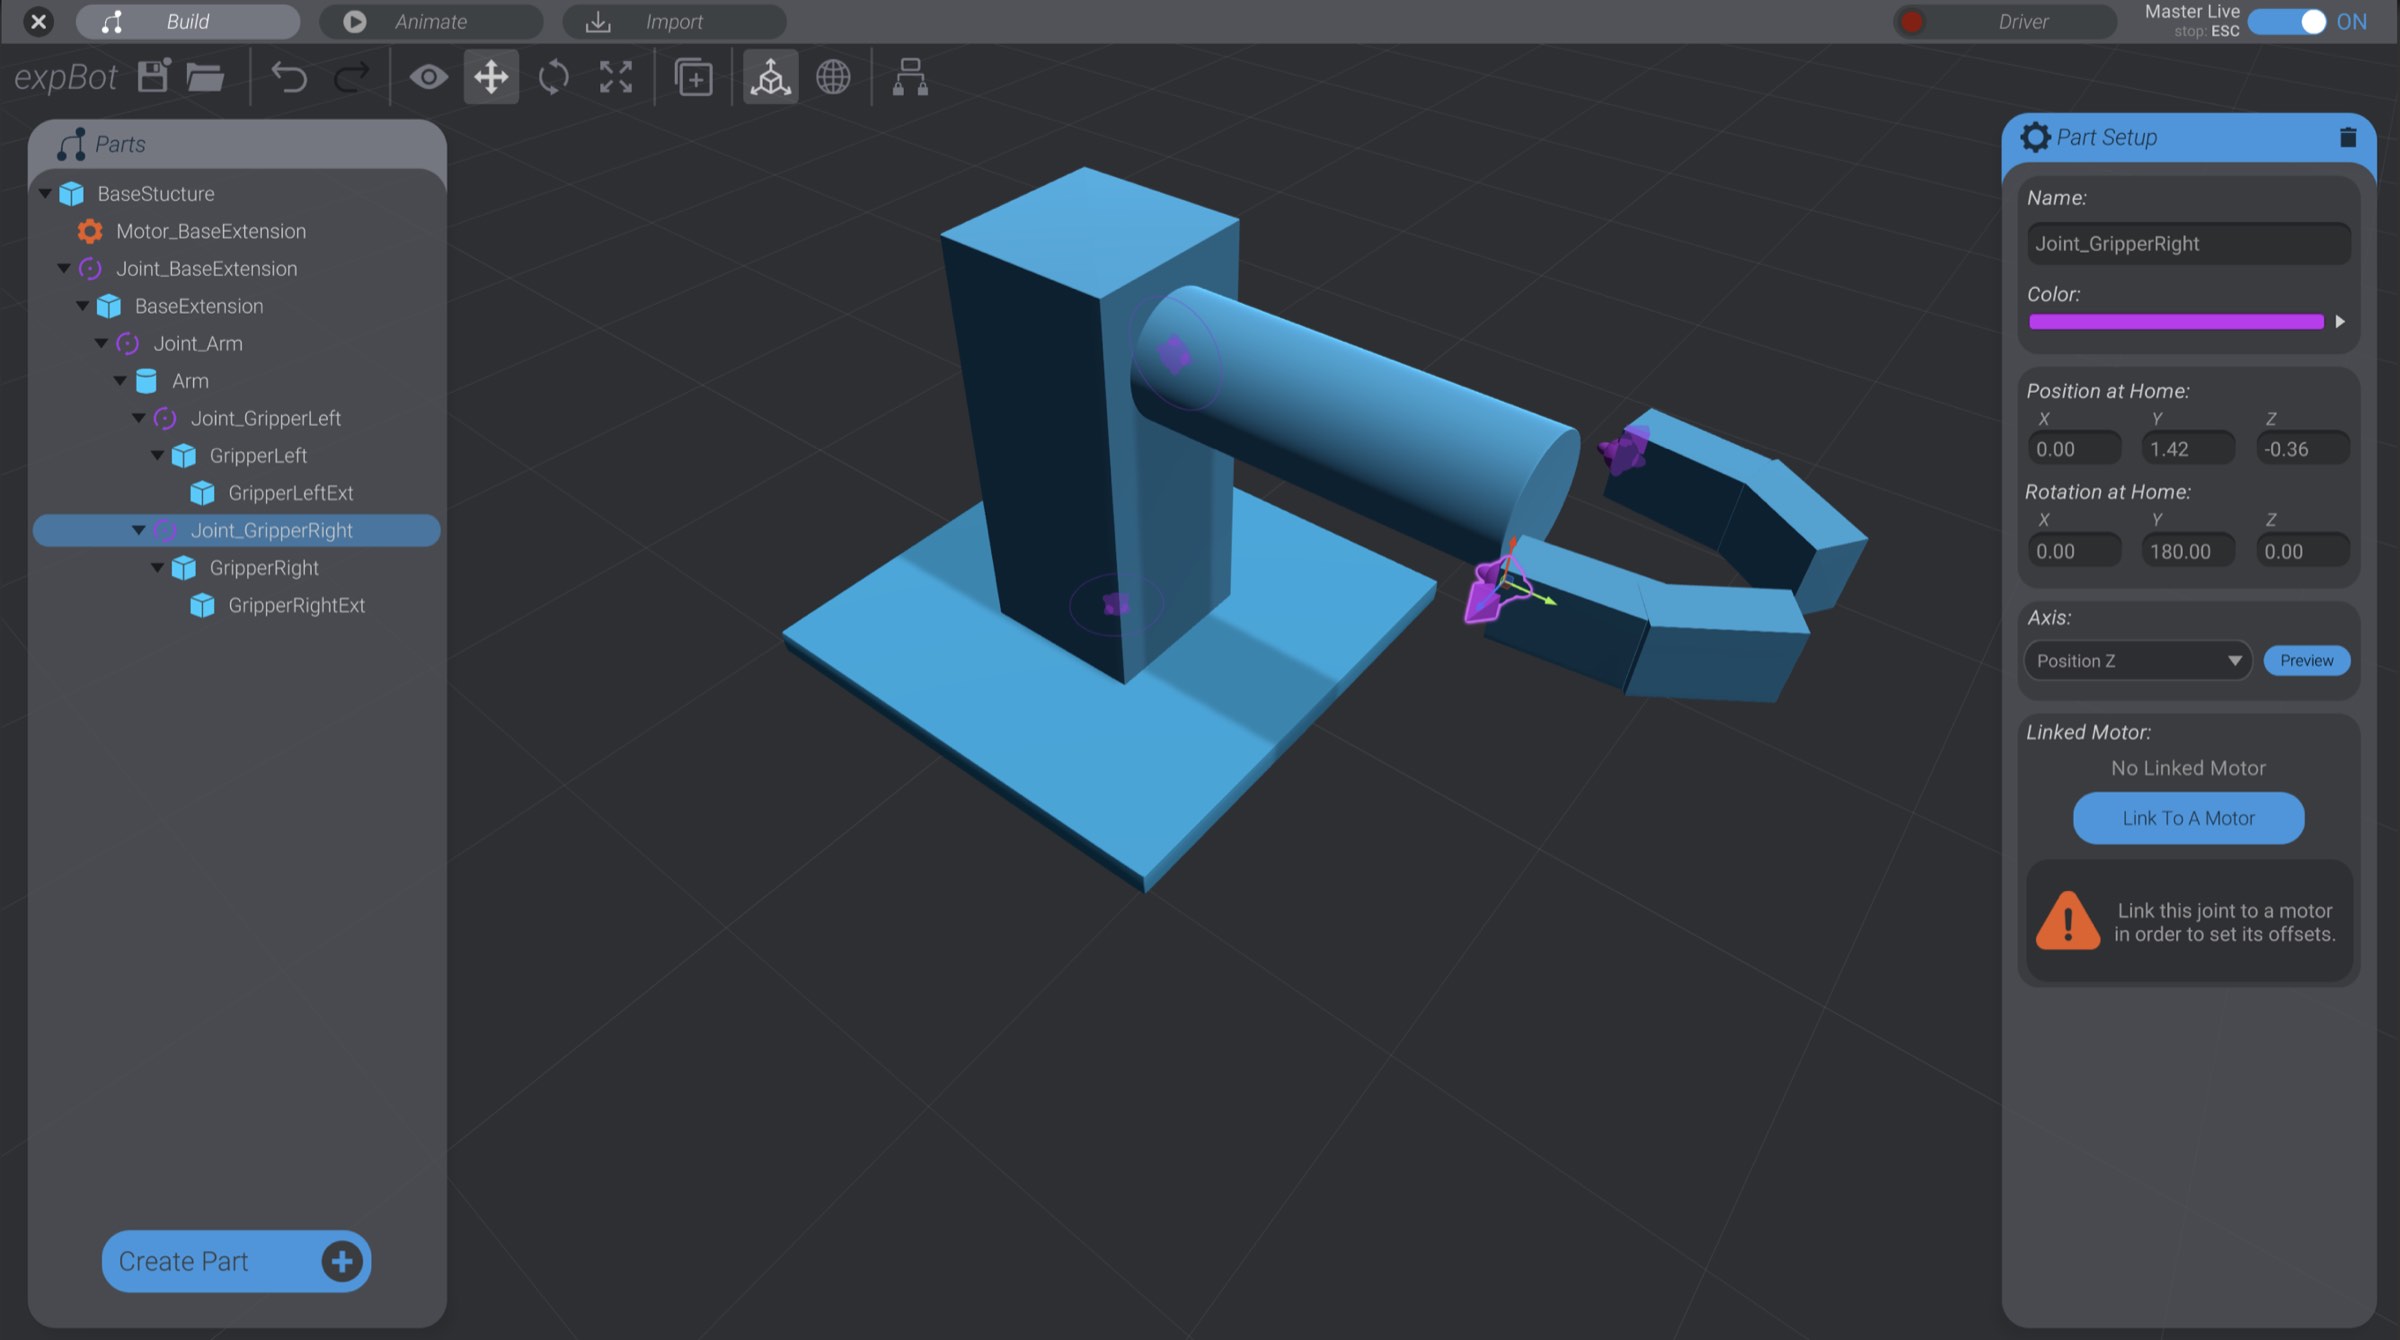
Every part has a color attribute. You can change the color to whatever you like; it’s only used for your organization.
To finish up the creation of joints and structures, here you can see I’ve colorized the structures and joints by point of articulation:

We’ve defined the structures that make up its appearance. We’ve also set the points of articulation for the robot using joints, and the axis of movement each joint can move in. However, we have not yet defined the range of motion each joint is able to move in. We’ll set that up on the next page, Joint Offsets.