Expert Topic for experienced builders.
You are not restricted to using the basic 3D modeling tools Bottango provides to build the structure of your robot. If you modeled your robot in a 3D modeling or CAM program, this section will show you how you can create the structures of your robot using imported models instead.
Bottango currently supports models in the .OBJ and .FBX formats. Bottango can import both the models and textures/materials of a model.
Imported models follow the same file path rules as audio tracks. See Importing Audio and Video for how absolute and relative paths are decided.
Immediately after importing a model, you are taken to edit its import settings. The Edit Imported Model screen looks a lot like the basic building screen, but has a few key changes:
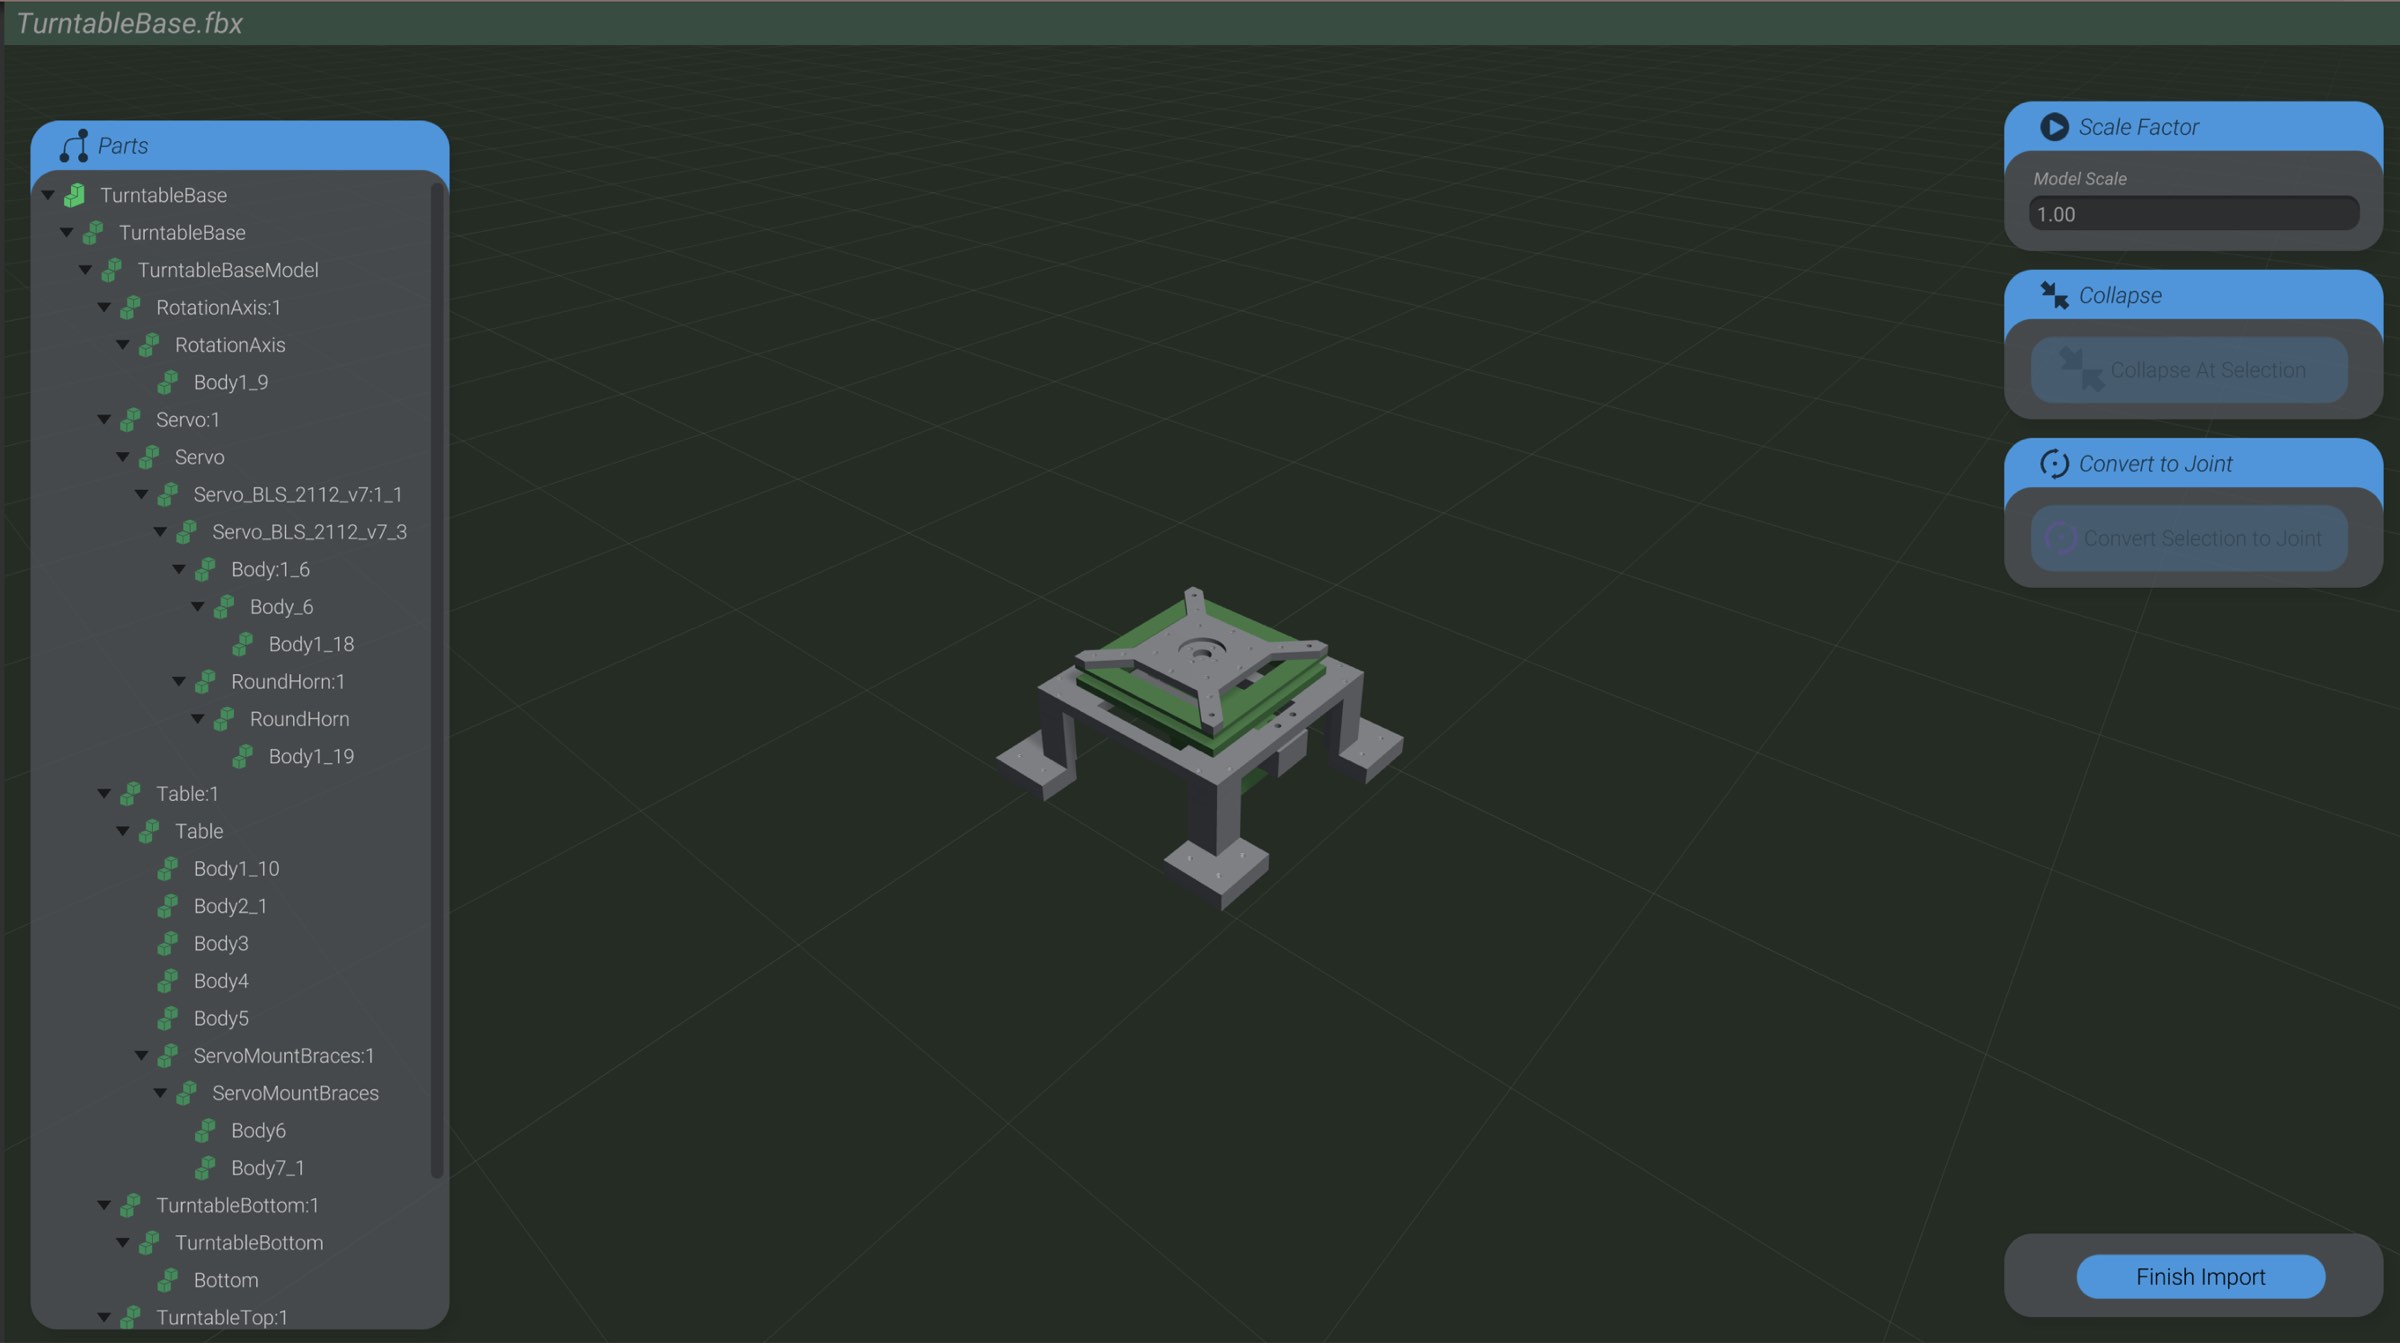
In the most basic workflow for using 3D models, you would use a 3D model in a 1:1 replacement of a structure primitive (cube, sphere, etc.). You can see in the above example that I have imported a turntable base.
The imported 3D model is made of many individual parts, but if I just want it to act like a simple piece of structure, I really just want all of those imported pieces to act as one.
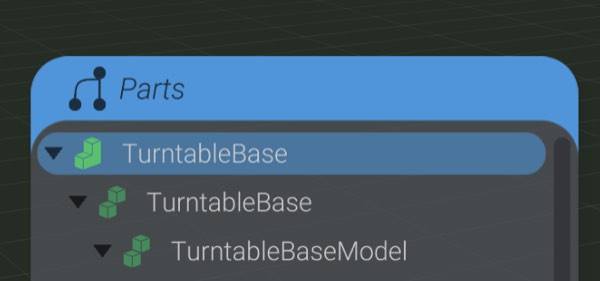
Select the root, top-level piece of the imported model in the part’s list.
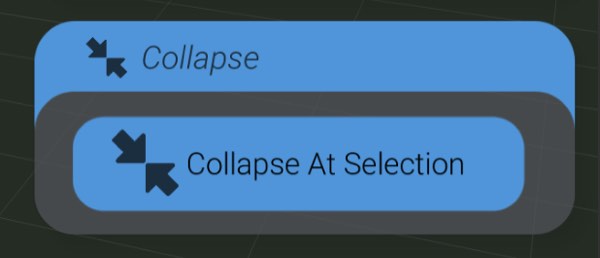
Click to collapse the model into one single part. All child pieces of the model will be imported and used, but treated as just part of the single, collapsed part.
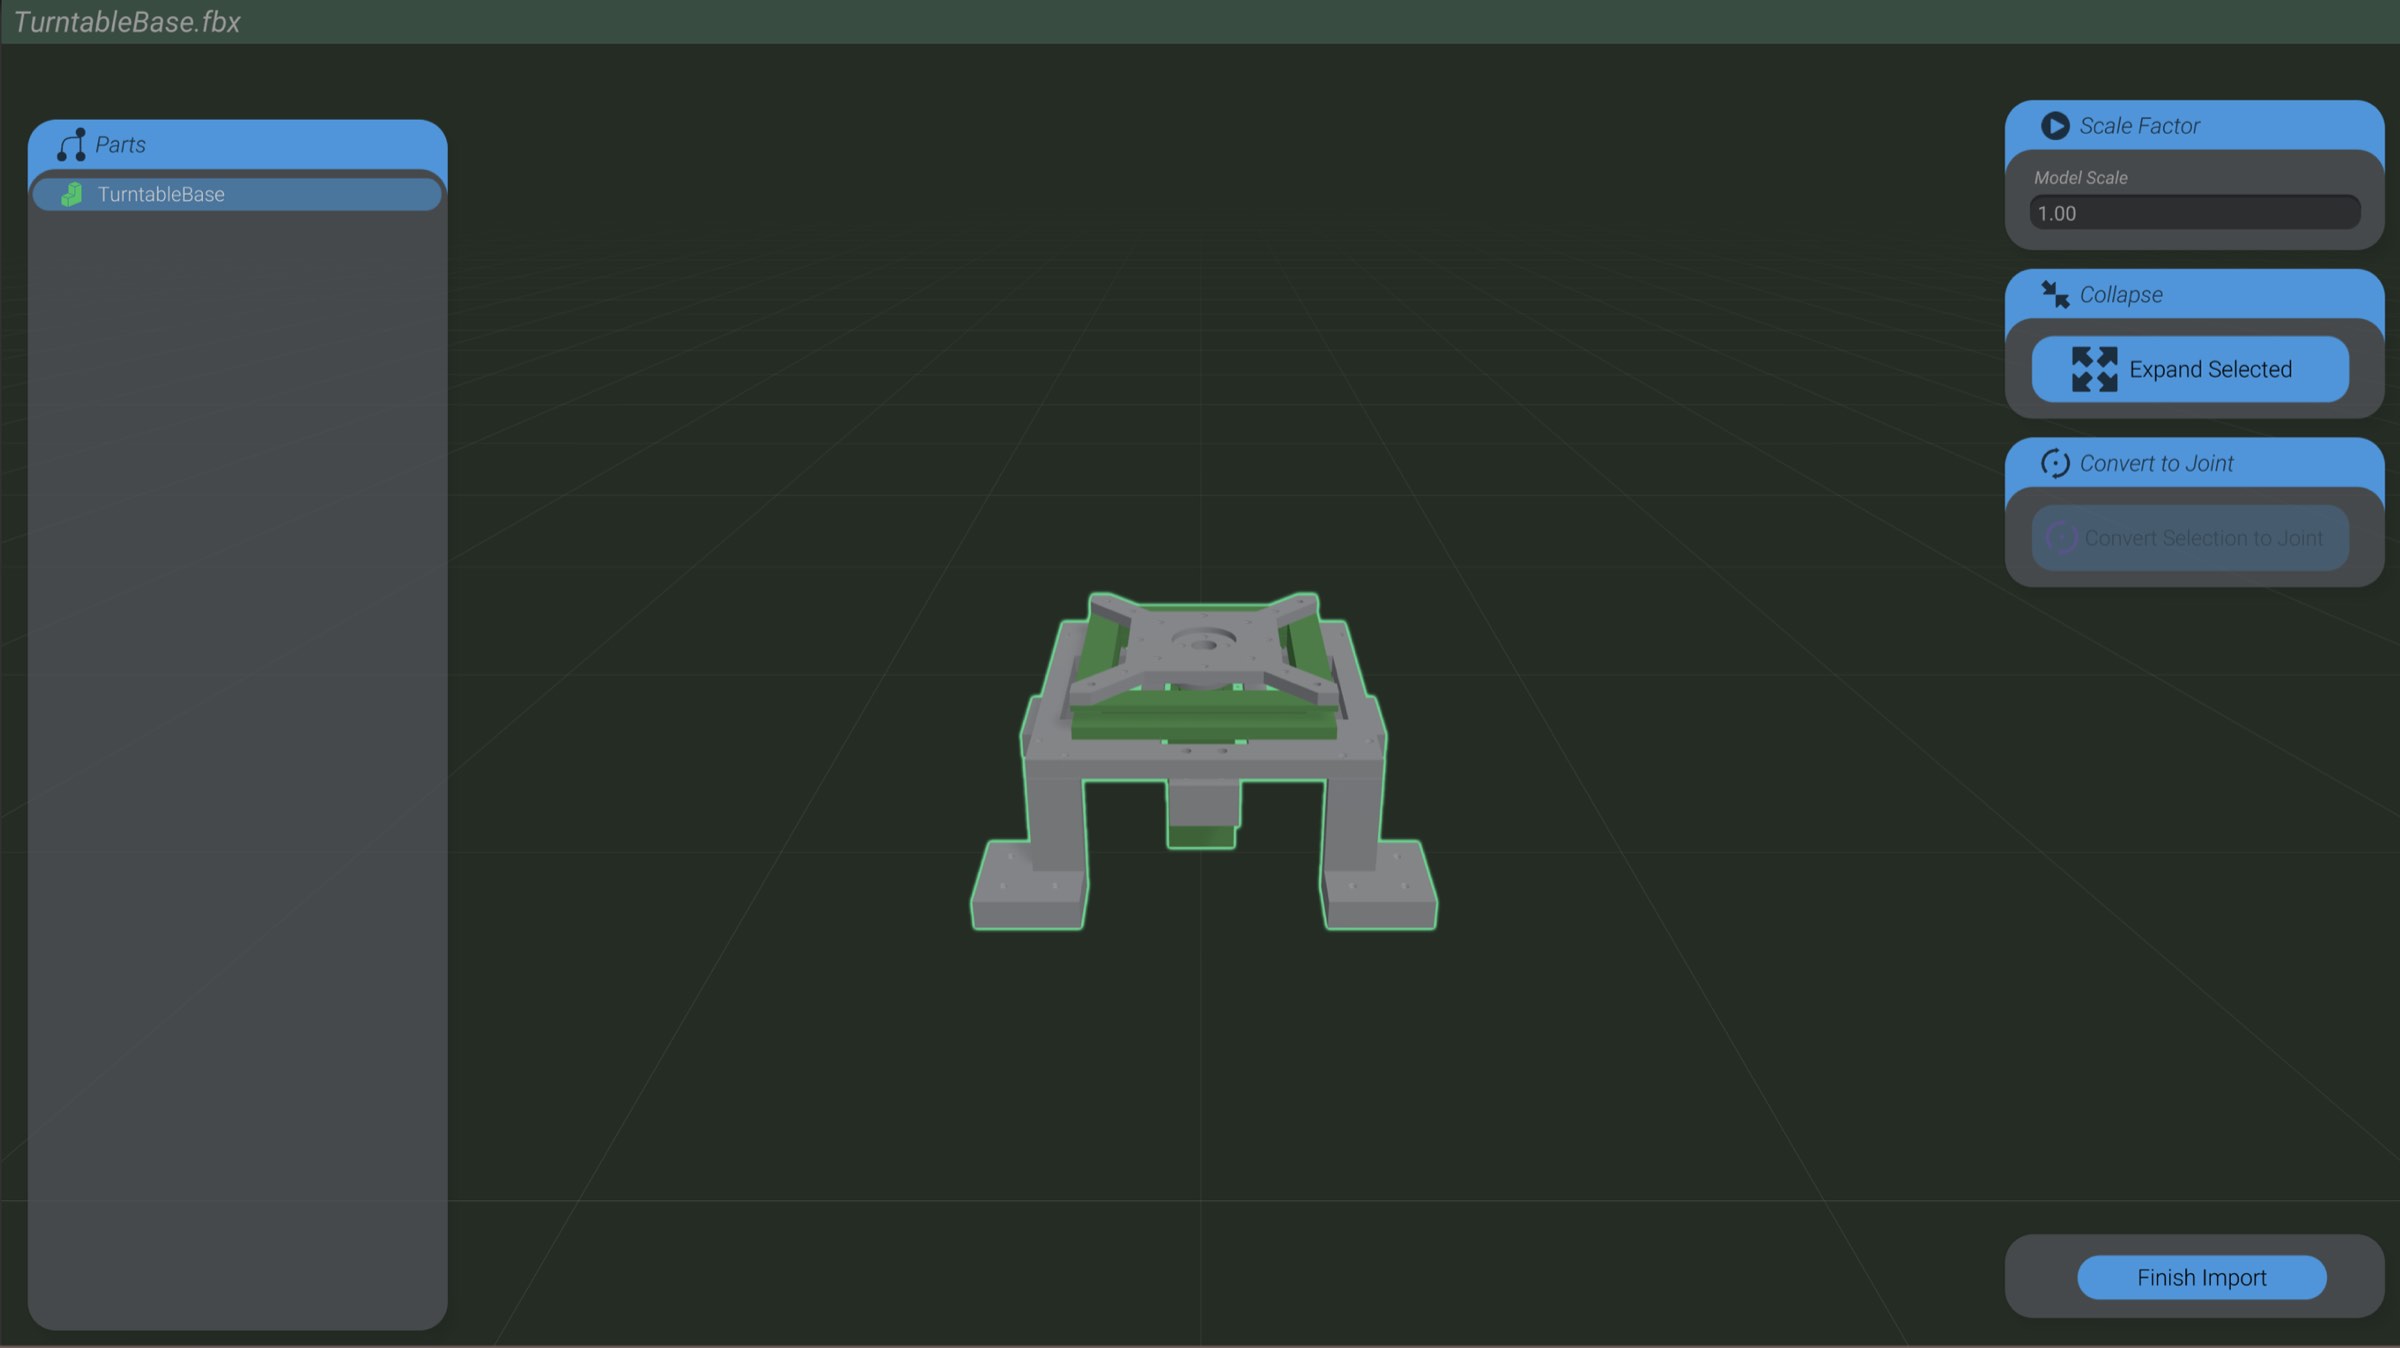
As you can see, all the subpieces of the model are now collapsed into a single part.
Click Finish Import to finish configuring the imported model.

Return to the Build view.
Click Create Part.
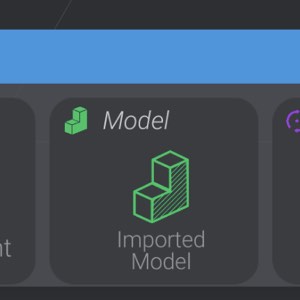
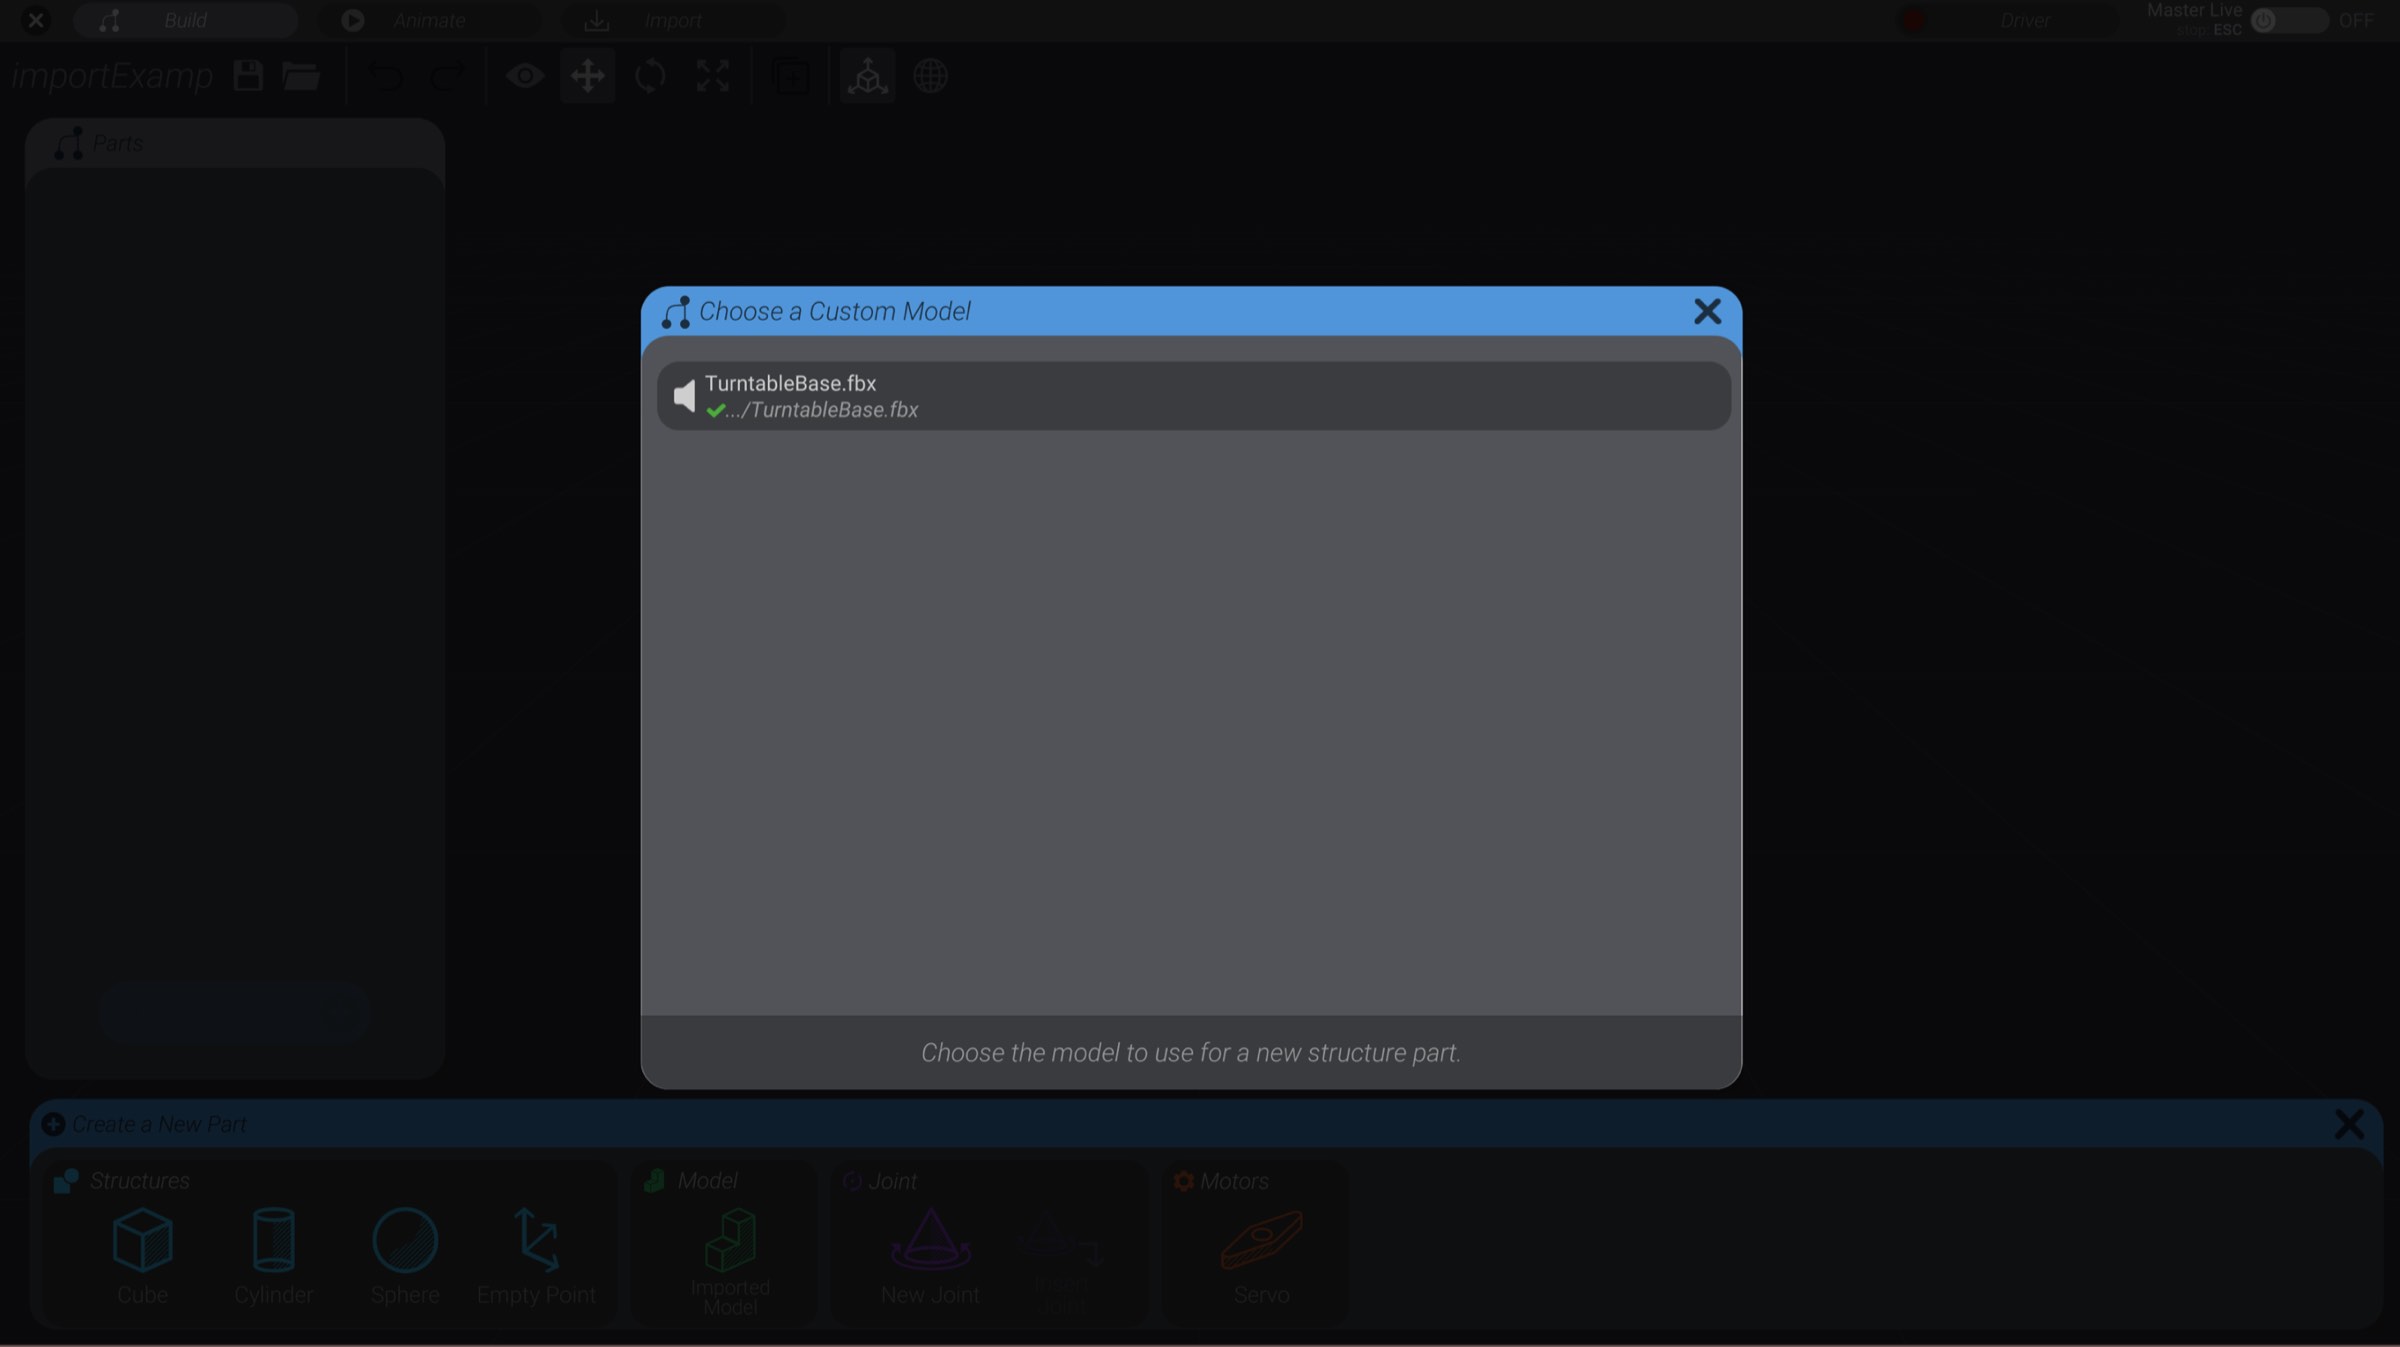
Select Imported Model.
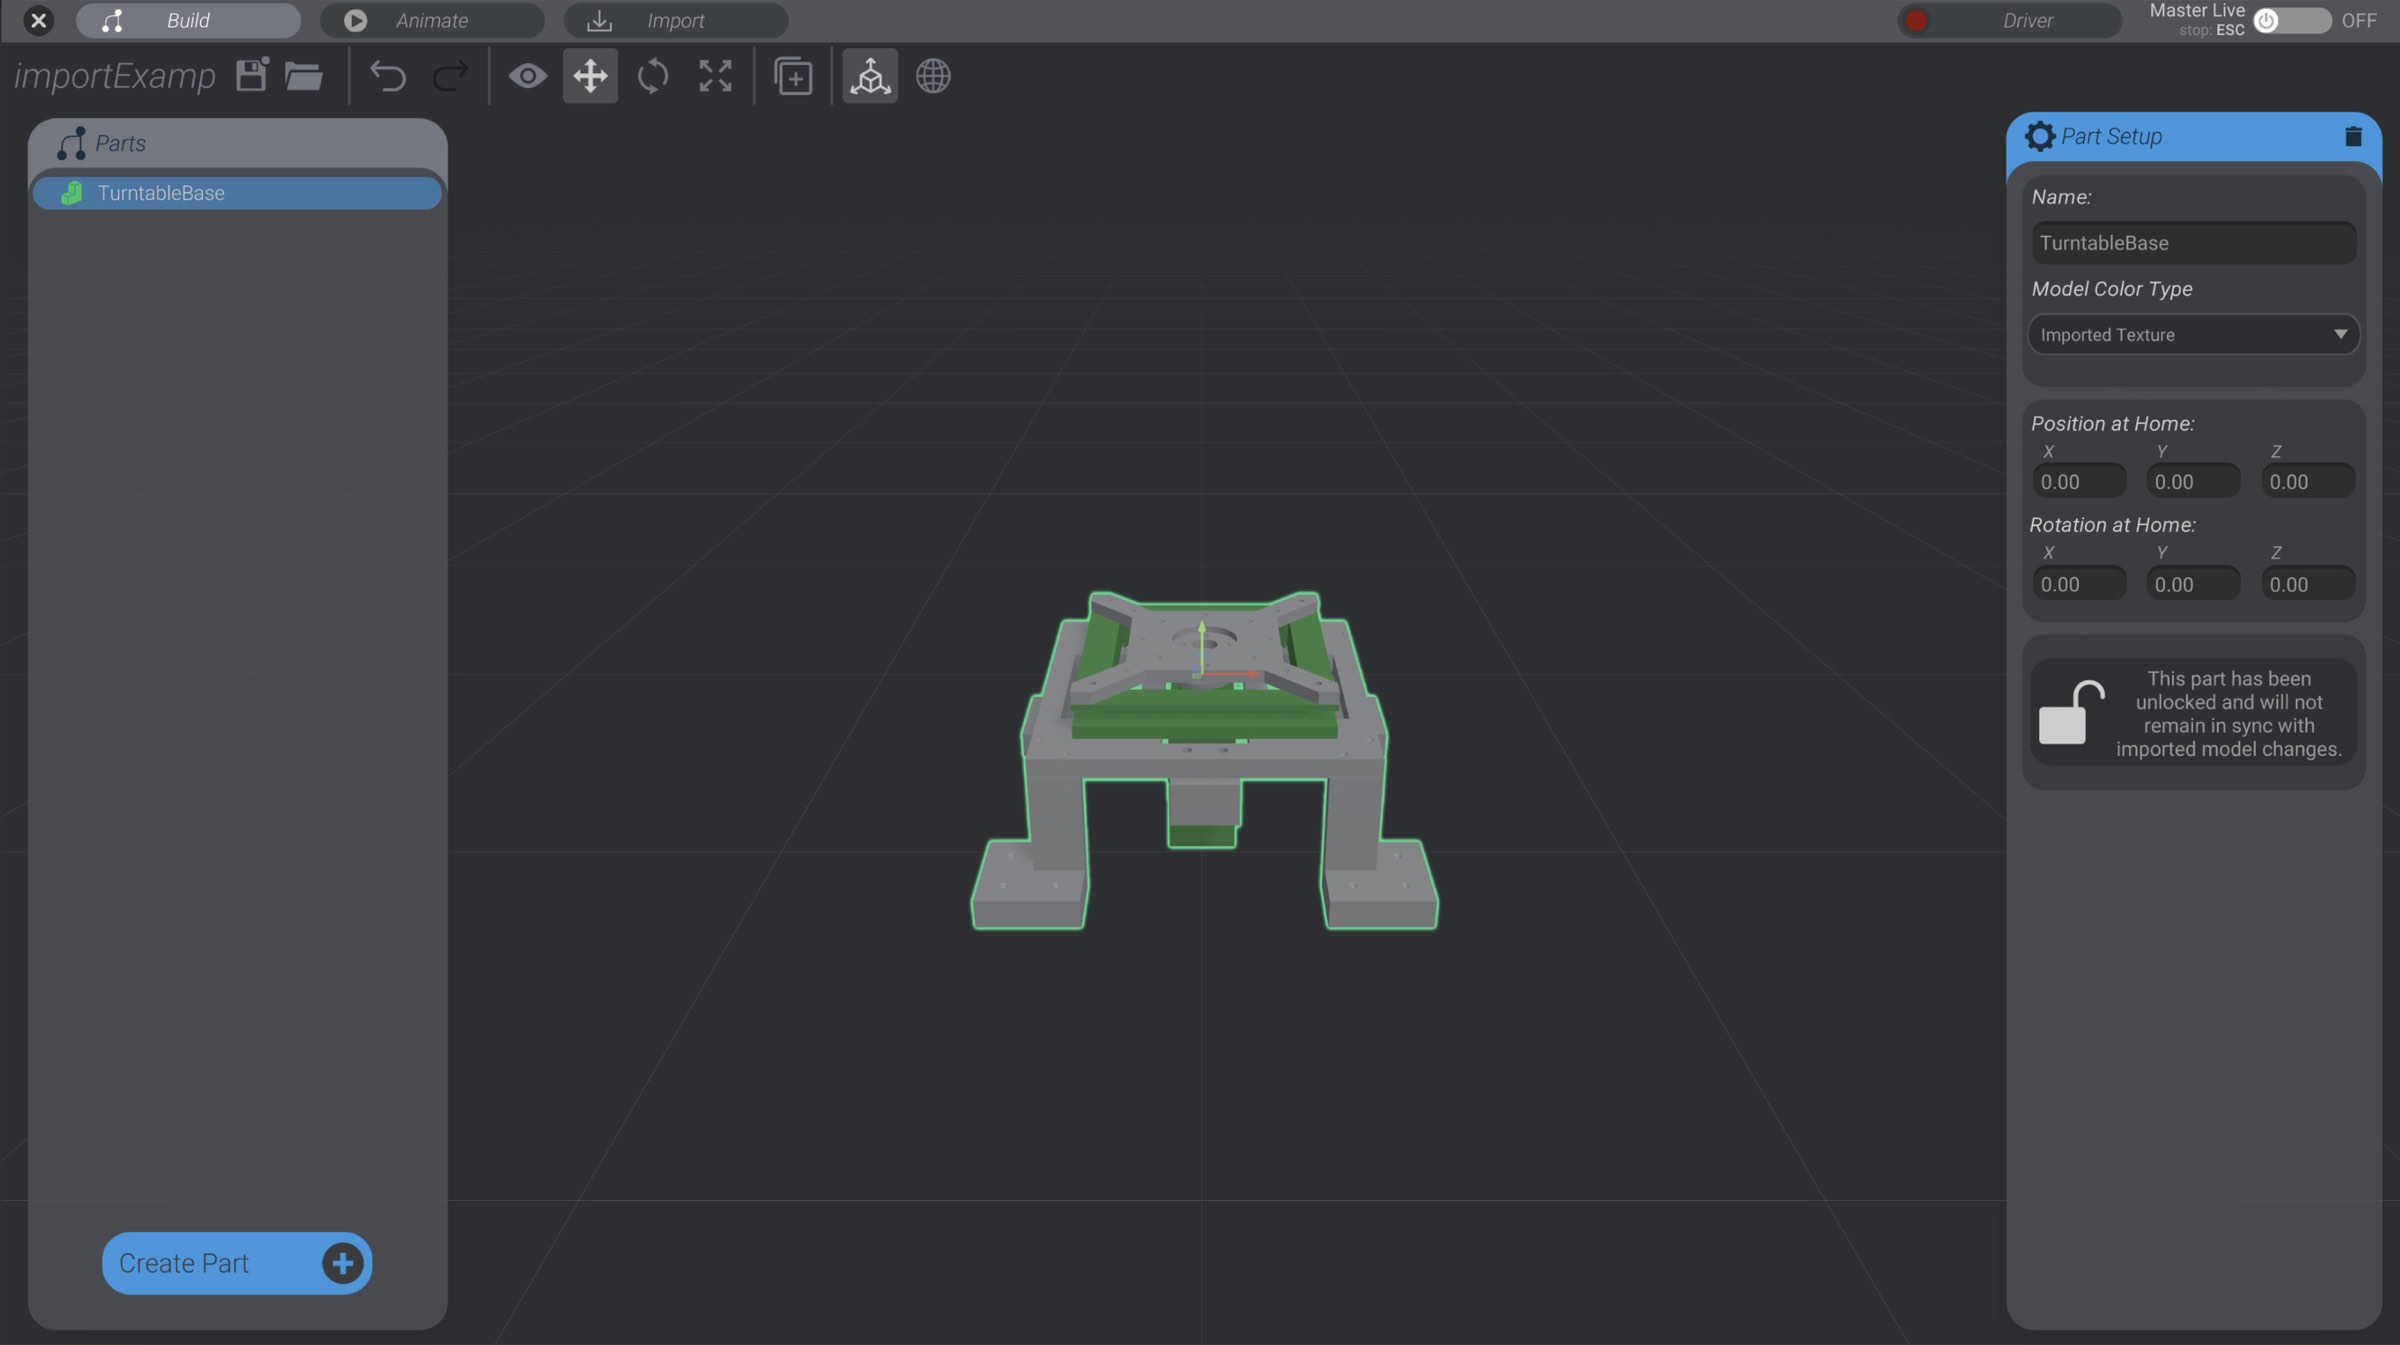
You will be shown a list of all imported models in the project. Select the model you just imported.
You will now have an instance of the model in your project:
With a few exceptions that we’ll get into later in Customizing Imported Models and Synchronization, imported models behave exactly like structures.