Essential Topic for learning Bottango.
Go ahead and click on “Drivers” in the “Hardware” view to more fully configure the state of your hardware driver.
The drivers view should look something like this, although the state of your hardware driver and the ports available will be different for every computer.
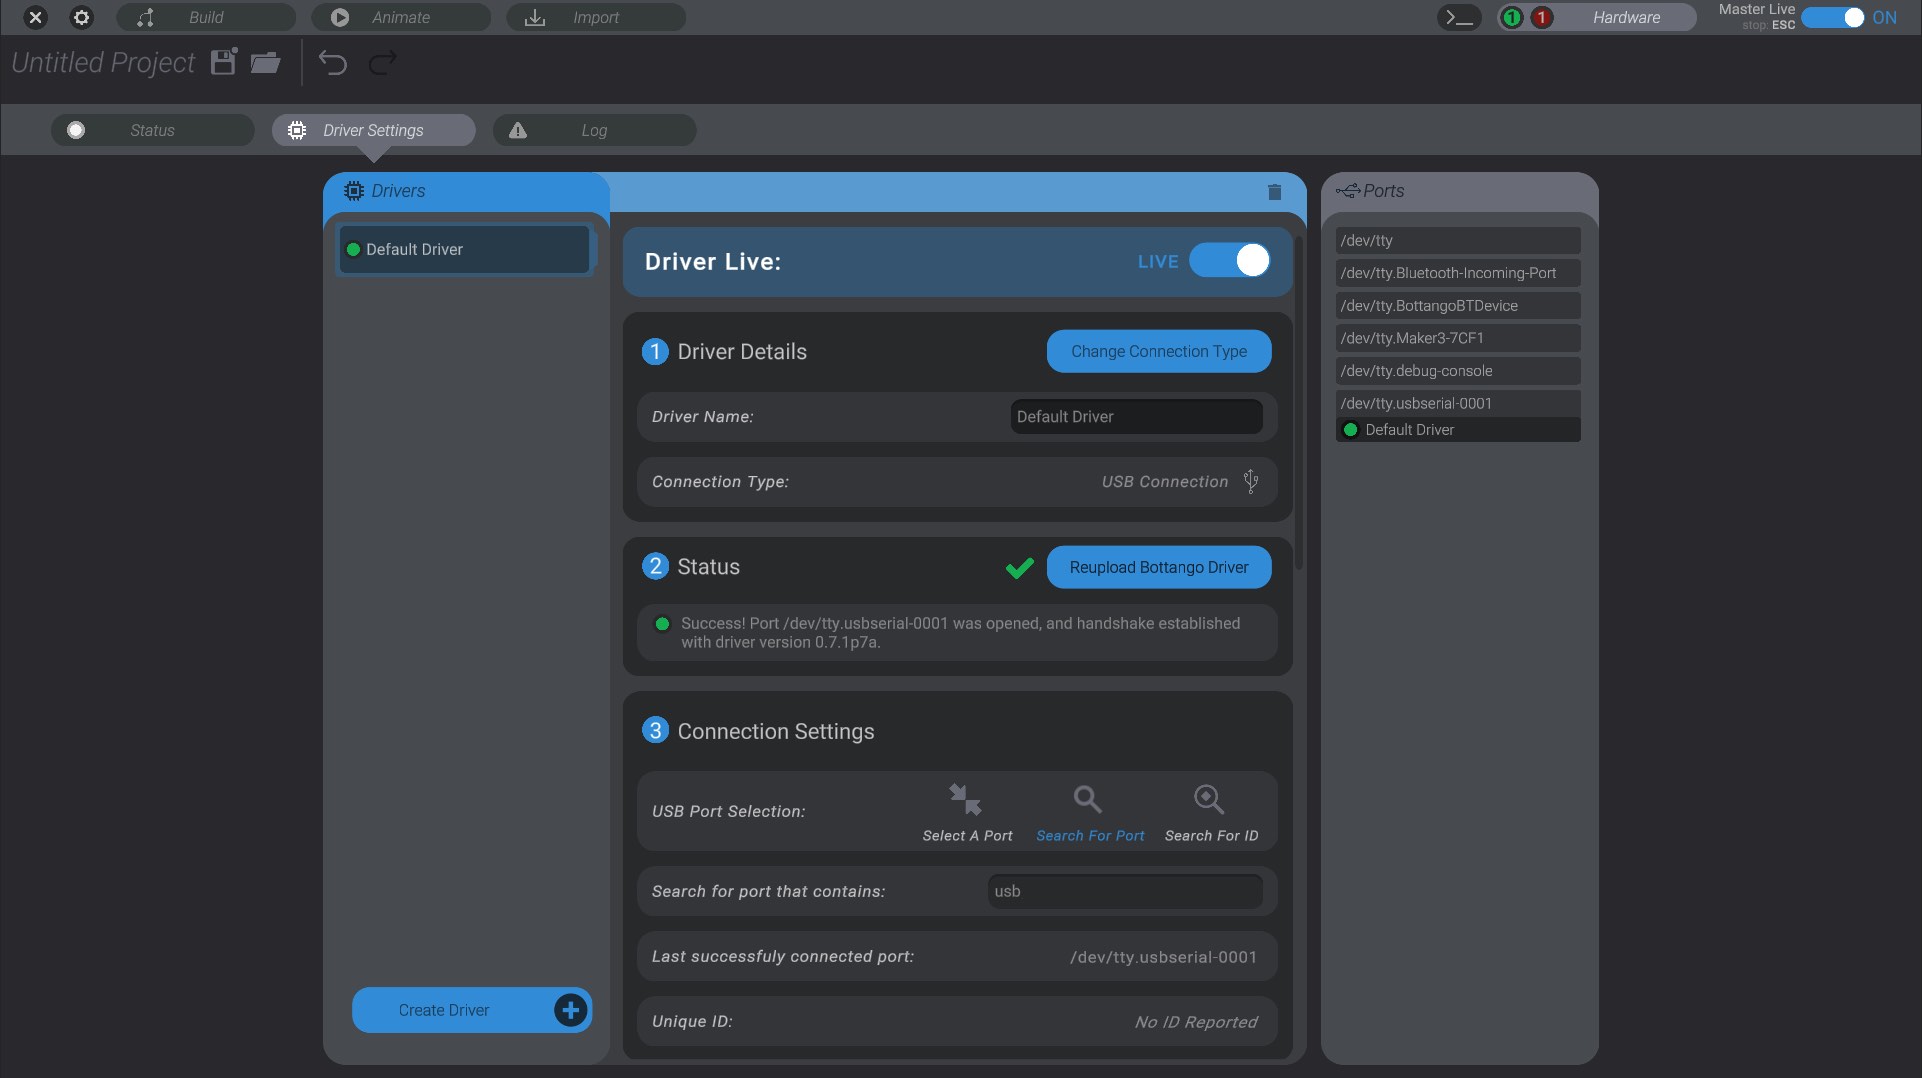
The Drivers view is divided into three sections. On the left is the list of hardware drivers in your project, where you can select and configure them. In the middle are details on the selected hardware driver. On the right are all the ports available to you to try to connect to.
A Bottango project can have as many hardware drivers as you want. You could, if you were so inclined, have a separate driver for every motor in your robot (though you would need a microcontroller per motor). Or you can run everything through a single driver. This is really going to come down to how your robot works. But there must always be at least one hardware driver in a Bottango project. When a new project is made, a default driver is created as well.
Every effector/motor in Bottango has an associated hardware driver. When Bottango wants to send a command to a motor, it sends it only to the driver associated with that motor. When a new motor is created, it will by default associate itself with the first driver in the list of drivers in your project. Usually, that is the default driver. You can, however, change the driver associated with a motor in Motor Basic Configurations.
Let’s go step by step in configuring a hardware driver. We’ll look at the middle section of the screen, where you see the details of the selected driver, and look at each section.

First of all, you can set a hardware driver live. If a hardware driver is not live, Bottango won’t be able to send a command to a motor associated with that hardware driver. If a hardware driver is live, and then turns back to not live, not only will the hardware driver stop sending commands, but Bottango will also try to send a stop signal to that hardware driver in an attempt to stop all in-progress movement. Note that it will only try to send the signal; there’s no way to guarantee that the hardware driver receives it.
Next you can give a hardware driver a name and set its type. The name has no effect other than helping you remember which driver is which, especially when associating a motor with a hardware driver.
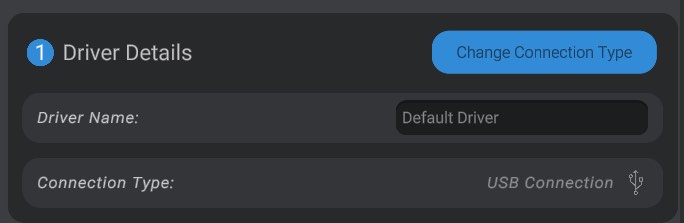
There are multiple kinds of drivers available in Bottango, but those are more advanced options. You can change the driver type by clicking the “Change Connection Type” button, but for the purposes of this section we’ll only be looking at USB serial drivers, the default option. The default USB Serial driver type connects to Arduino compatible microcontrollers over USB. Other kinds of drivers include network socket drivers, DYNAMIXEL drivers, and low-latency relay wireless drivers.
In order to open a connection to a hardware driver, the hardware driver needs to know what port to try to communicate with. There are two ways that a hardware driver can find the port to use:
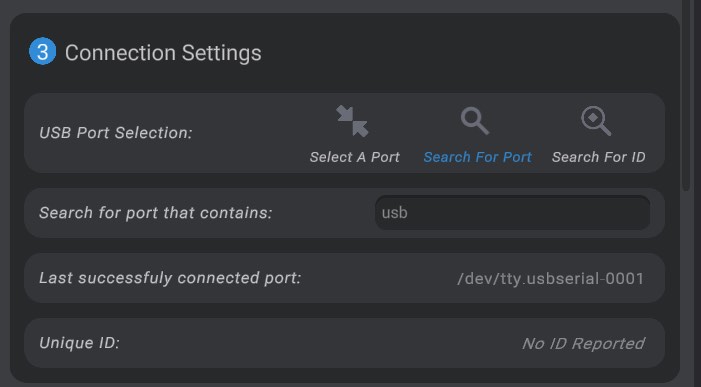
On a macOS or Linux computer, your microcontroller will likely show up with a specific port name. Because of this, Bottango’s default hardware driver on a project created on macOS or Linux searches for a port with the given name, such as usbmodem on macOS, and connects to that port as soon as it sees one available. You can see this in the settings of the hardware driver in the port association section.
Some types of microcontrollers may have different port names. You’ll have to determine what your port name is for your brand.
On a Windows computer, an Arduino will show up on a COM port, but it may be hard to know without more information which COM port to use. An easy hint is to unplug and then replug in the microcontroller, and take note of which port disappears and reappears.
On Windows, Bottango defaults instead to let you select a port from a list of all available ports, instead of searching by name like on macOS or Linux.
However, both port association options are available on both platforms; the only difference is the default. You can switch between the two options by changing the Port Association Method dropdown between “Search and Auto Connect” and “Manually Connect.”
The last successfully opened port shows the last port, if any, this driver connected to.
When a driver is set to connect to a port via Search and Auto Connect, Bottango will continually scan for available ports that match the search query, and attempt to connect to a match if it is found. If for some reason that connection is broken or lost, it will begin the search process again, and automatically reconnect if the port reappears.
As you add more drivers, though, you will need to make your queries more specific. Two Arduinos will both show up in ports with “usbmodem” in their name, so you’ll need to make the query more specific to the port you expect to connect to for that driver. And if you’re frequently changing the USB port your drivers are plugged into, search and auto connect is probably not the right setting for you.
You can always see on the right side of the screen what ports are available on your computer in that moment. And if any driver is connected to a port, its name will be underneath the port name.
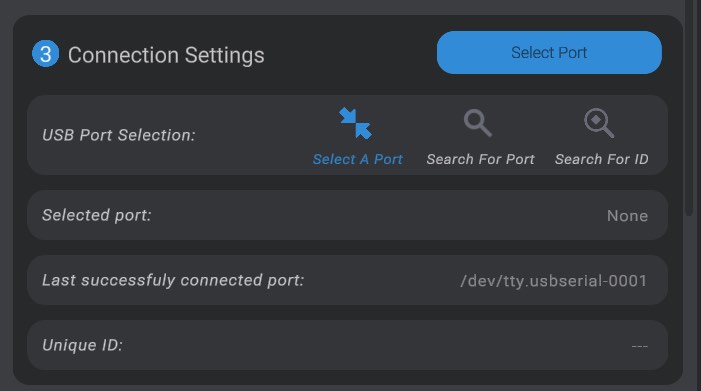
To manually connect to a port, first make sure the port you want to connect to is listed in the ports panel on the right side of the screen. Again, if you are connecting to an Arduino, it will likely have the word usbmodem somewhere in the name if you are on macOS, and COM if you are on Windows (you can also use the Device Manager in Windows to figure out which port you want).
Click the Select Port button, and then click on the port you want to try to connect to. Bottango will then attempt to connect to the port in question, and give you the status along the way in the Driver Status section.
When you have successfully connected to a port, the name of the last successful port connection for this specific driver is saved. This can be helpful to remember which port you want to use in future sessions.
The next section is the status box, which tells you in more detail, as best Bottango can, the connection status of this driver.
In the driver menu, you can see a more detailed explanation of the status of the selected driver.
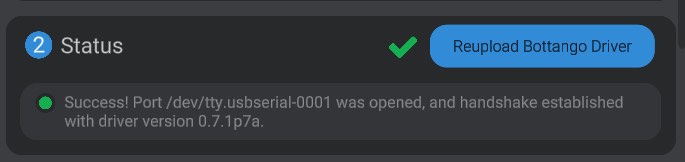
As well, in the driver status section at the bottom you’ll see a detailed explanation of the current state of the hardware driver.
A new expert-level feature is searching for a specific unique ID rather than a specific port association. This has specific hardware requirements.