Hello World in Bottango
Since everyone learns in their own way, Bottango provides different strategies for learning. In this “crash course” section, we’ll quickly run through steps to go from zero to a simple robot arm that can wave - a quick Bottango “Hello World.” If you like to learn by doing, and get just enough steps and information to be able to start experimenting yourself, this section will be a good introduction to the most foundational workflows in Bottango.
This crash course moves quickly and throws a lot your way! Don’t worry if you don’t get every step right, or have a hard time keeping it all straight in your head. After going through the crash course, you shouldn’t feel like a Bottango expert. Your goal is to get just enough foundational concepts to feel enabled to successfully experiment with and continue to learn the software.
The Example Crash Course Robot
Section titled “The Example Crash Course Robot”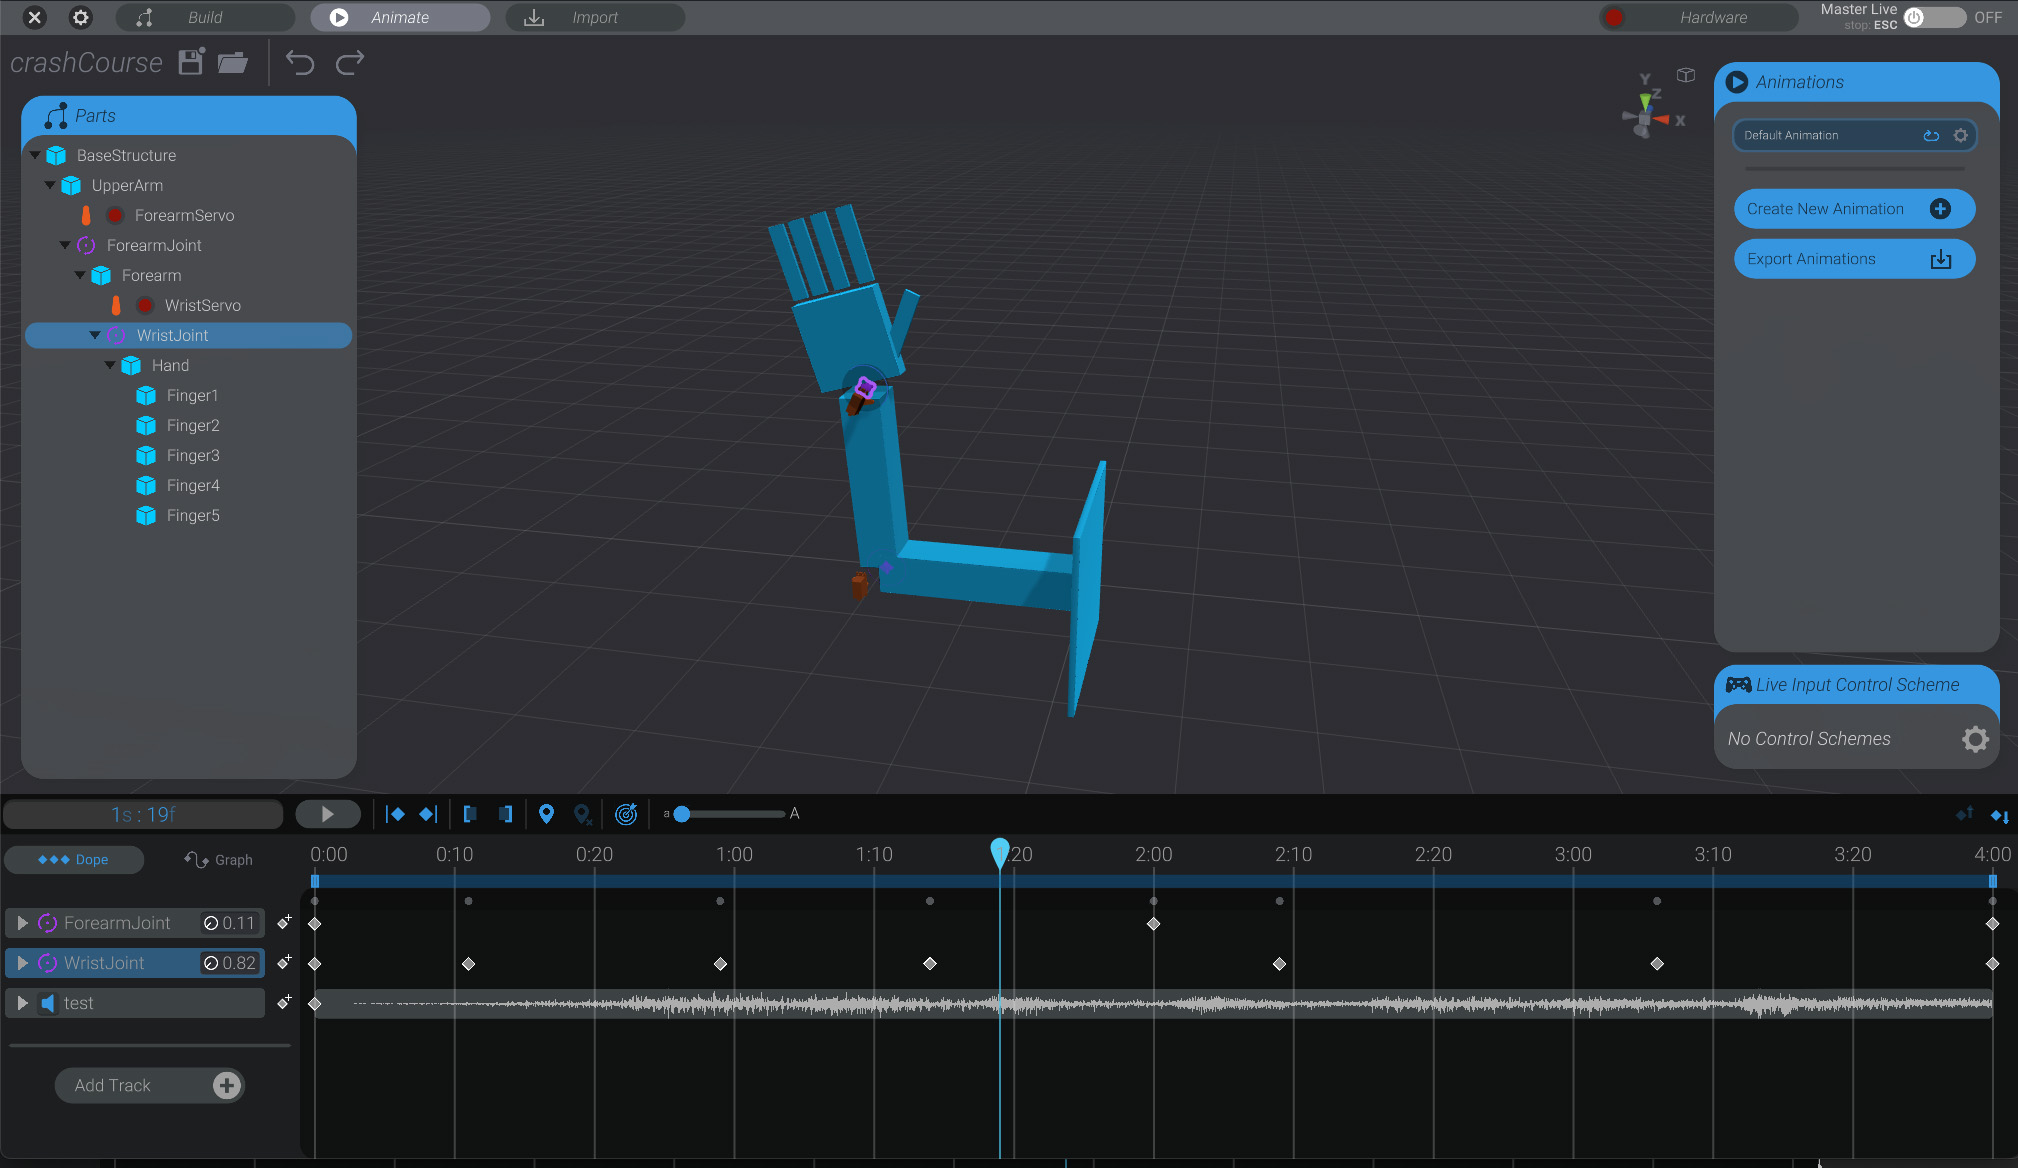
You won’t have a real-world robot that matches the robot we’ll model and animate in this crash course, and there’s no expectation that you should. Your project will have different setups and different requirements. You’ll need to take the concepts of this crash course, and apply it to your own specific requirements.
The example robot will use the most basic hardware supported by Bottango:
- 2x PWM Servo Motors
- 1x Arduino Uno R3 connected to the computer via USB
- 1x Bottango Servo Shield to power the servos.
Though that only scratches the surface of supported hardware and what you can do with Bottango, it’ll be a great foundation to learn the most core concepts.