Insert Joints
We have the structures of a basic waving hand and arm, but no way to make it move yet. That’s what Joints are for in Bottango. Our simple robot will have two axes of movement:
- The
Forearmcan move where it meetsUpperArm - The
Handcan move roughly where the wrist would be
Create the Forearm Joint
Section titled “Create the Forearm Joint”-
Select
Forearm, and make sure it’s the only part you have selected. -
Click “
Create Part” to bring up the “Create A New Part” menu. -
In the joint section, you’ll see two options: “
New Joint” and “Insert Joint”.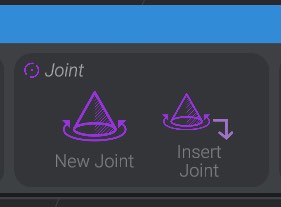
-
Click “
Insert Joint.” This will insert a new joint into your project, as the parent of the currently selected part. In this case, a joint is inserted as a new parent ofForearmsince that was the part selected.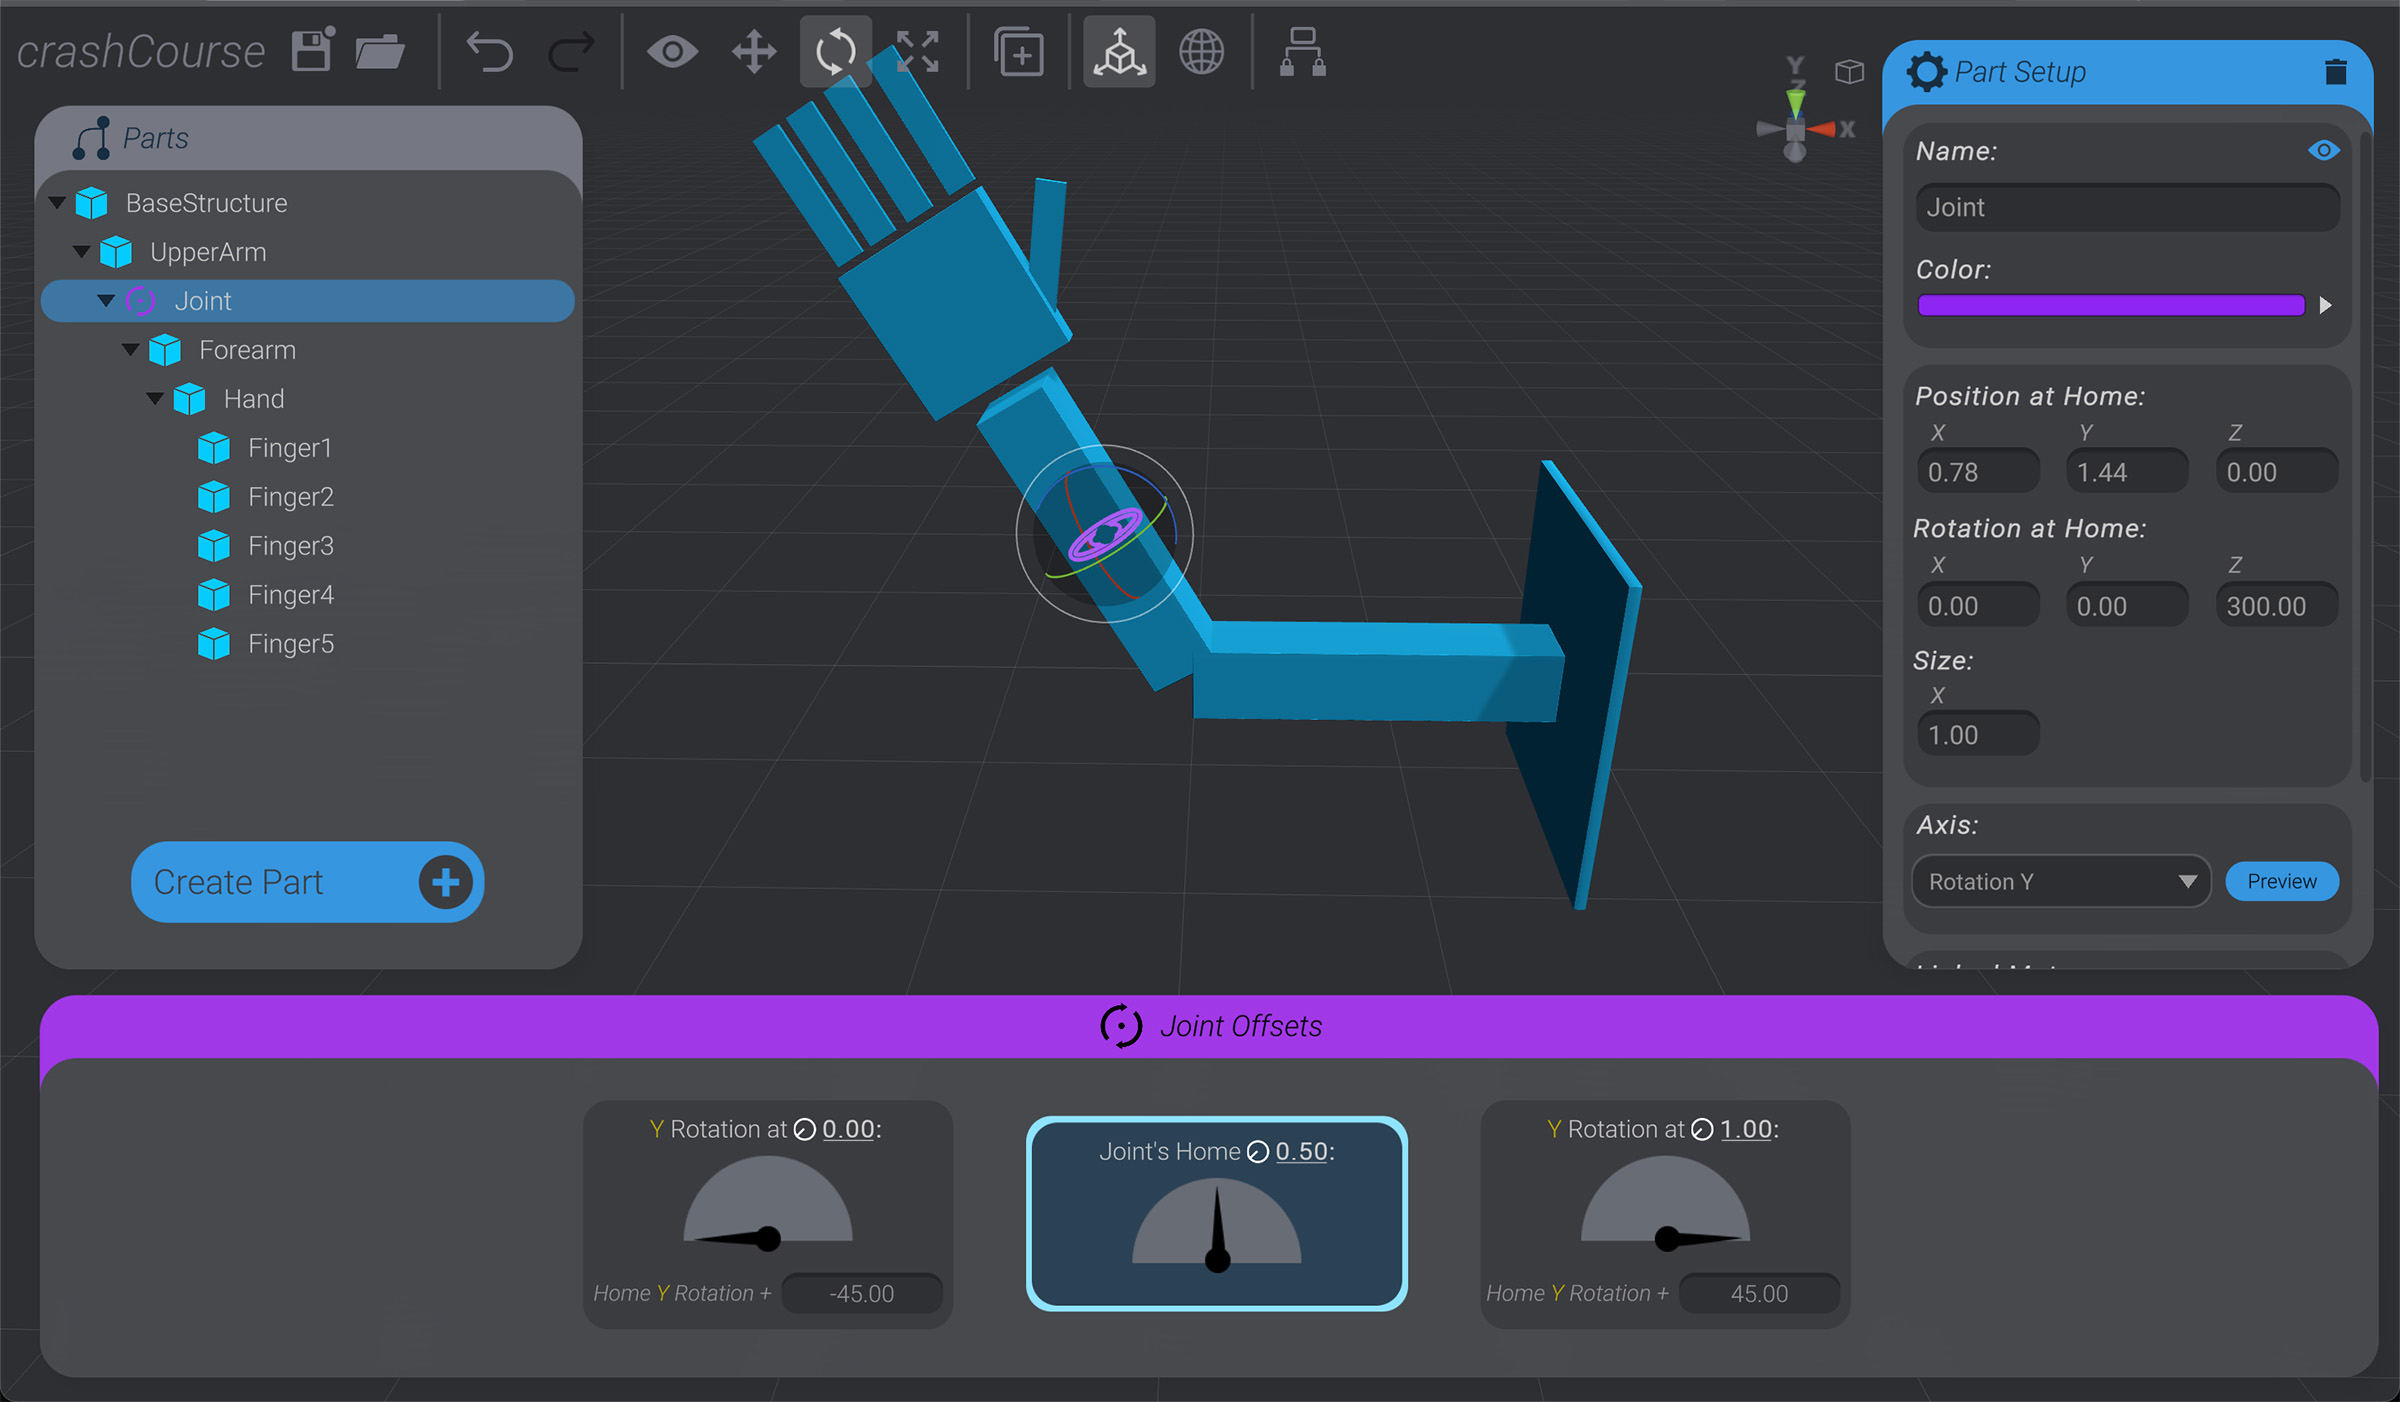
You could also create a joint as the child of the selected option by selecting “
New Joint” instead. But in our case, inserting as a parent is the right choice. -
Rename the joint to “
ForearmJoint.”
Move Forearm Joint
Section titled “Move Forearm Joint”Joints define where and how your robot moves. But right now the joint we just created is located in the middle of Forearm. We want Forearm to rotate from where it meets UpperArm, not rotating around the middle of itself.
You can see this in practice by using the rotate tool (E key) and rotating this newly made ForearmJoint. When this joint eventually rotates, it’s not in the right position to get the correct simulation. You can also see that if we were to move this joint to the correct position, all of its children move with it in a way that breaks the layout of our simulation.
If you do the experimenting, be sure to undo back to the beginning rotation or enter 0 on all three rotation axis on ForearmJoint before moving ahead.
-
Select
ForearmJoint -
In the top “
Tools” panel, click to enable “Child Lock.”
Child Lockis enabled when it has the light white square behind it:
When
Child Lockis enabled, you can move and rotate a parent part, and all of its children will remain in their current world position. -
With
Child Lockenabled, moveForearmJointto the desired point of rotation, around whereForearmmeetsUpperArm.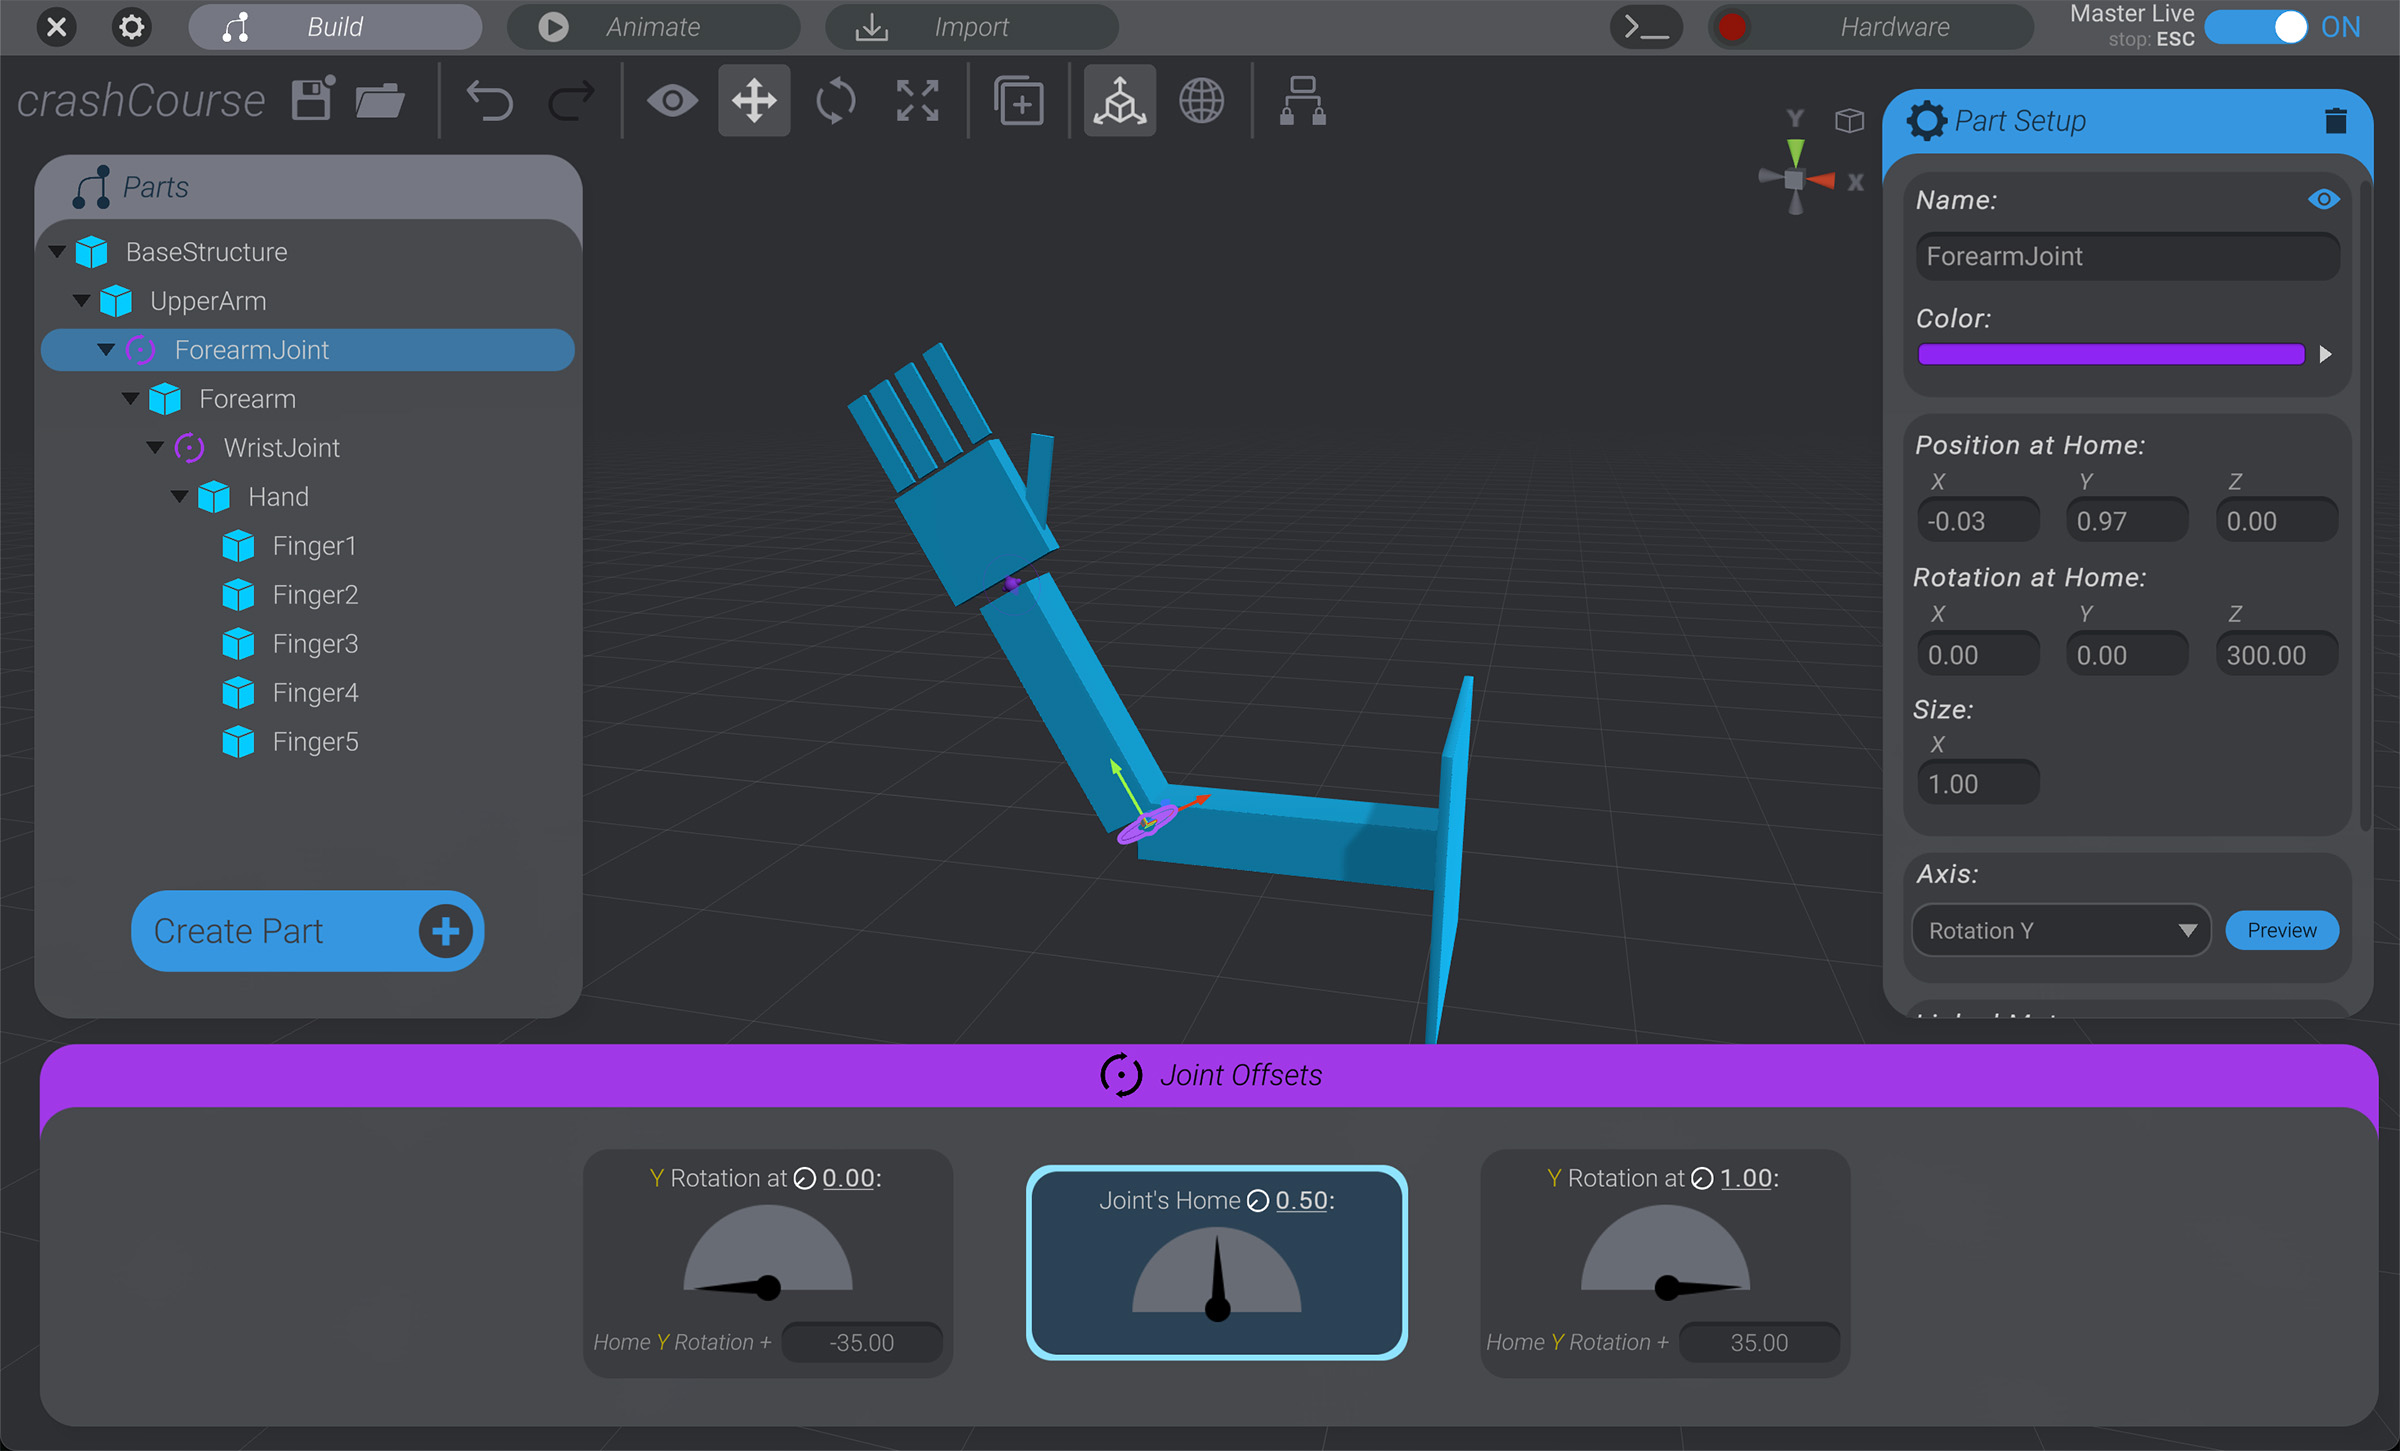
-
Click on
Child Lockagain to disable it.
Forearm Joint Axis
Section titled “Forearm Joint Axis”We now have ForearmJoint rotating from the correct location, but not rotating in the right direction. With ForearmJoint still selected:
-
Click the “
Preview” button on the “Axis Configuration” menu in the “Part Setup” menu. You’ll see with the current “Rotation Y” selection the joint is rotating in the wrong direction. -
Use the axis dropdown to change to “
Rotation Z” and then press “Preview” again. Now the joint rotates in the direction we expect.
You’ll also see the direction of the joint has changed in the simulation.
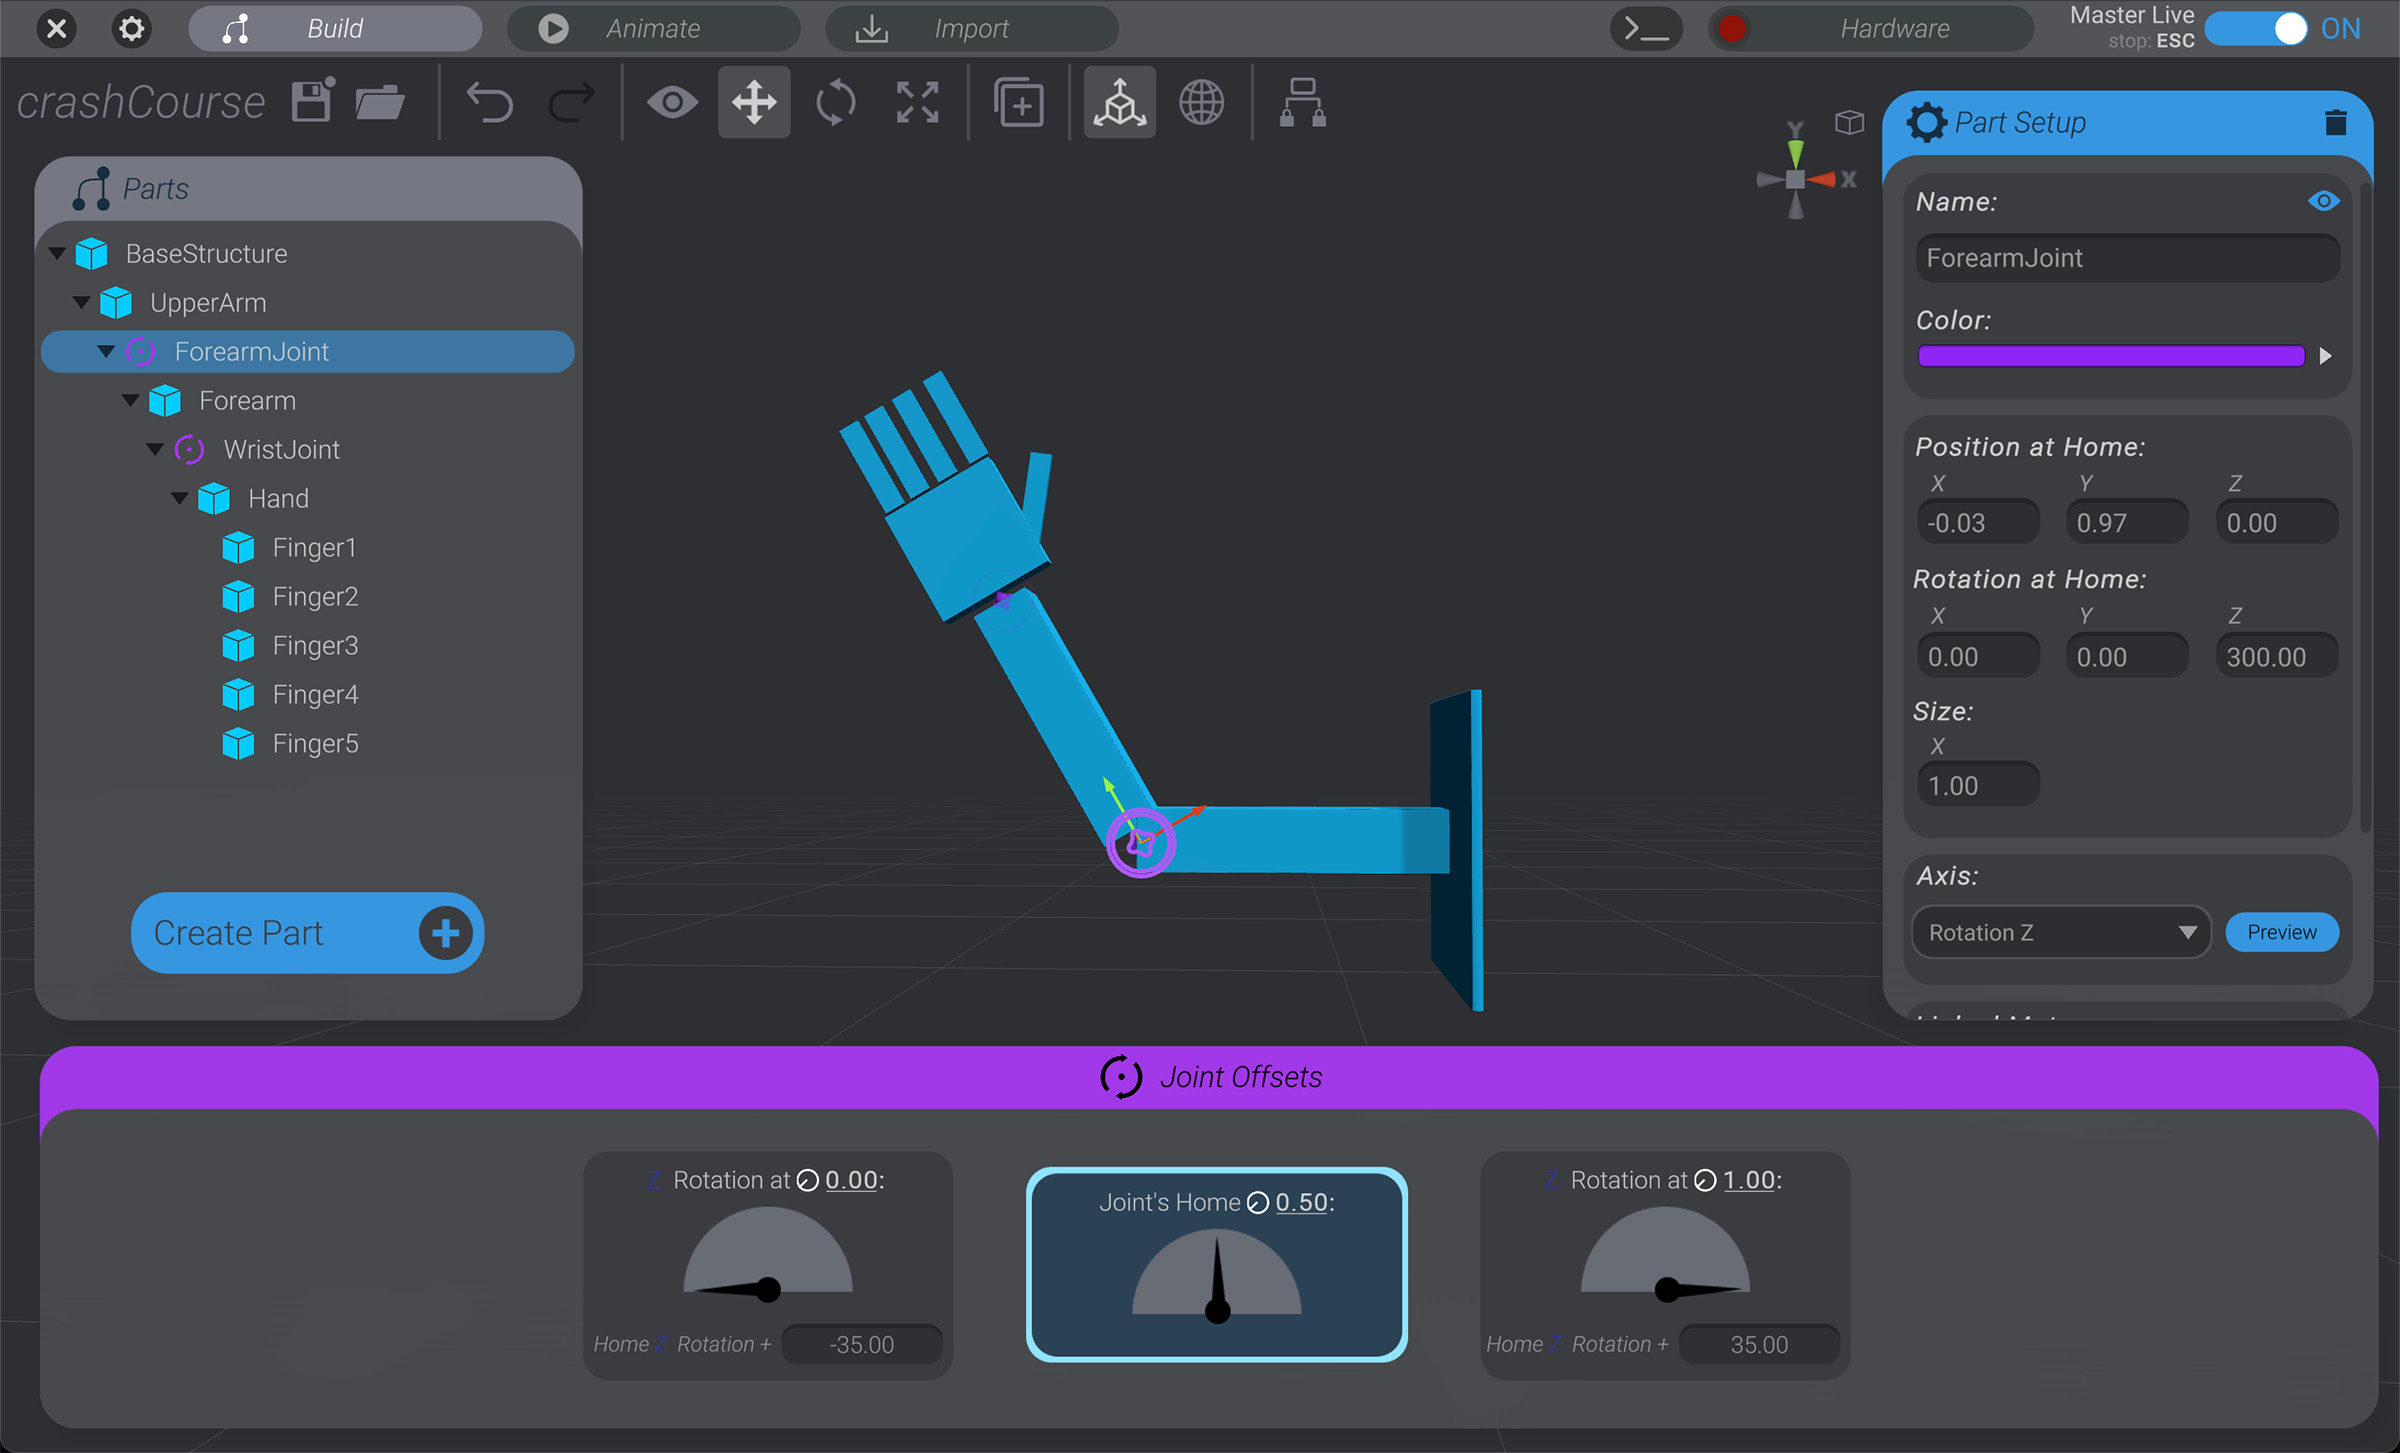
Forearm Joint Range of Movement
Section titled “Forearm Joint Range of Movement”When you select a joint, at the bottom of the screen is the “Joint Offsets” panel. This is where you define the range of movement for a joint in its given axis.
When you modeled out this robot, you modeled it at home. Home is the default rotation this joint will return to when “at rest.”
If you click on the left-most option in the joint offset panel, you’ll see one side of the allowed range of rotation on the joint.
If you click the right-most option, you’ll see the other end.
The middle option is the home rotation of the joint, what you modeled at.
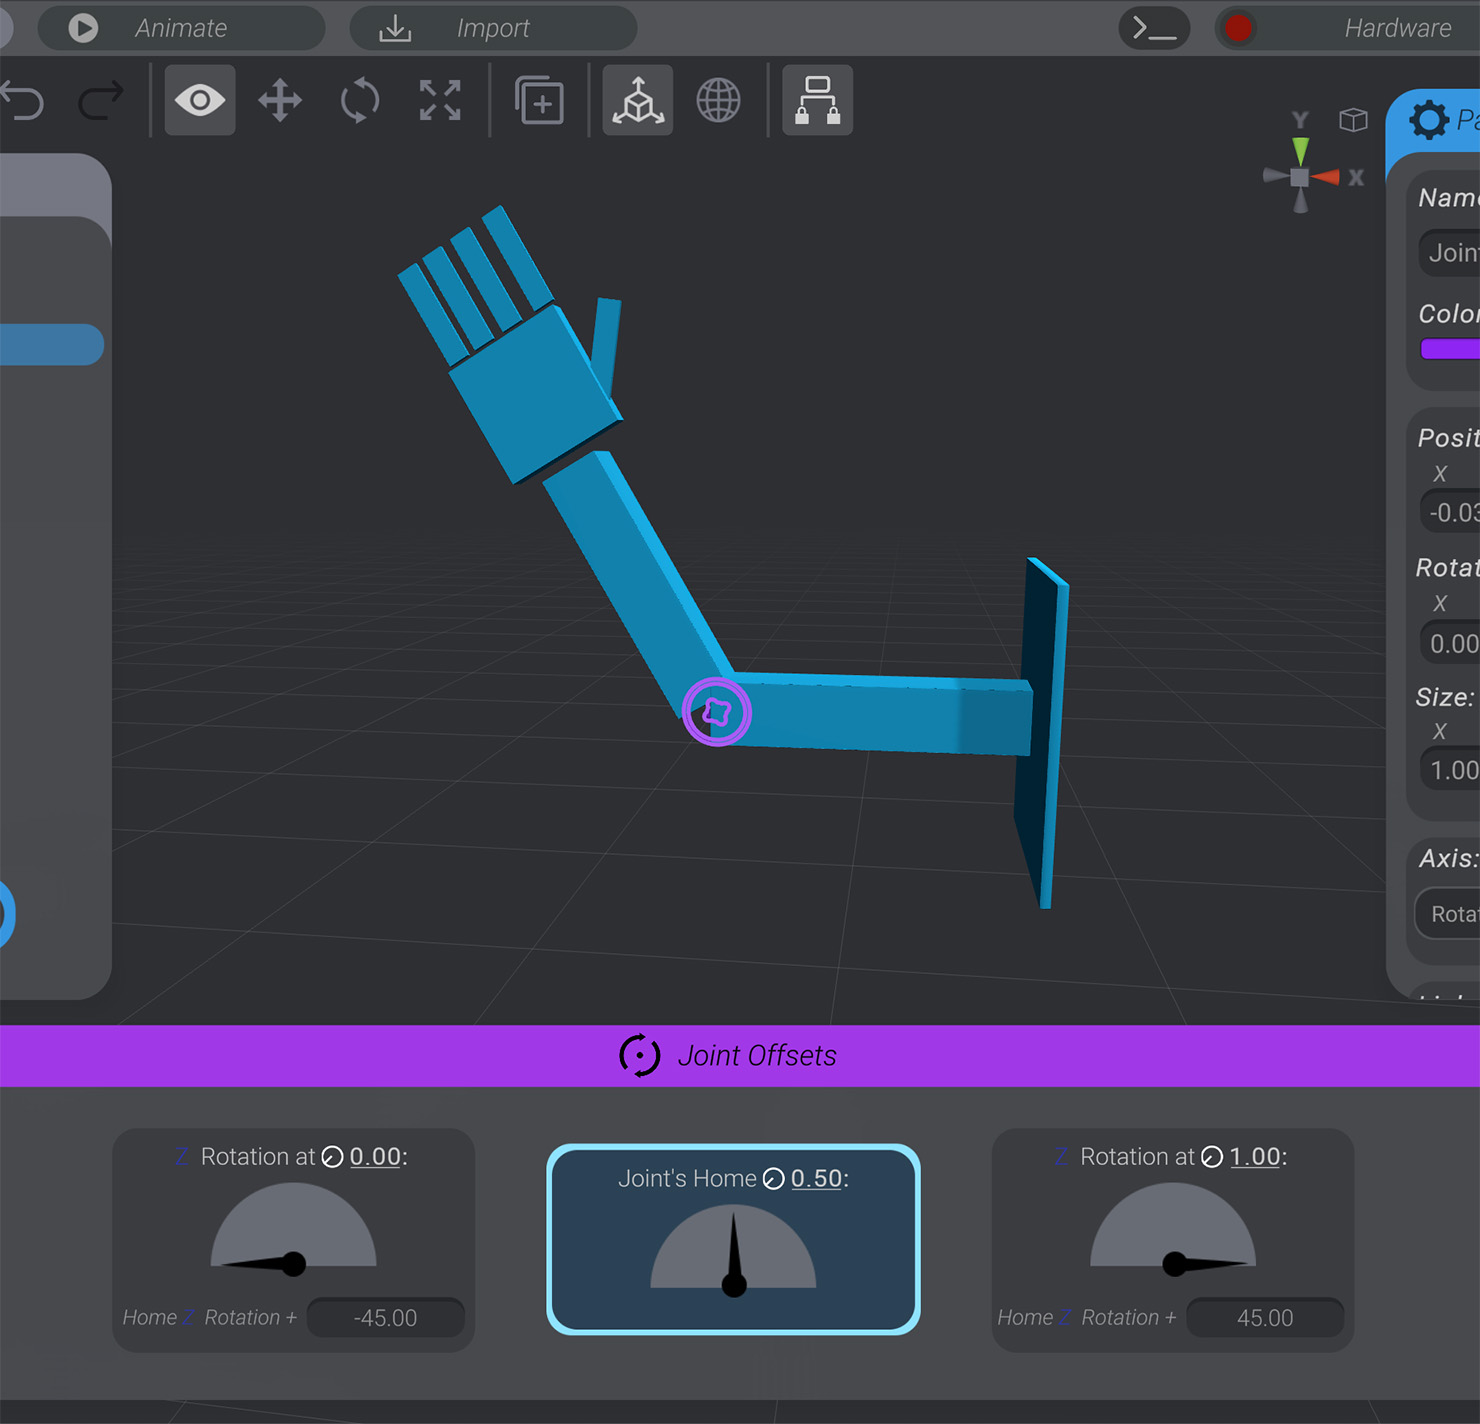
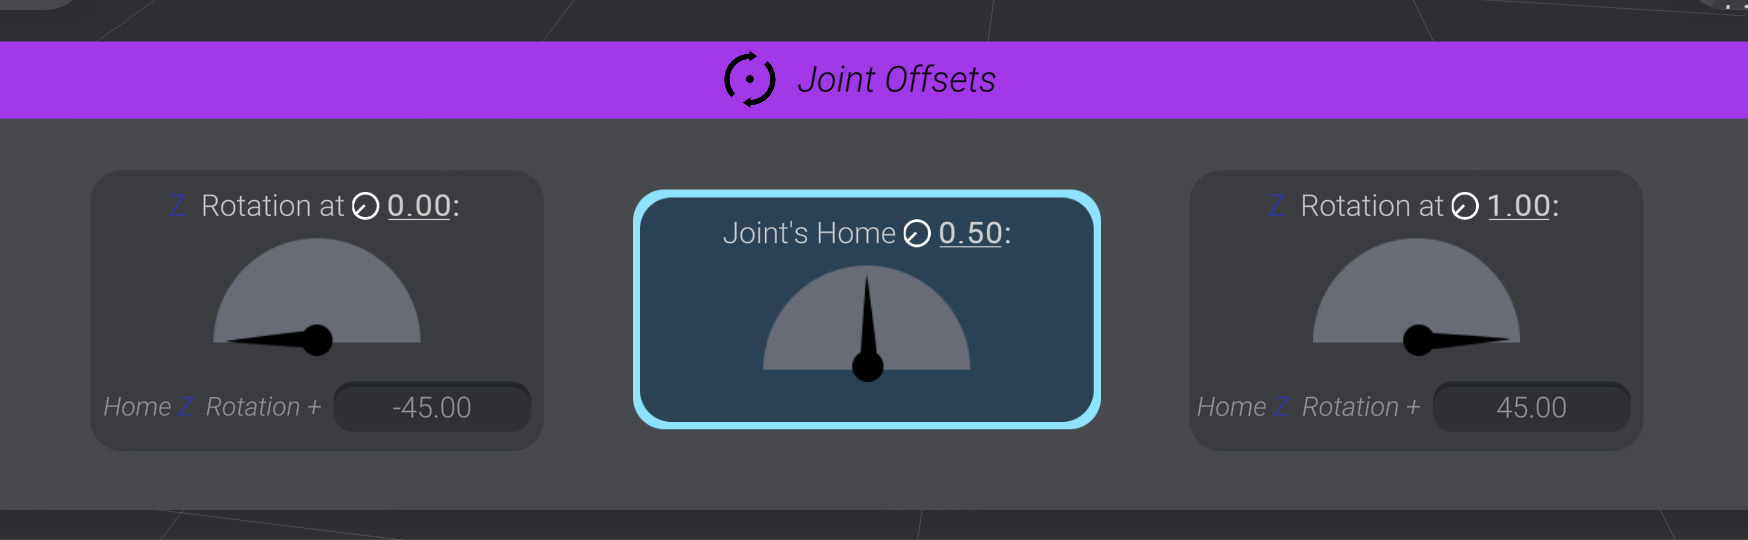
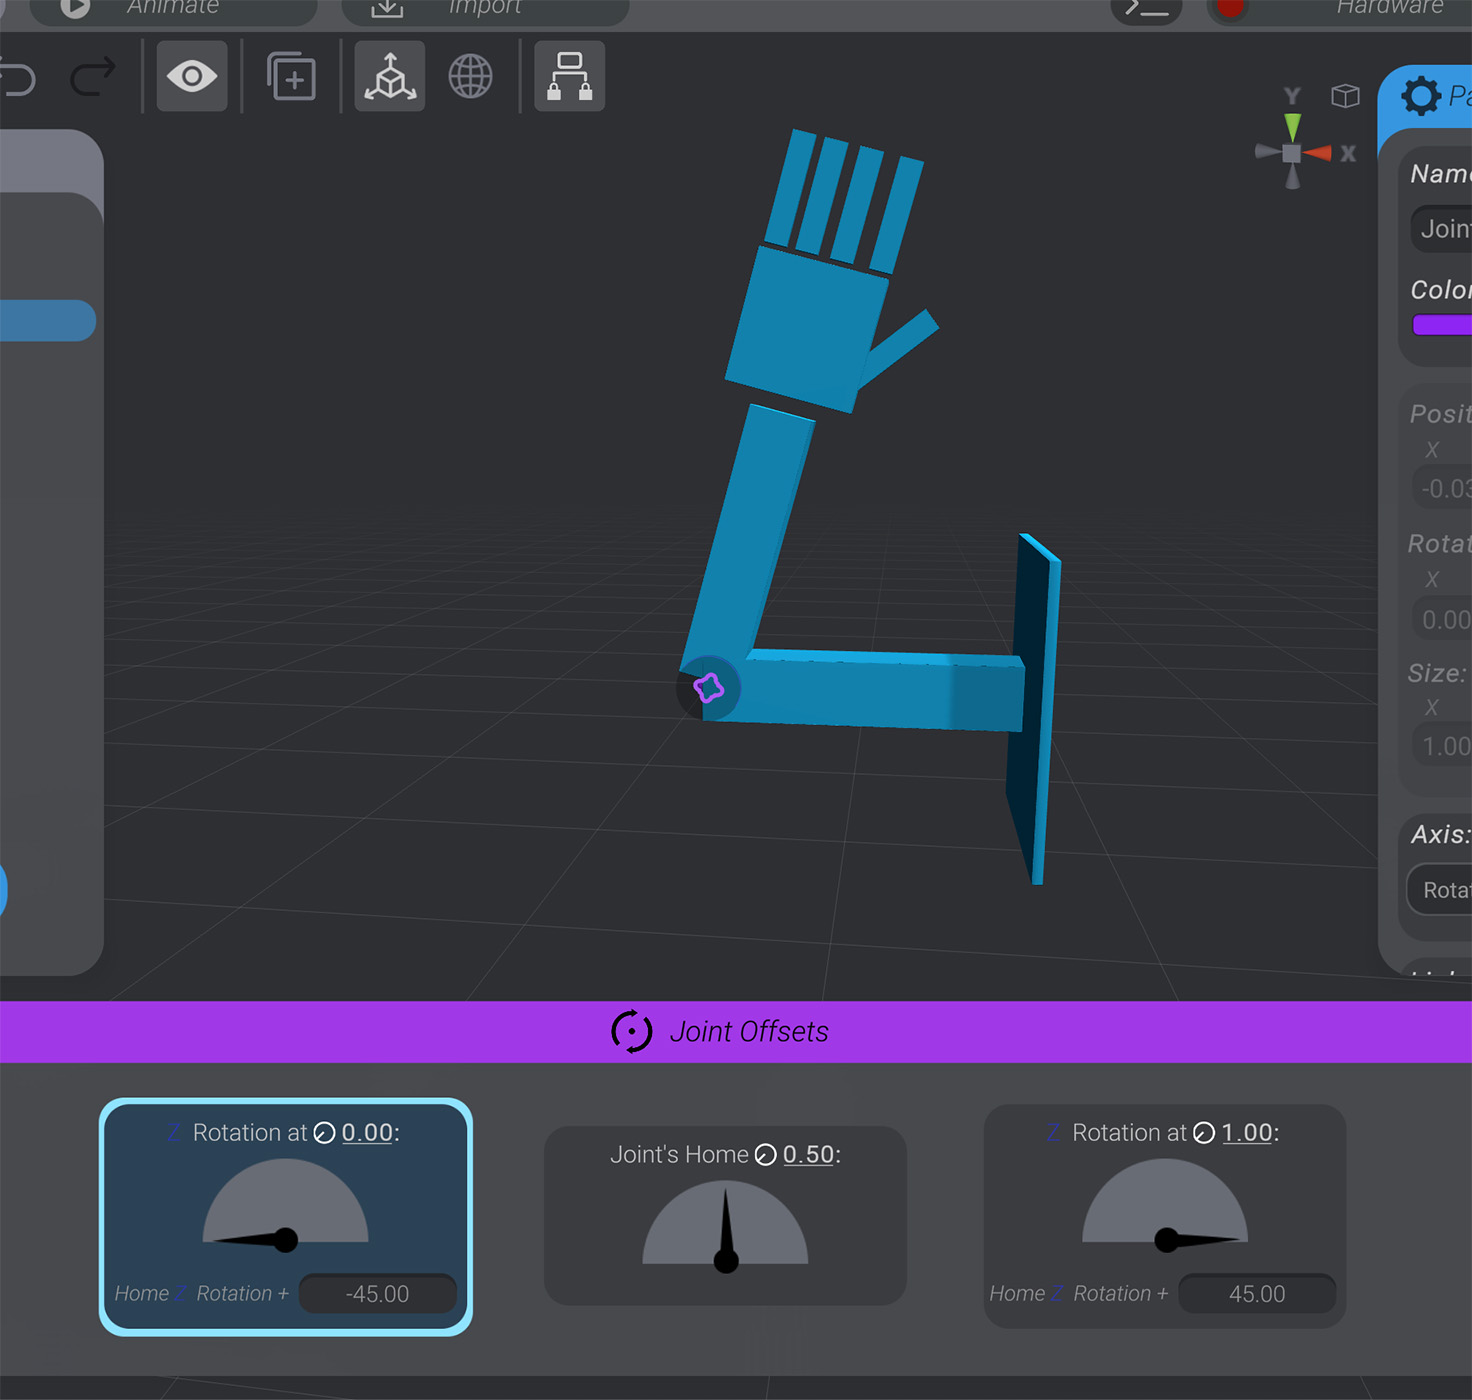
The default range of motion for a joint is 45 degrees away from home in either direction, for a total of 90 degrees. We’ll adjust this joint to more match our artistic intent.
-
Click the “Rotation At
 0.0” option.
 -
Type in new numbers, or drag on the joint’s rotation handle to find the edge of rotation on one side that feels right for you.
-
Repeat for “Rotation At
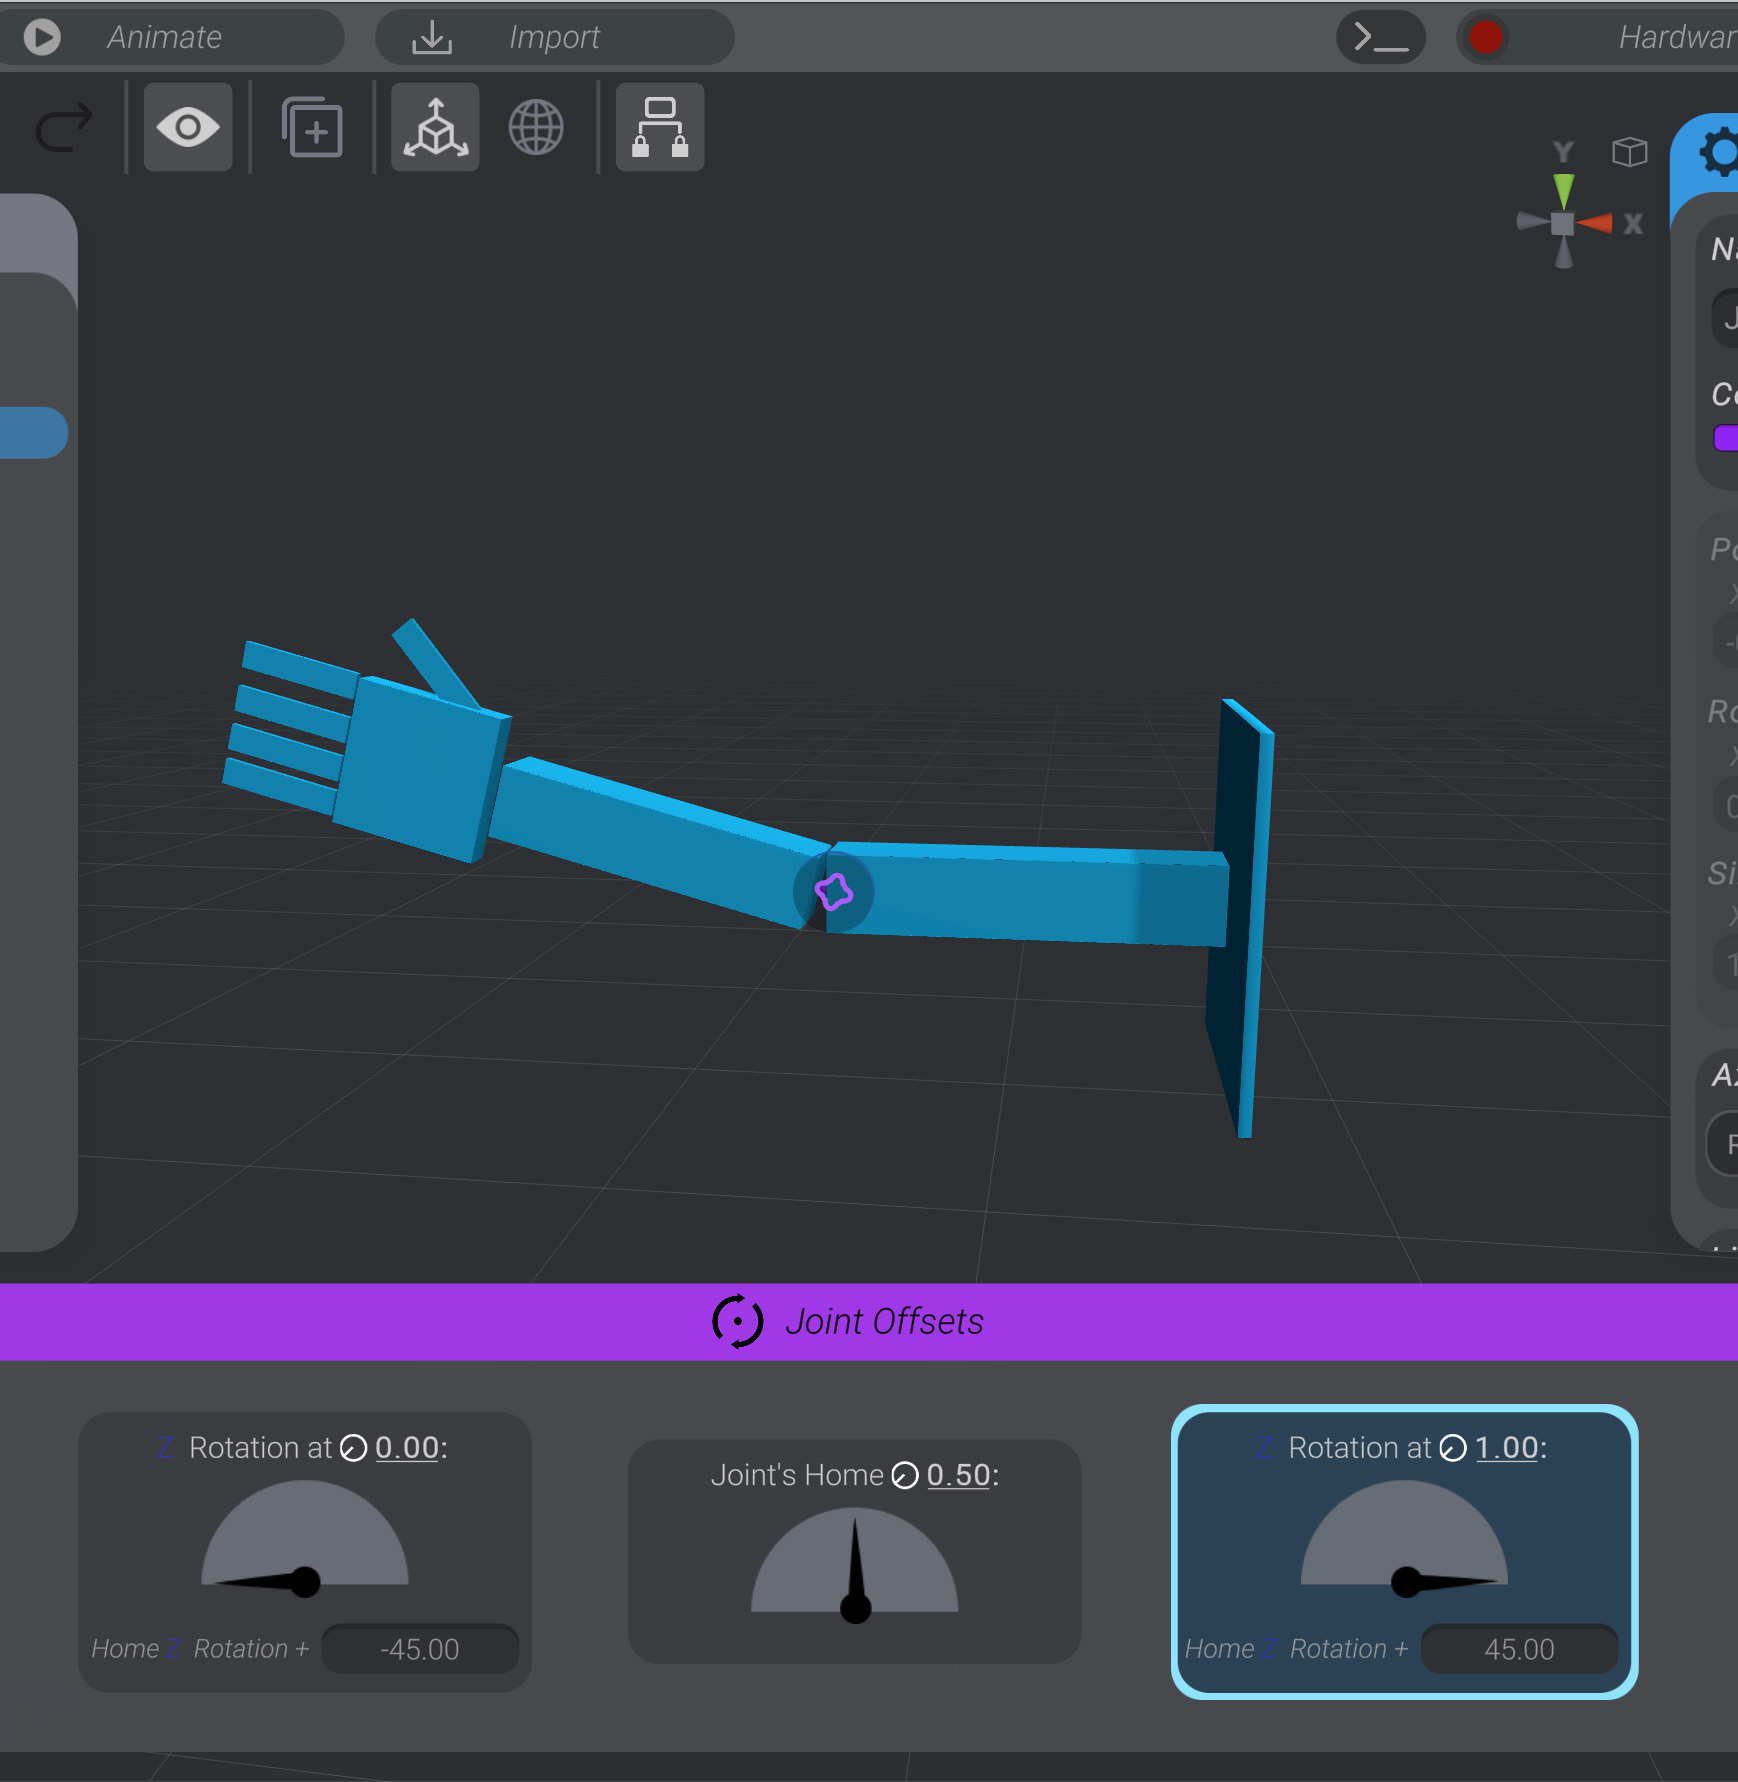
1.0” on the other side.To my eye, about 35 degrees in either direction feels right, for a total of 70 degrees.
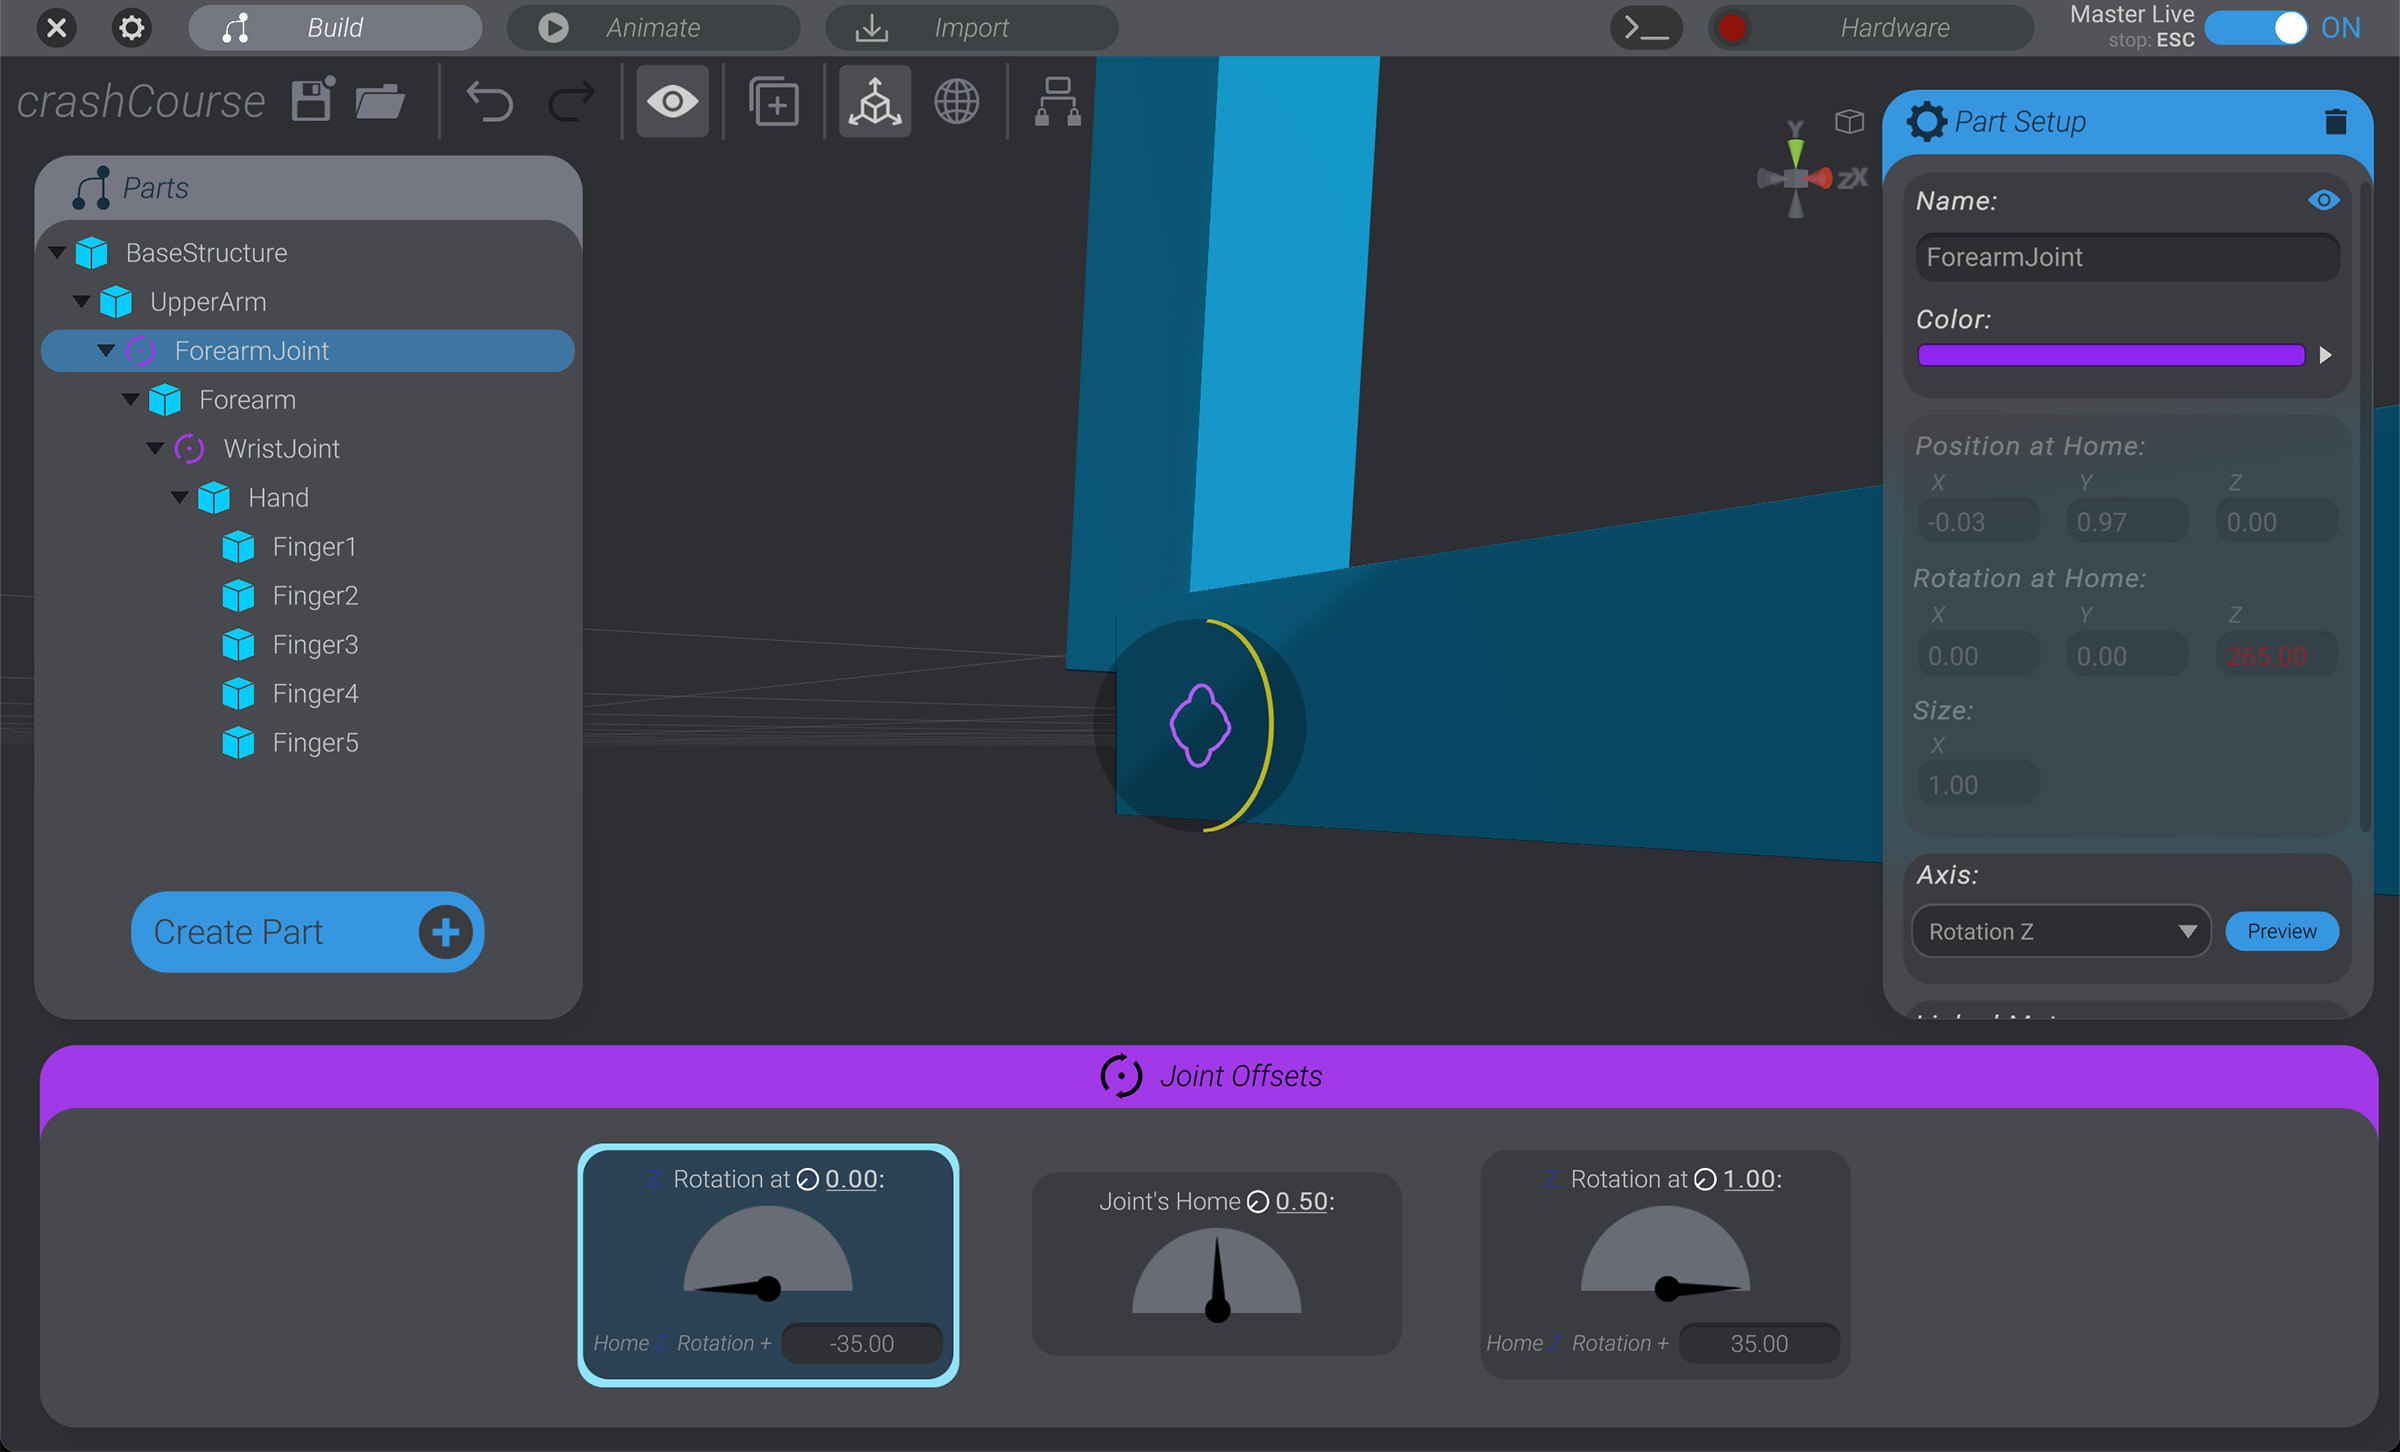
We now have a joint that rotates the Forearm and all its children from the right point, in the right direction, in the right range of motion.
Create and Configure the Wrist Joint
Section titled “Create and Configure the Wrist Joint”We’ll repeat all these steps again to add a WristJoint. The steps below are high level, as there’s no new techniques to repeat this process.
- Select
Hand, then click “Create Part” and insert a new joint. Rename that joint to “WristJoint.” - Enable
Child Lock, then moveWristJointto whereHandmeetsForearm. - Set
WristJoint’s axis to “Rotation Z.” In our case, both joints have the same axis of rotation. - Adjust the range of rotation for
WristJoint. To my eye, about 20 degrees in either direction away from home feels right.
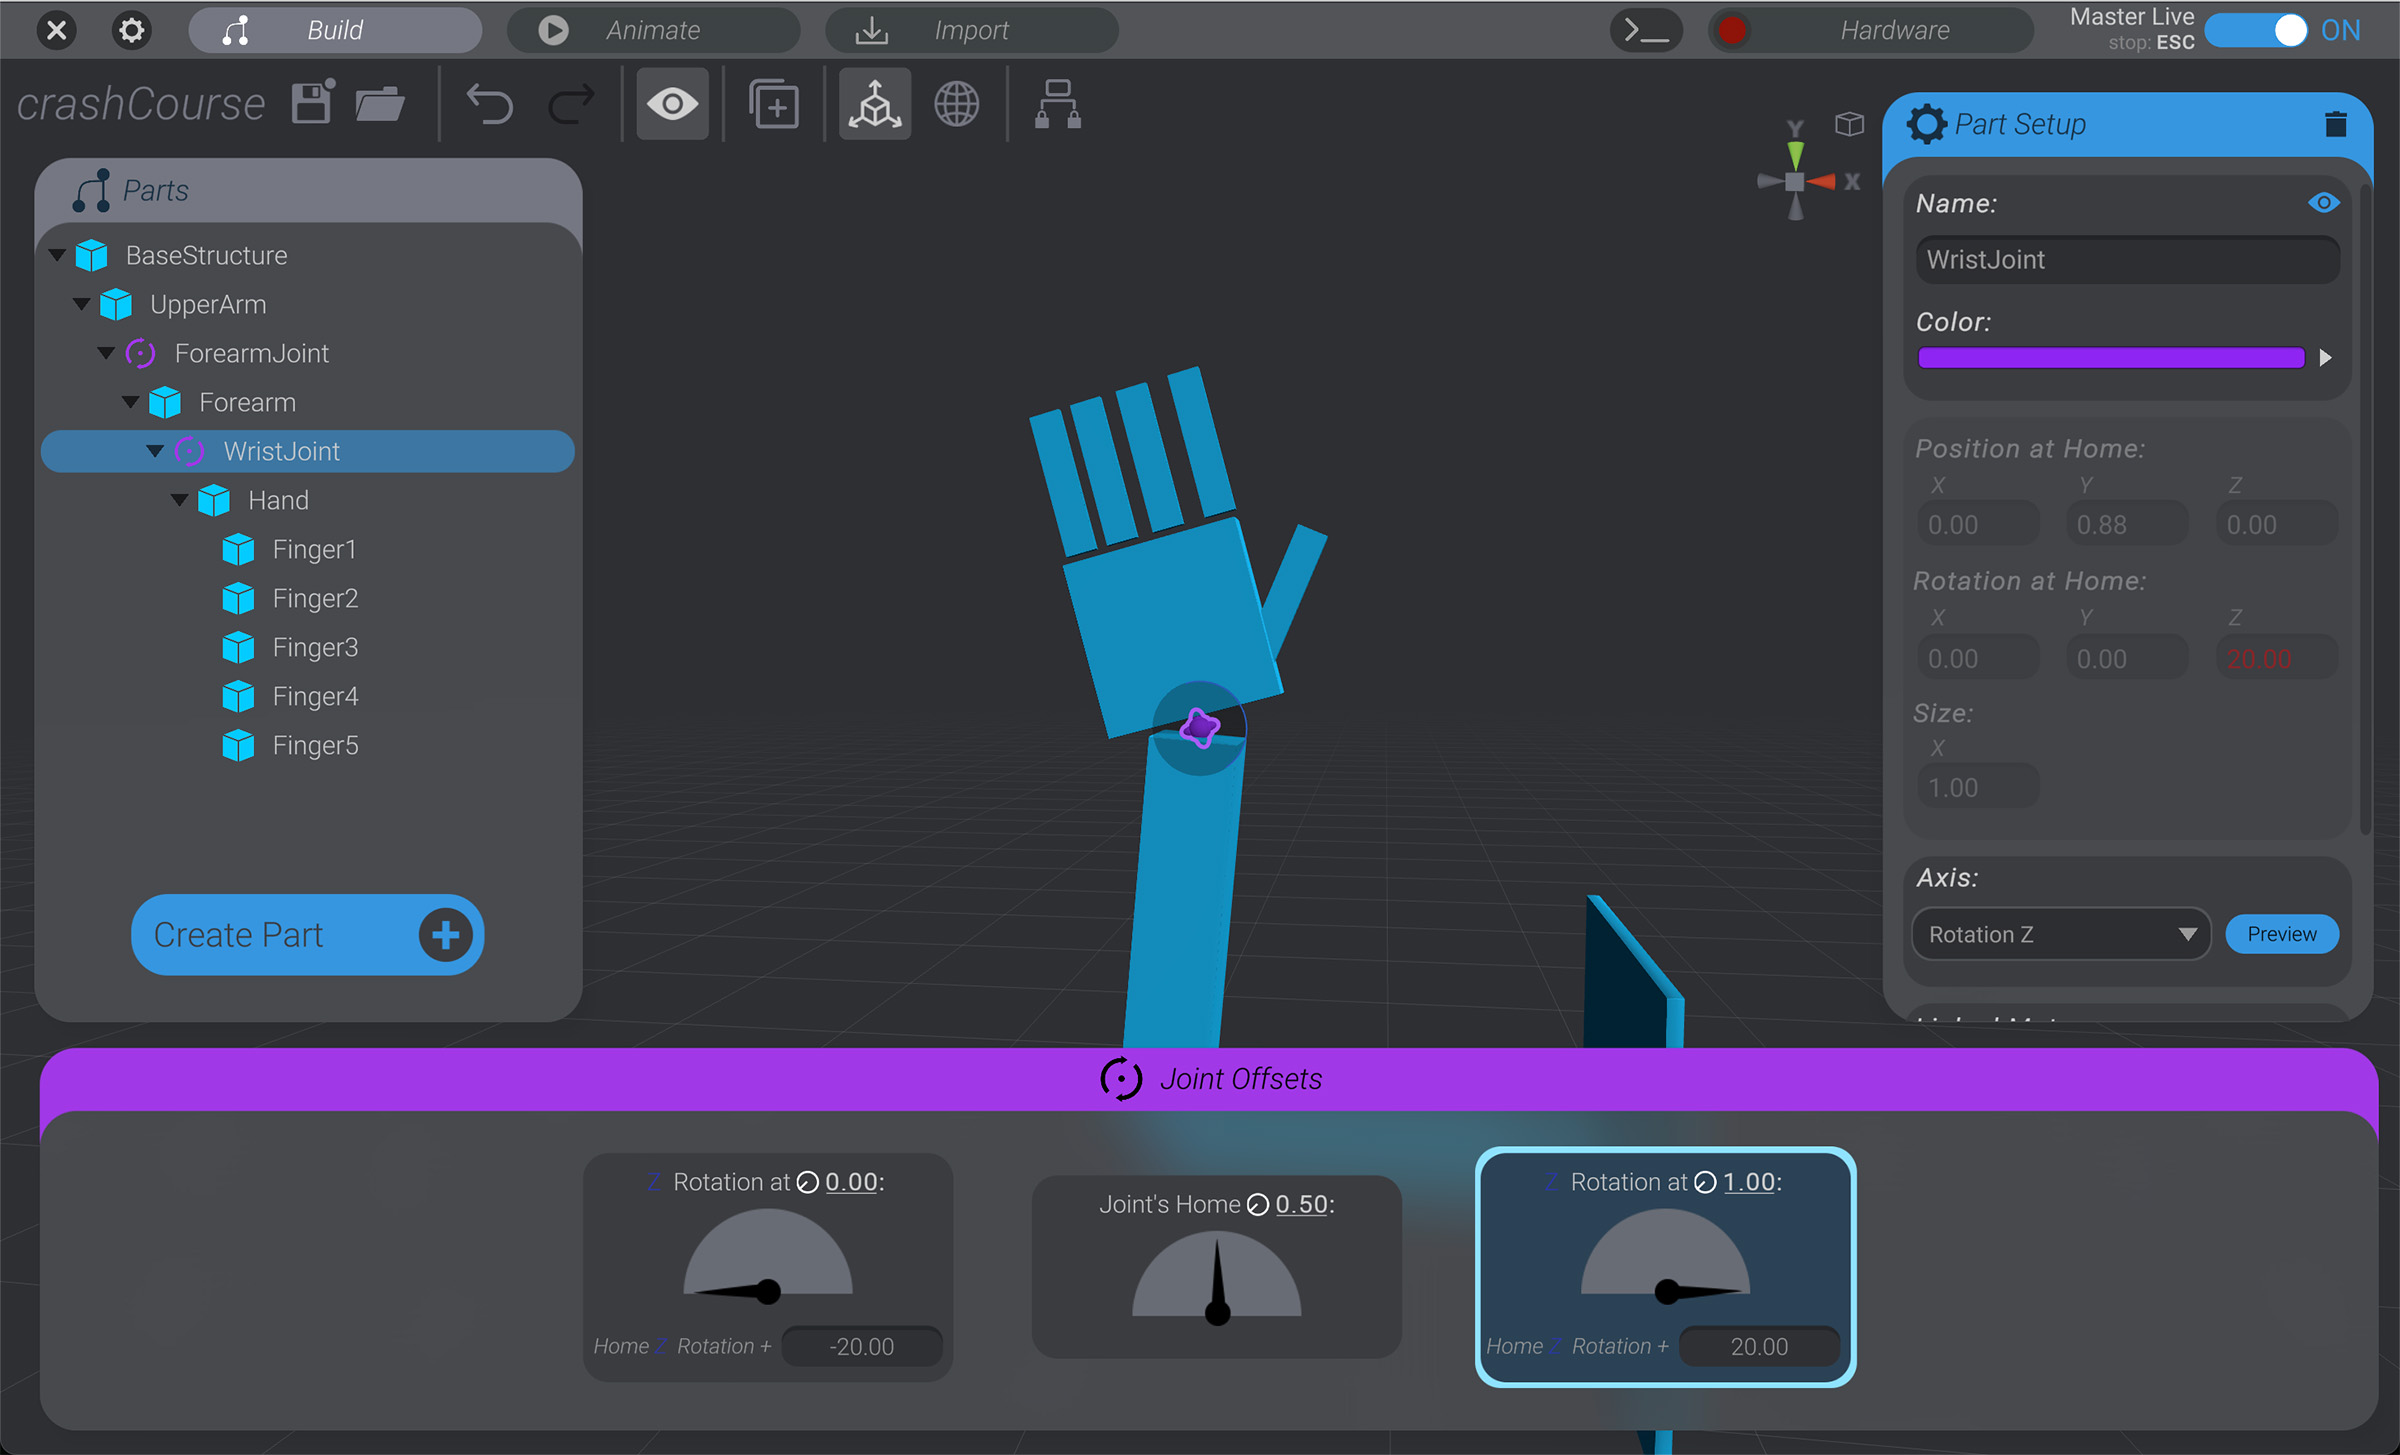
We now have basic structures and joints to represent our simple “hello world” waving robot arm.