Create a Simple Structure
We’ll start in this empty project by creating structures. Structures are like the parts in the project that make up the representation of the form of your robot. The goal is not to create a perfect representation of your real-world robot. Instead, only to capture enough detail that you have the tools you need to animate.
Create the first structure
Section titled “Create the first structure”-
Click “
Create Part"" to create your first structure:
This will cause the create window to show up:

-
Click “
Cube” to create a new cube structure.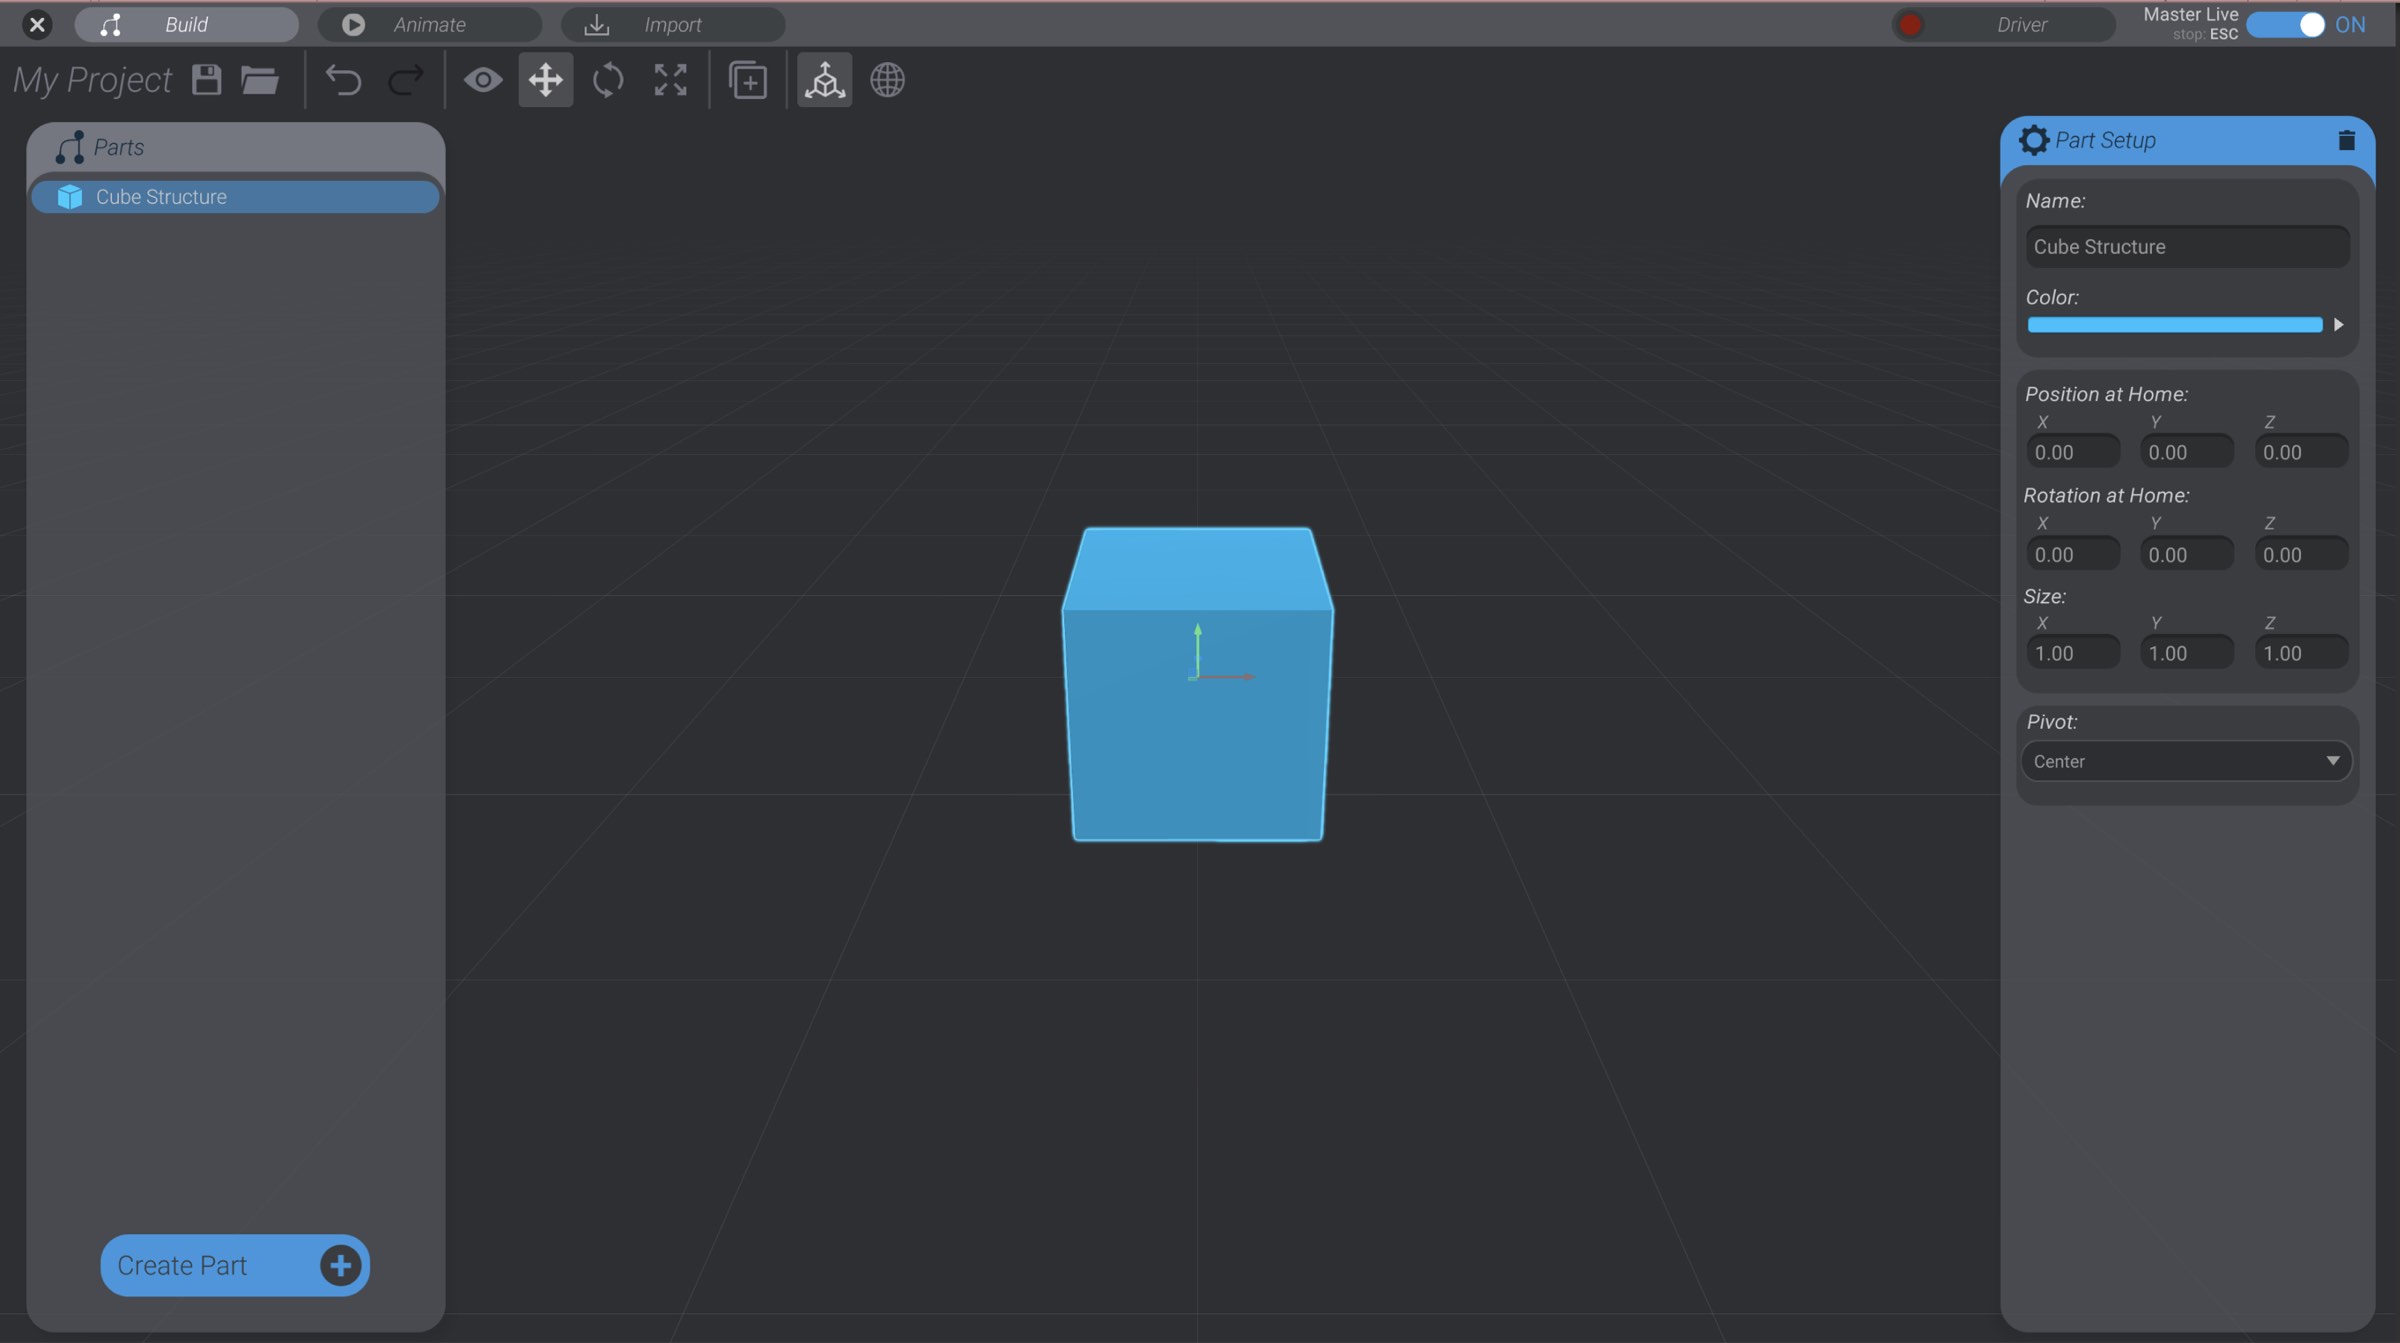
-
With the cube still selected, use the right side “
Part Setup” menu to rename the cube to “BaseStructure” using theNamefield in thePart Setupwindow.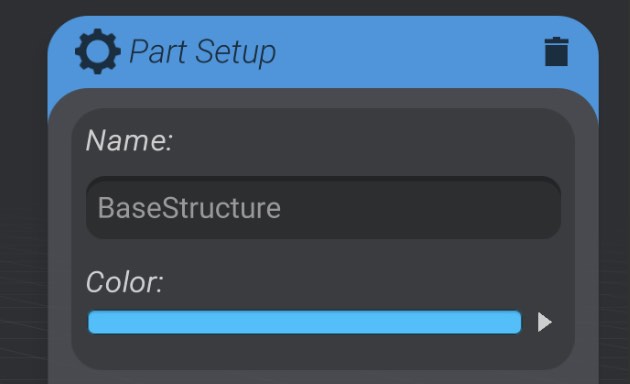
-
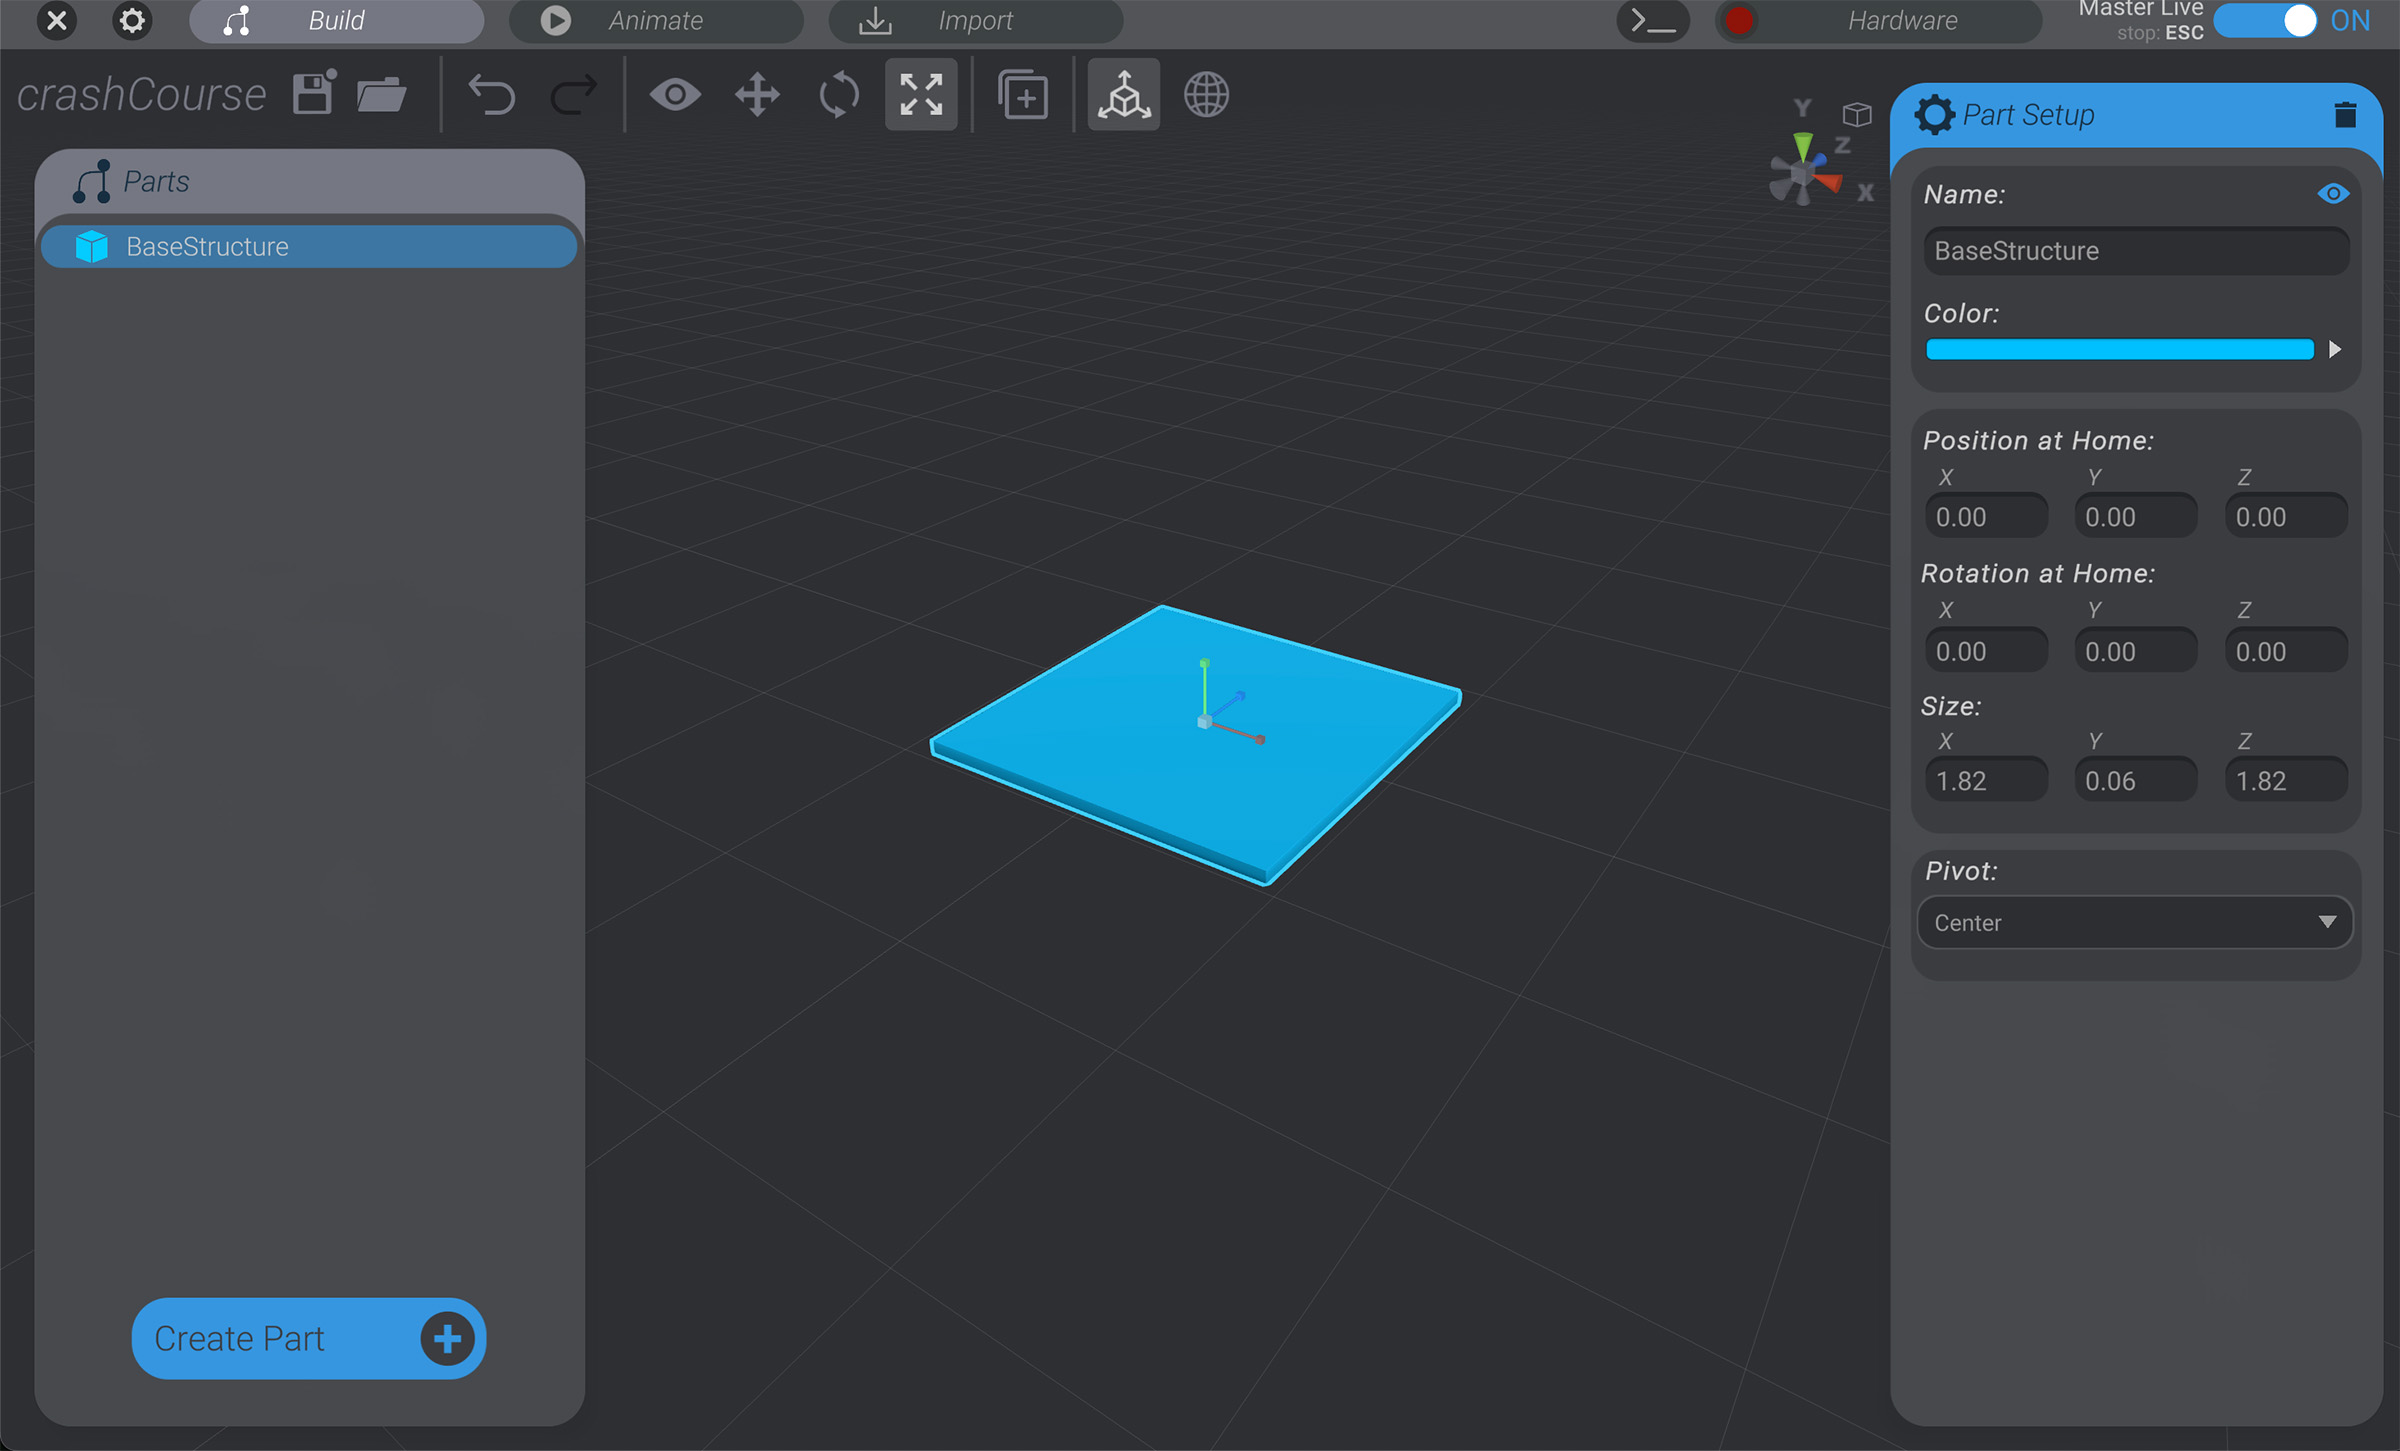
Press the “
R” key on your keyboard to bring up the part scales handles.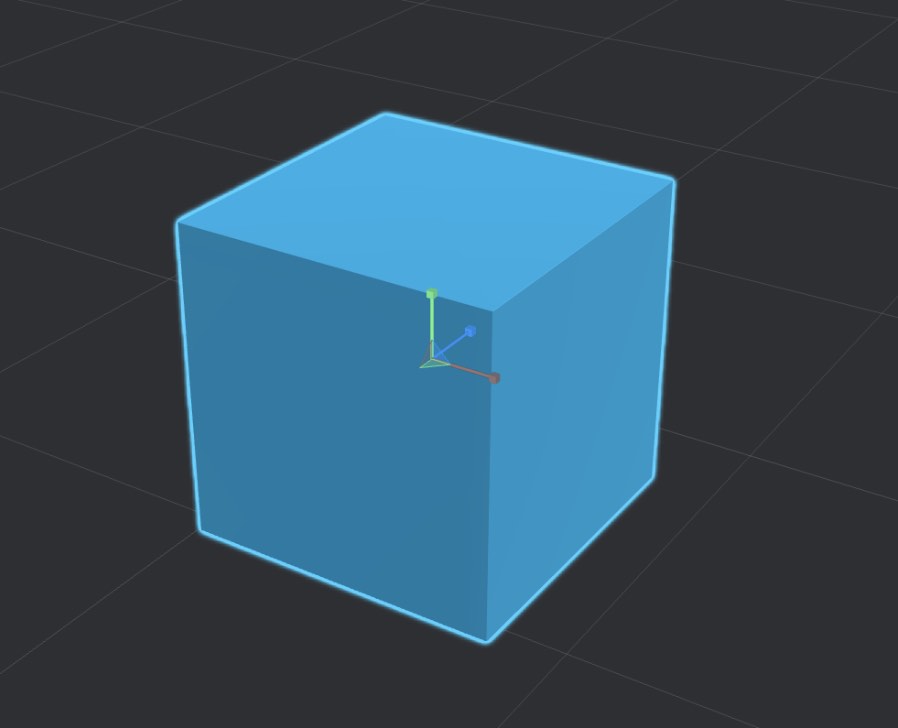
-
Resize the cube using the scale handles until it is roughly a large flat shape like shown below. Exact sizing is not important.
Create the second structure
Section titled “Create the second structure”An essential part of Bottango is parent child relationships. Most parts in Bottango can be parents of other parts. When a parent moves or rotates, all of its children parts move and rotate with it. You can think of parent child relationships in Bottango a little like folders in your computer. As you move the folder around, all the files and folders inside move with it. You can also think about your arm. When you move your arm, your wrist and hand move with it.
-
With the first cube still selected (click on it if it got deselected), create a second cube structure, and name it “
UpperArm.”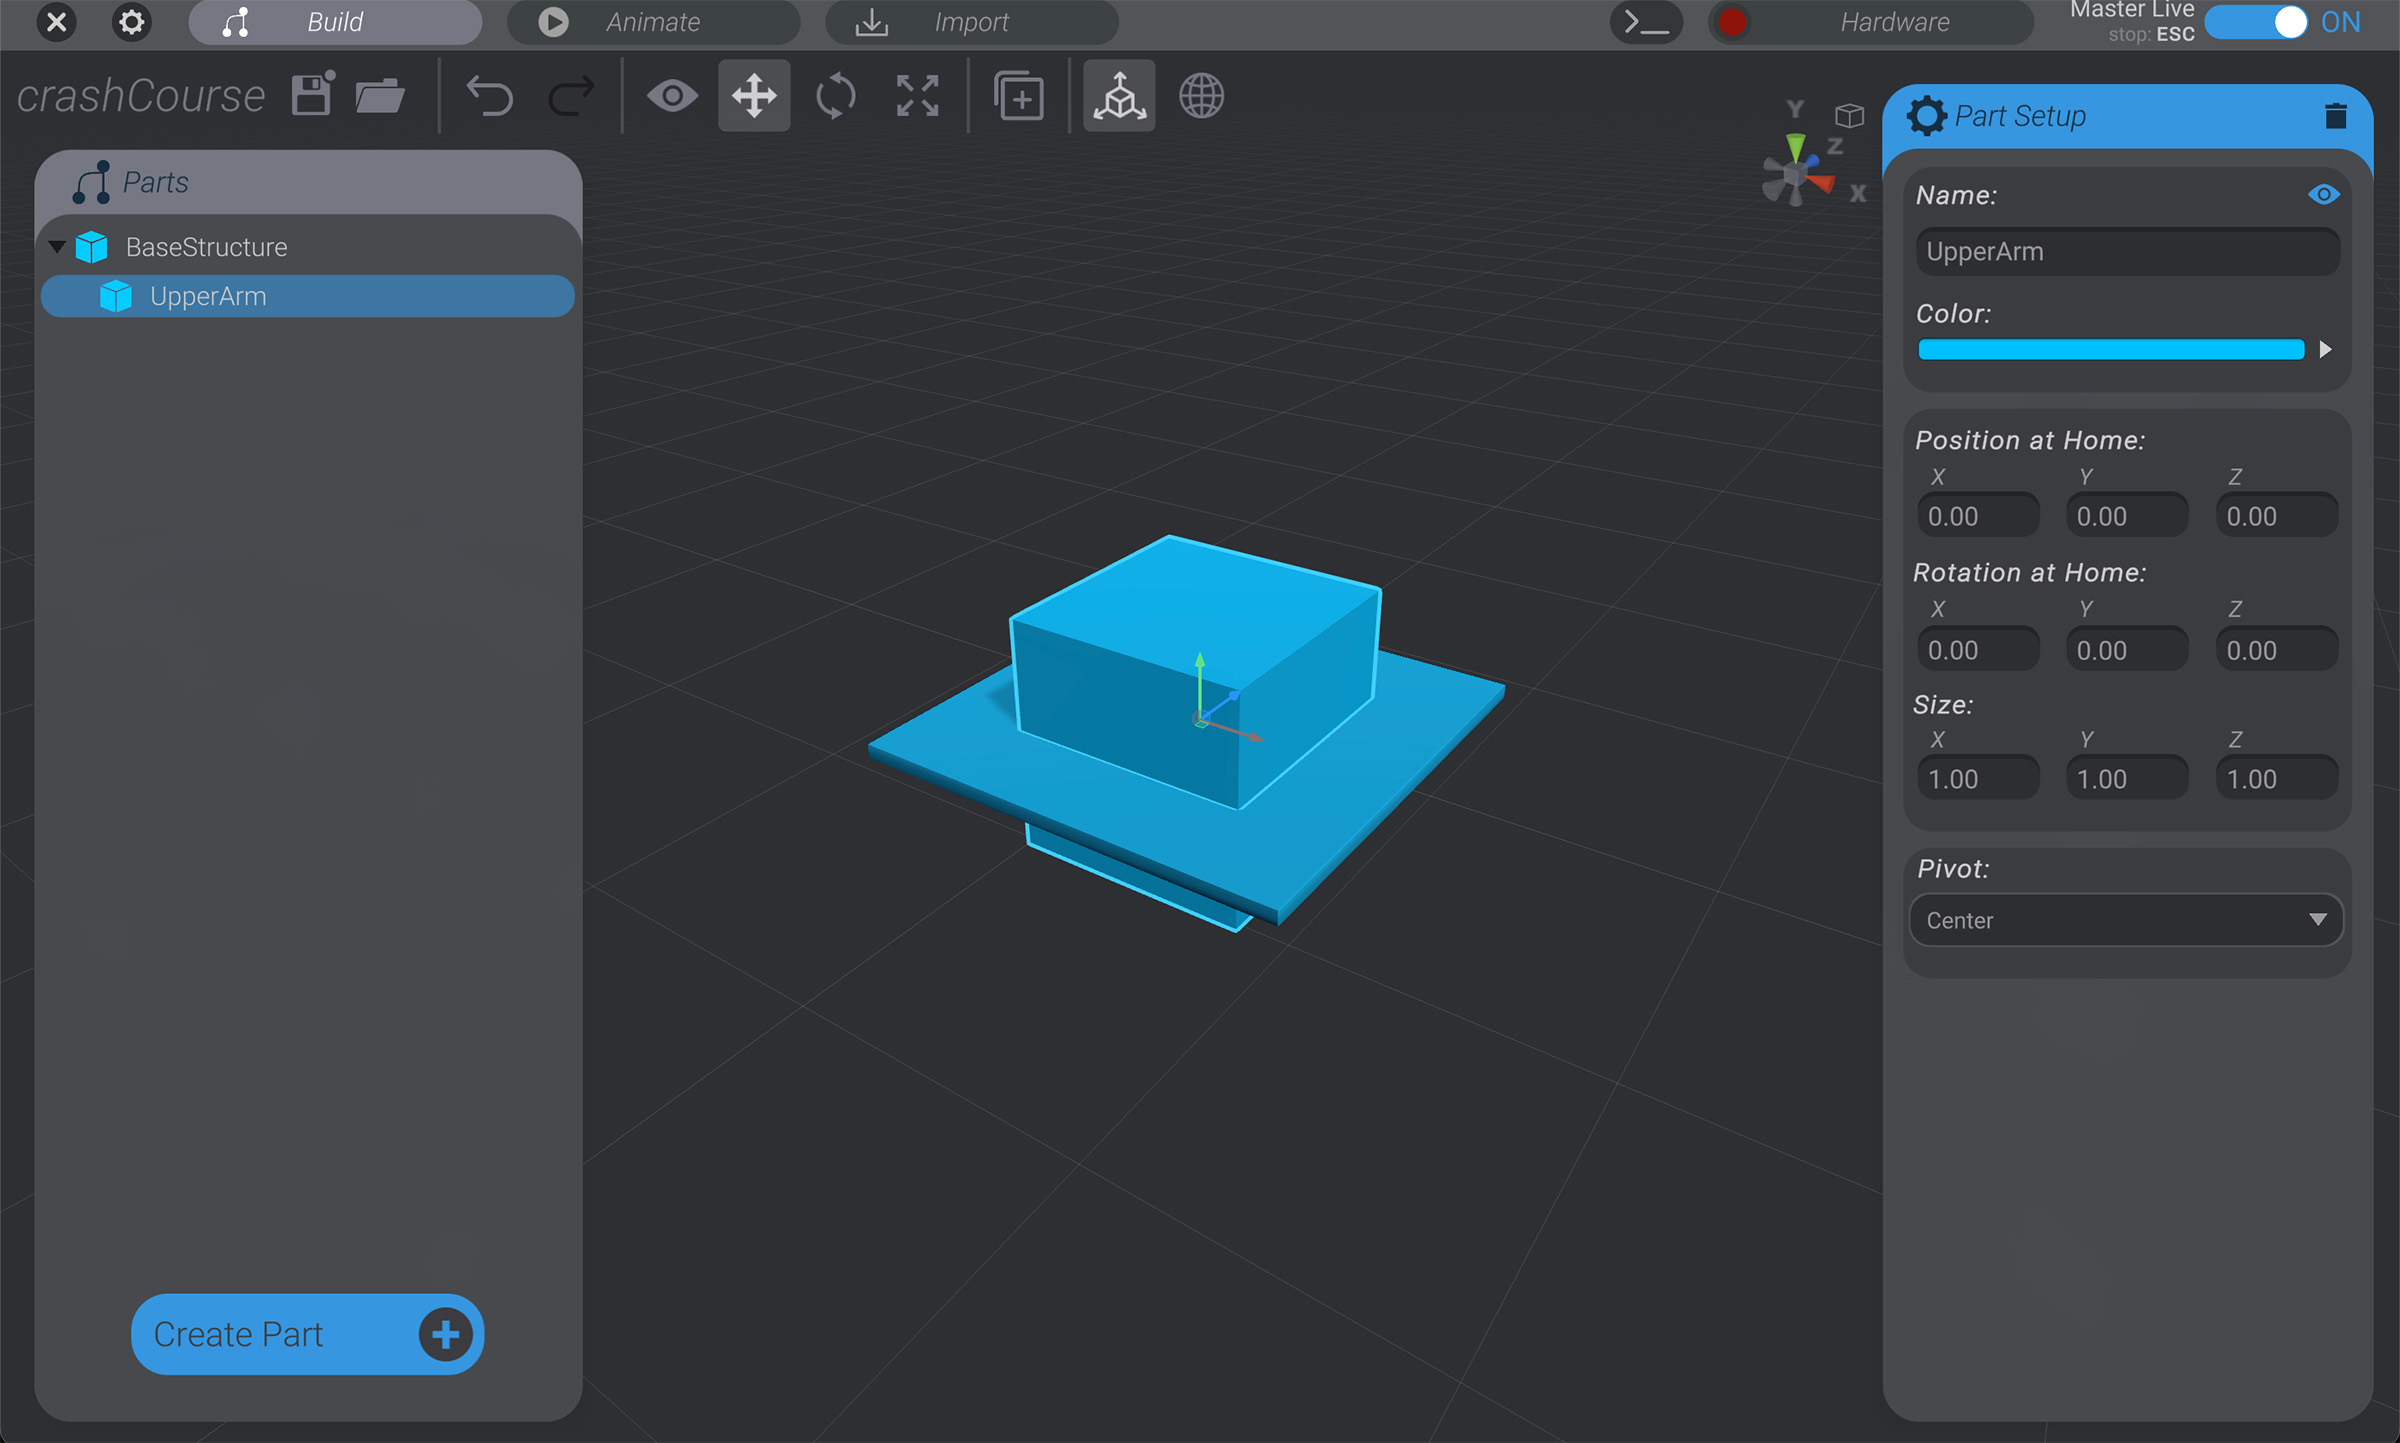
Because you had the first cube (“
BaseStructure”) selected when you created the second structure, the second structure was automatically made a child of “BaseStructure.”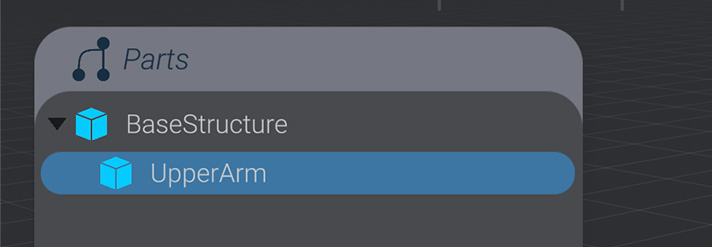
-
Use the scale tool (
Rkey on your keyboard) to makeUpperArmtall and skinny.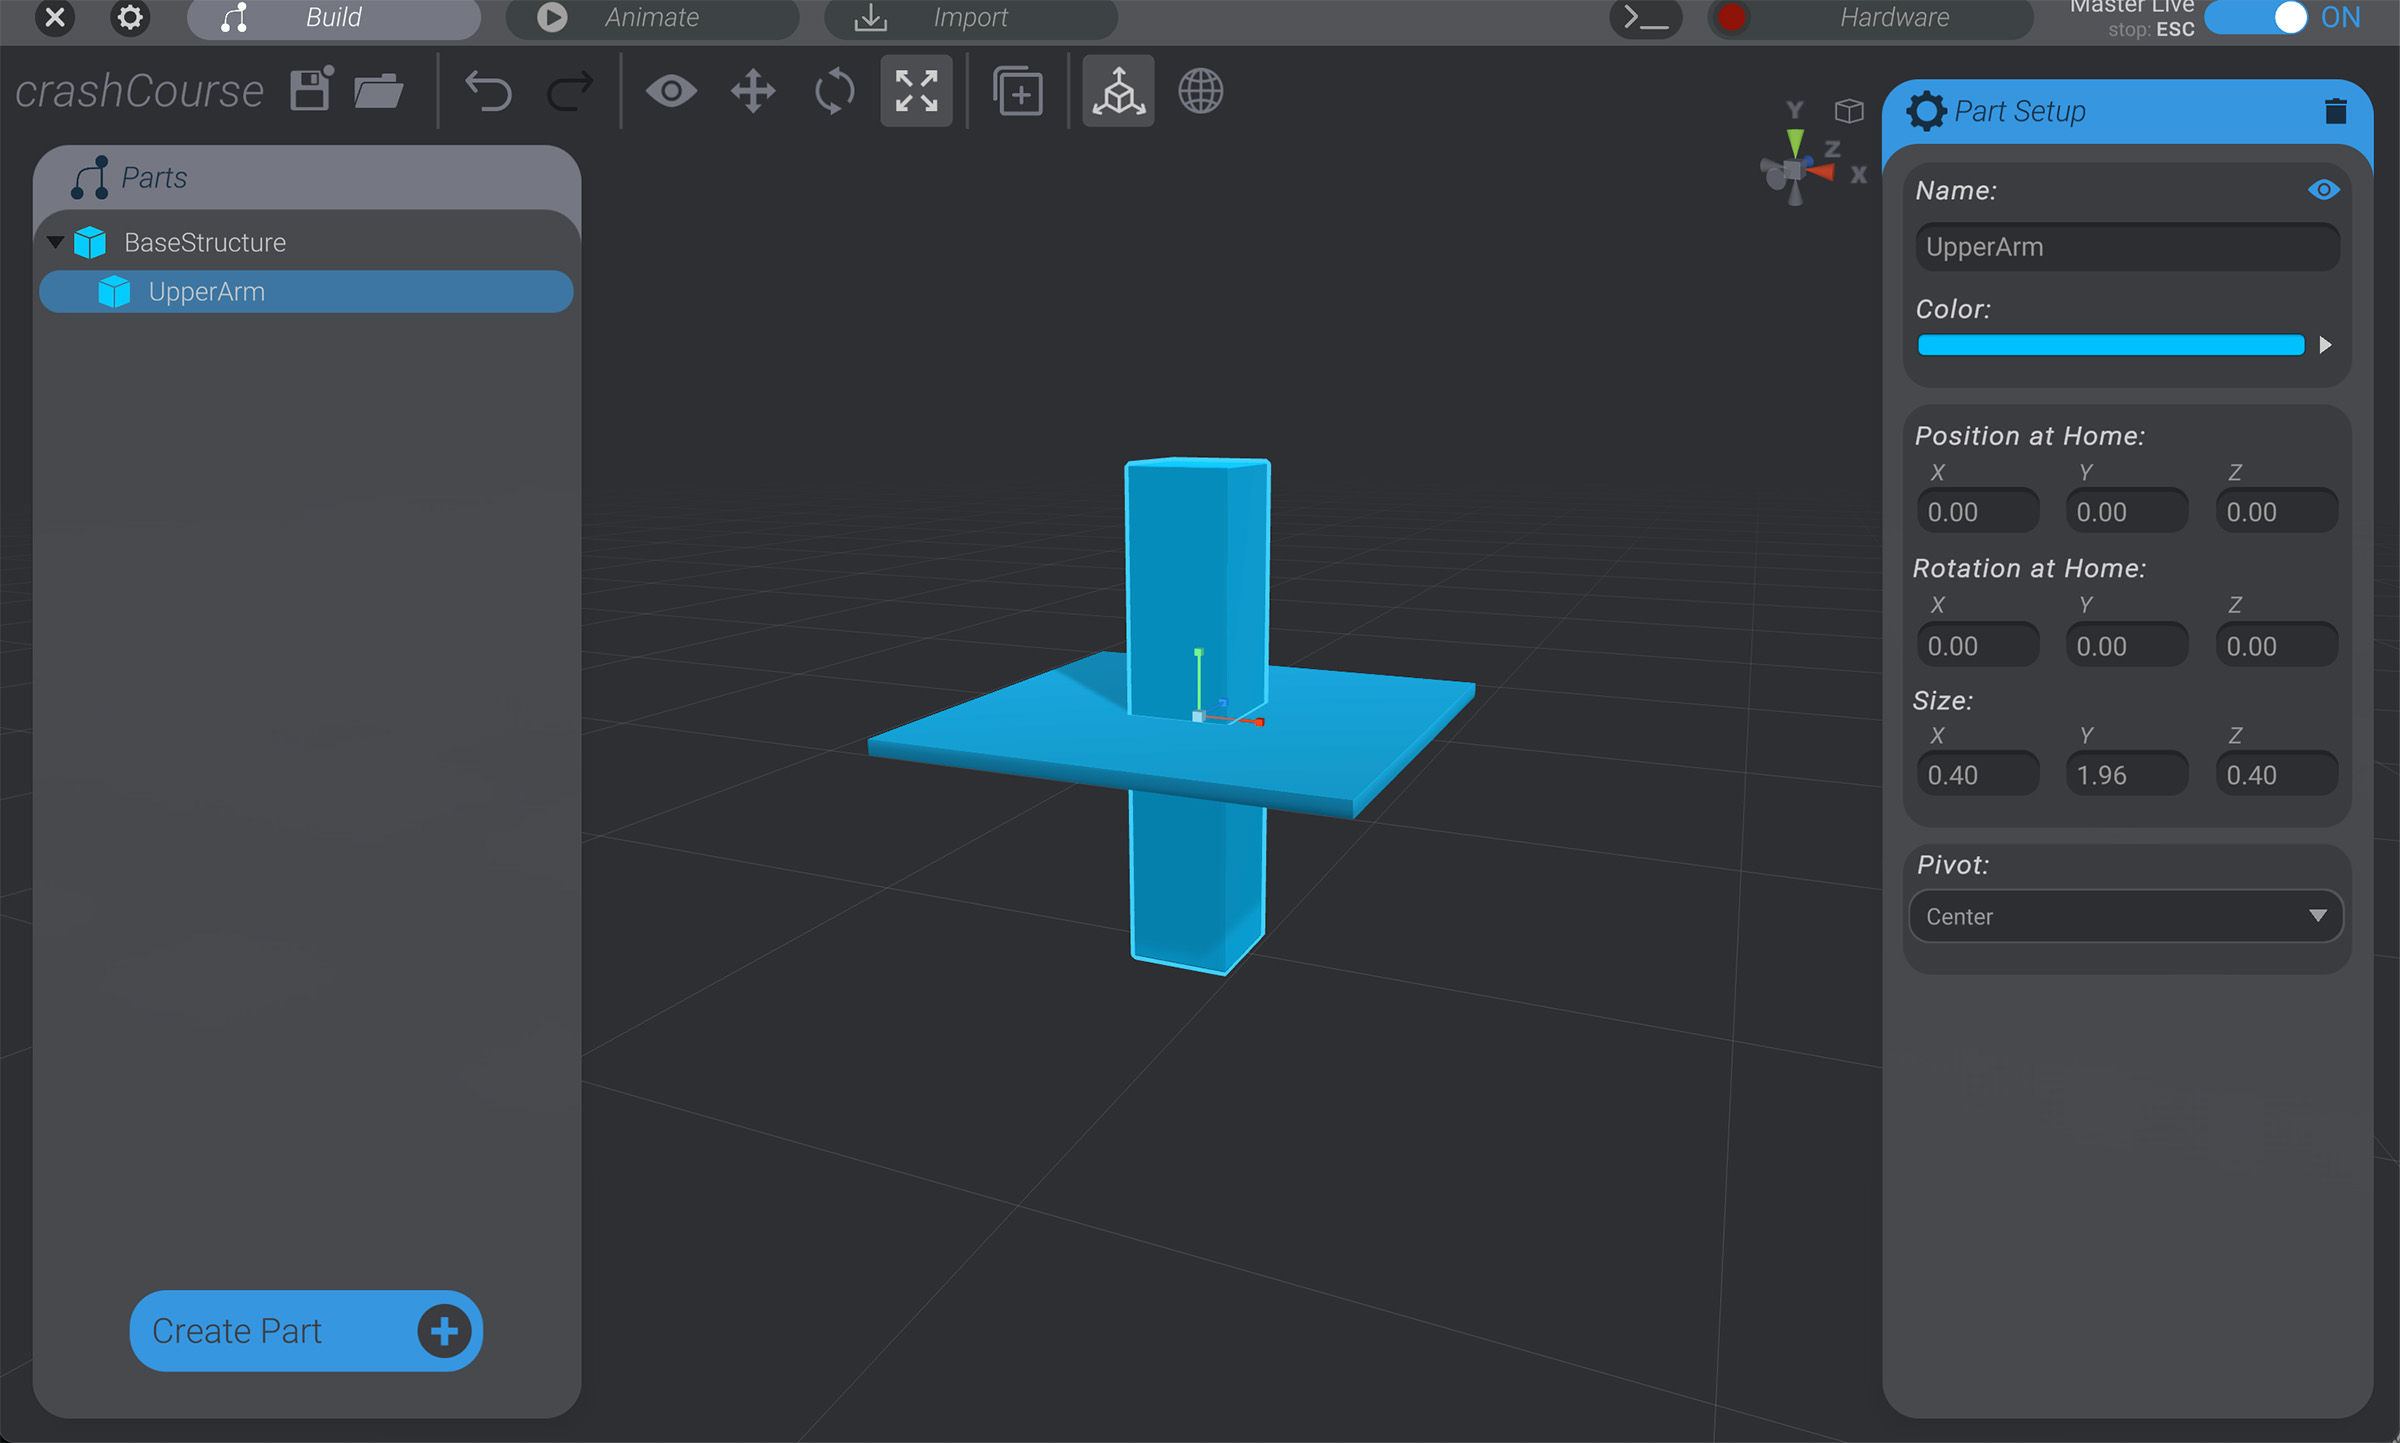
-
Use the move tool (
Wkey on your keyboard) to moveUpperArmso that its base rests on top ofBaseStructure. The exact size and position again doesn’t matter, just get it “close enough.”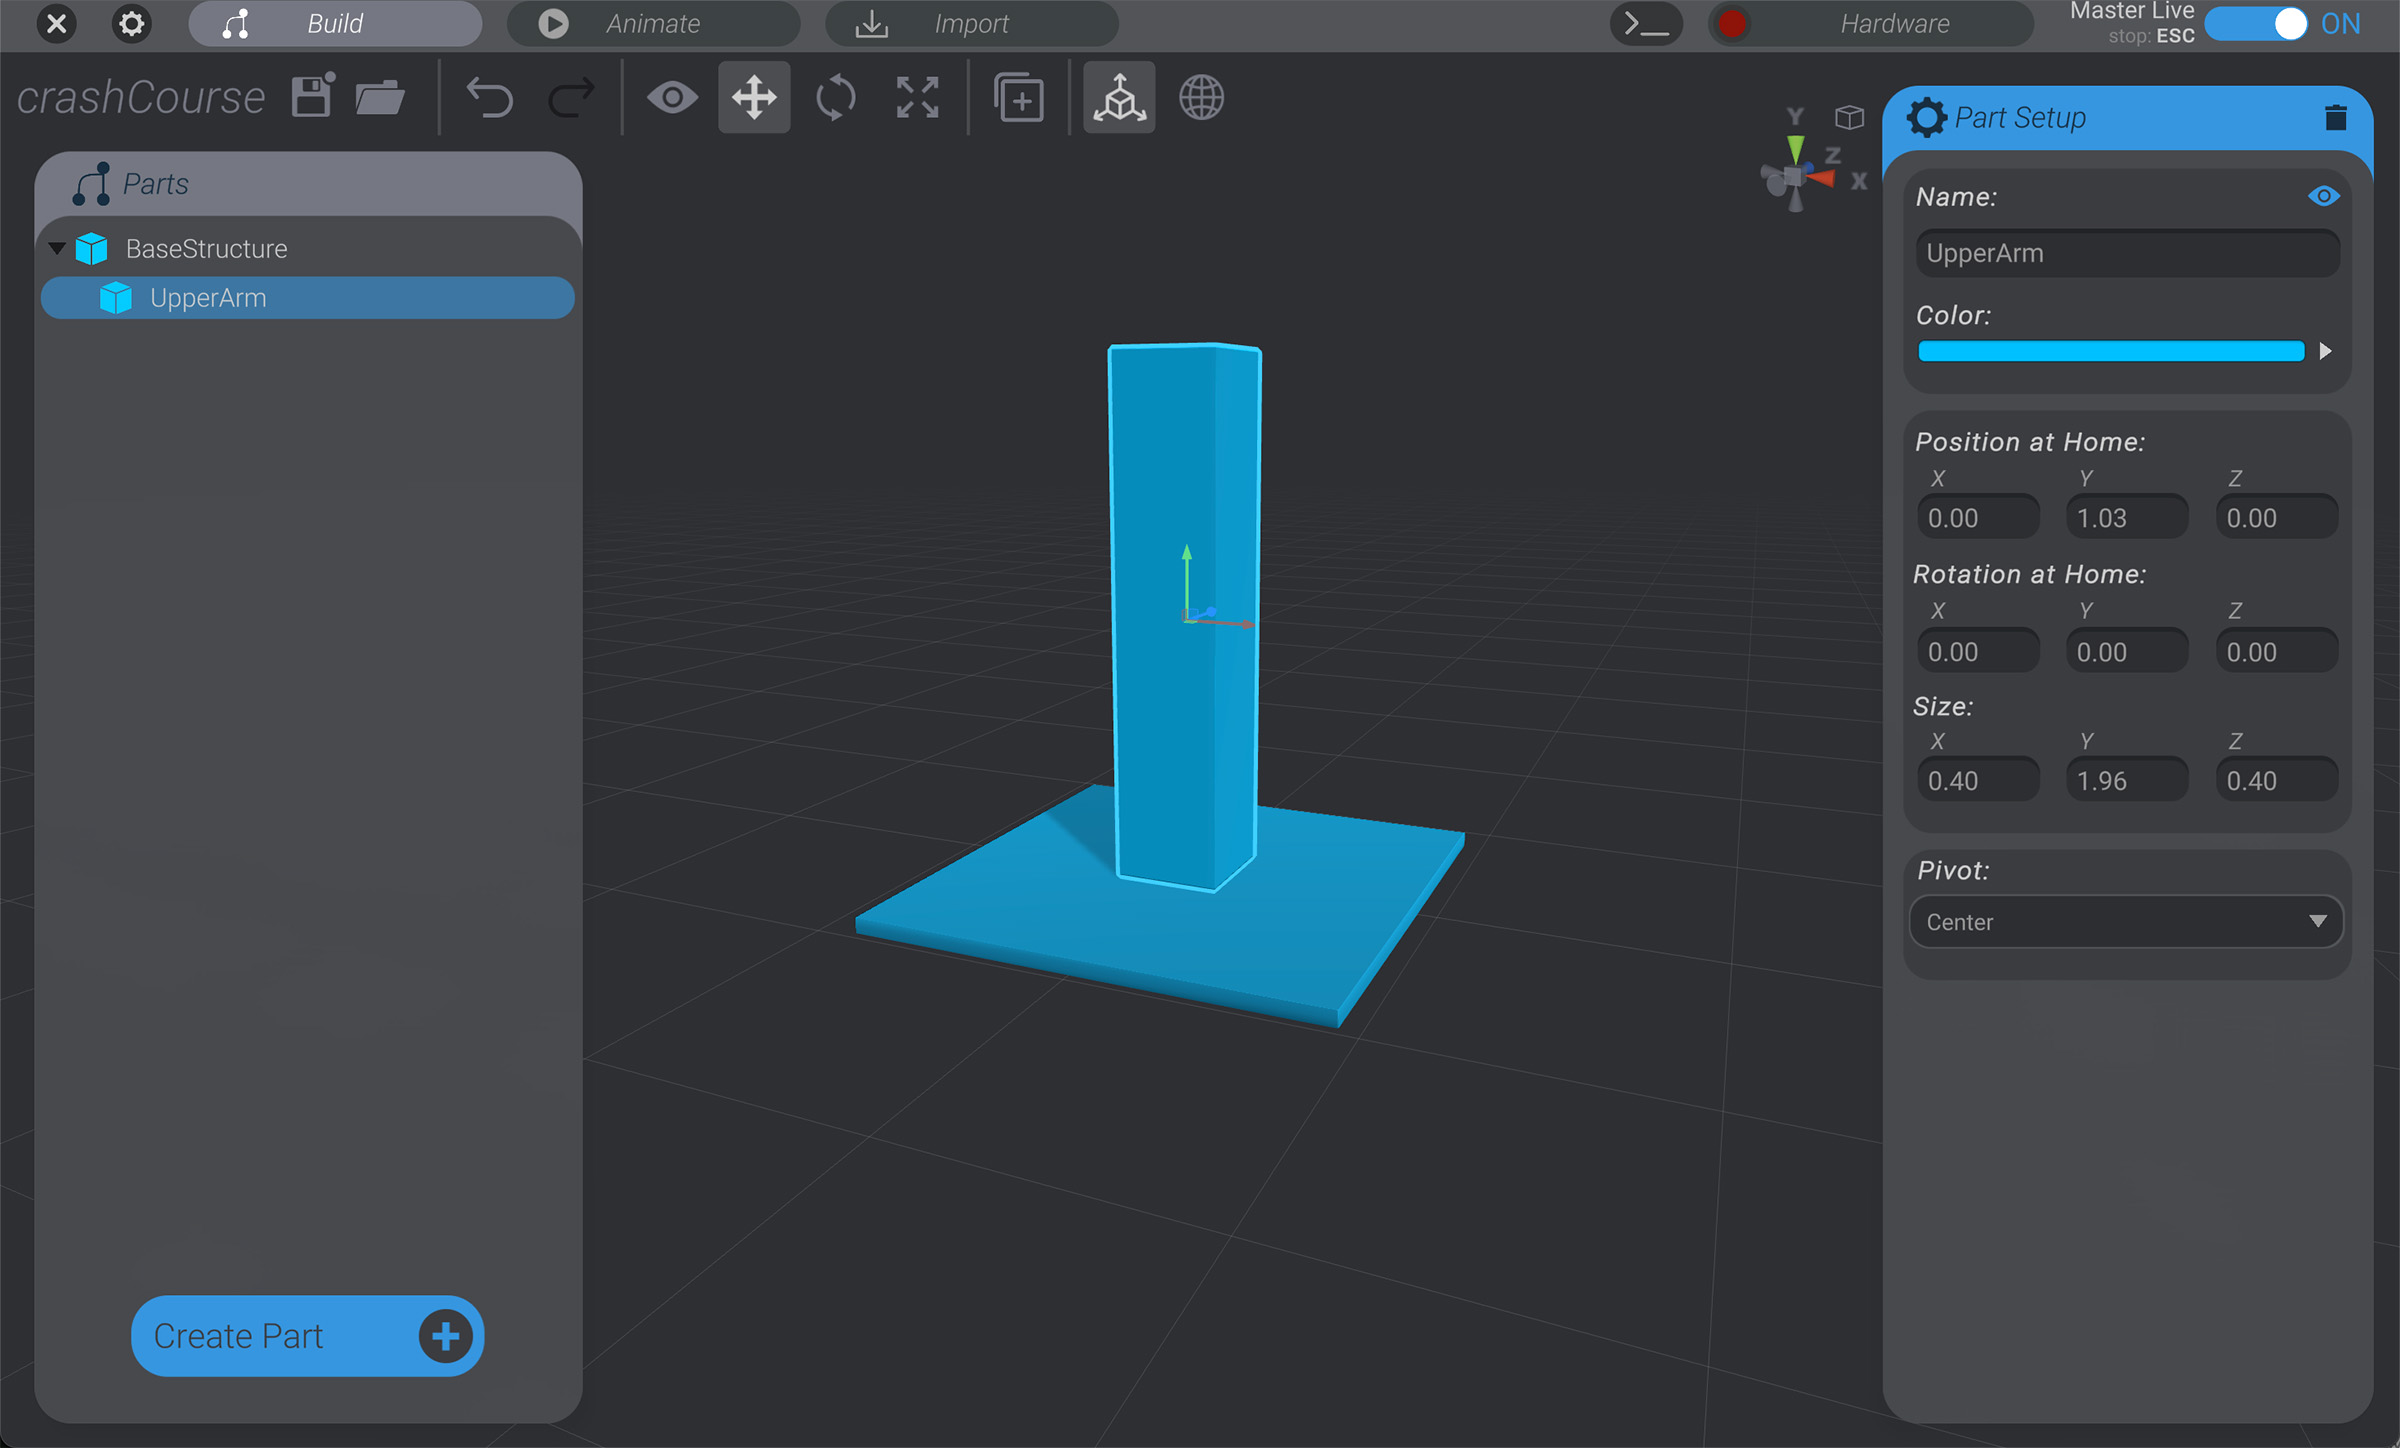
Create the remaining structures
Section titled “Create the remaining structures”-
Click in an empty space in the project view to remove all current selections. Then create a third cube, named “
Forearm.”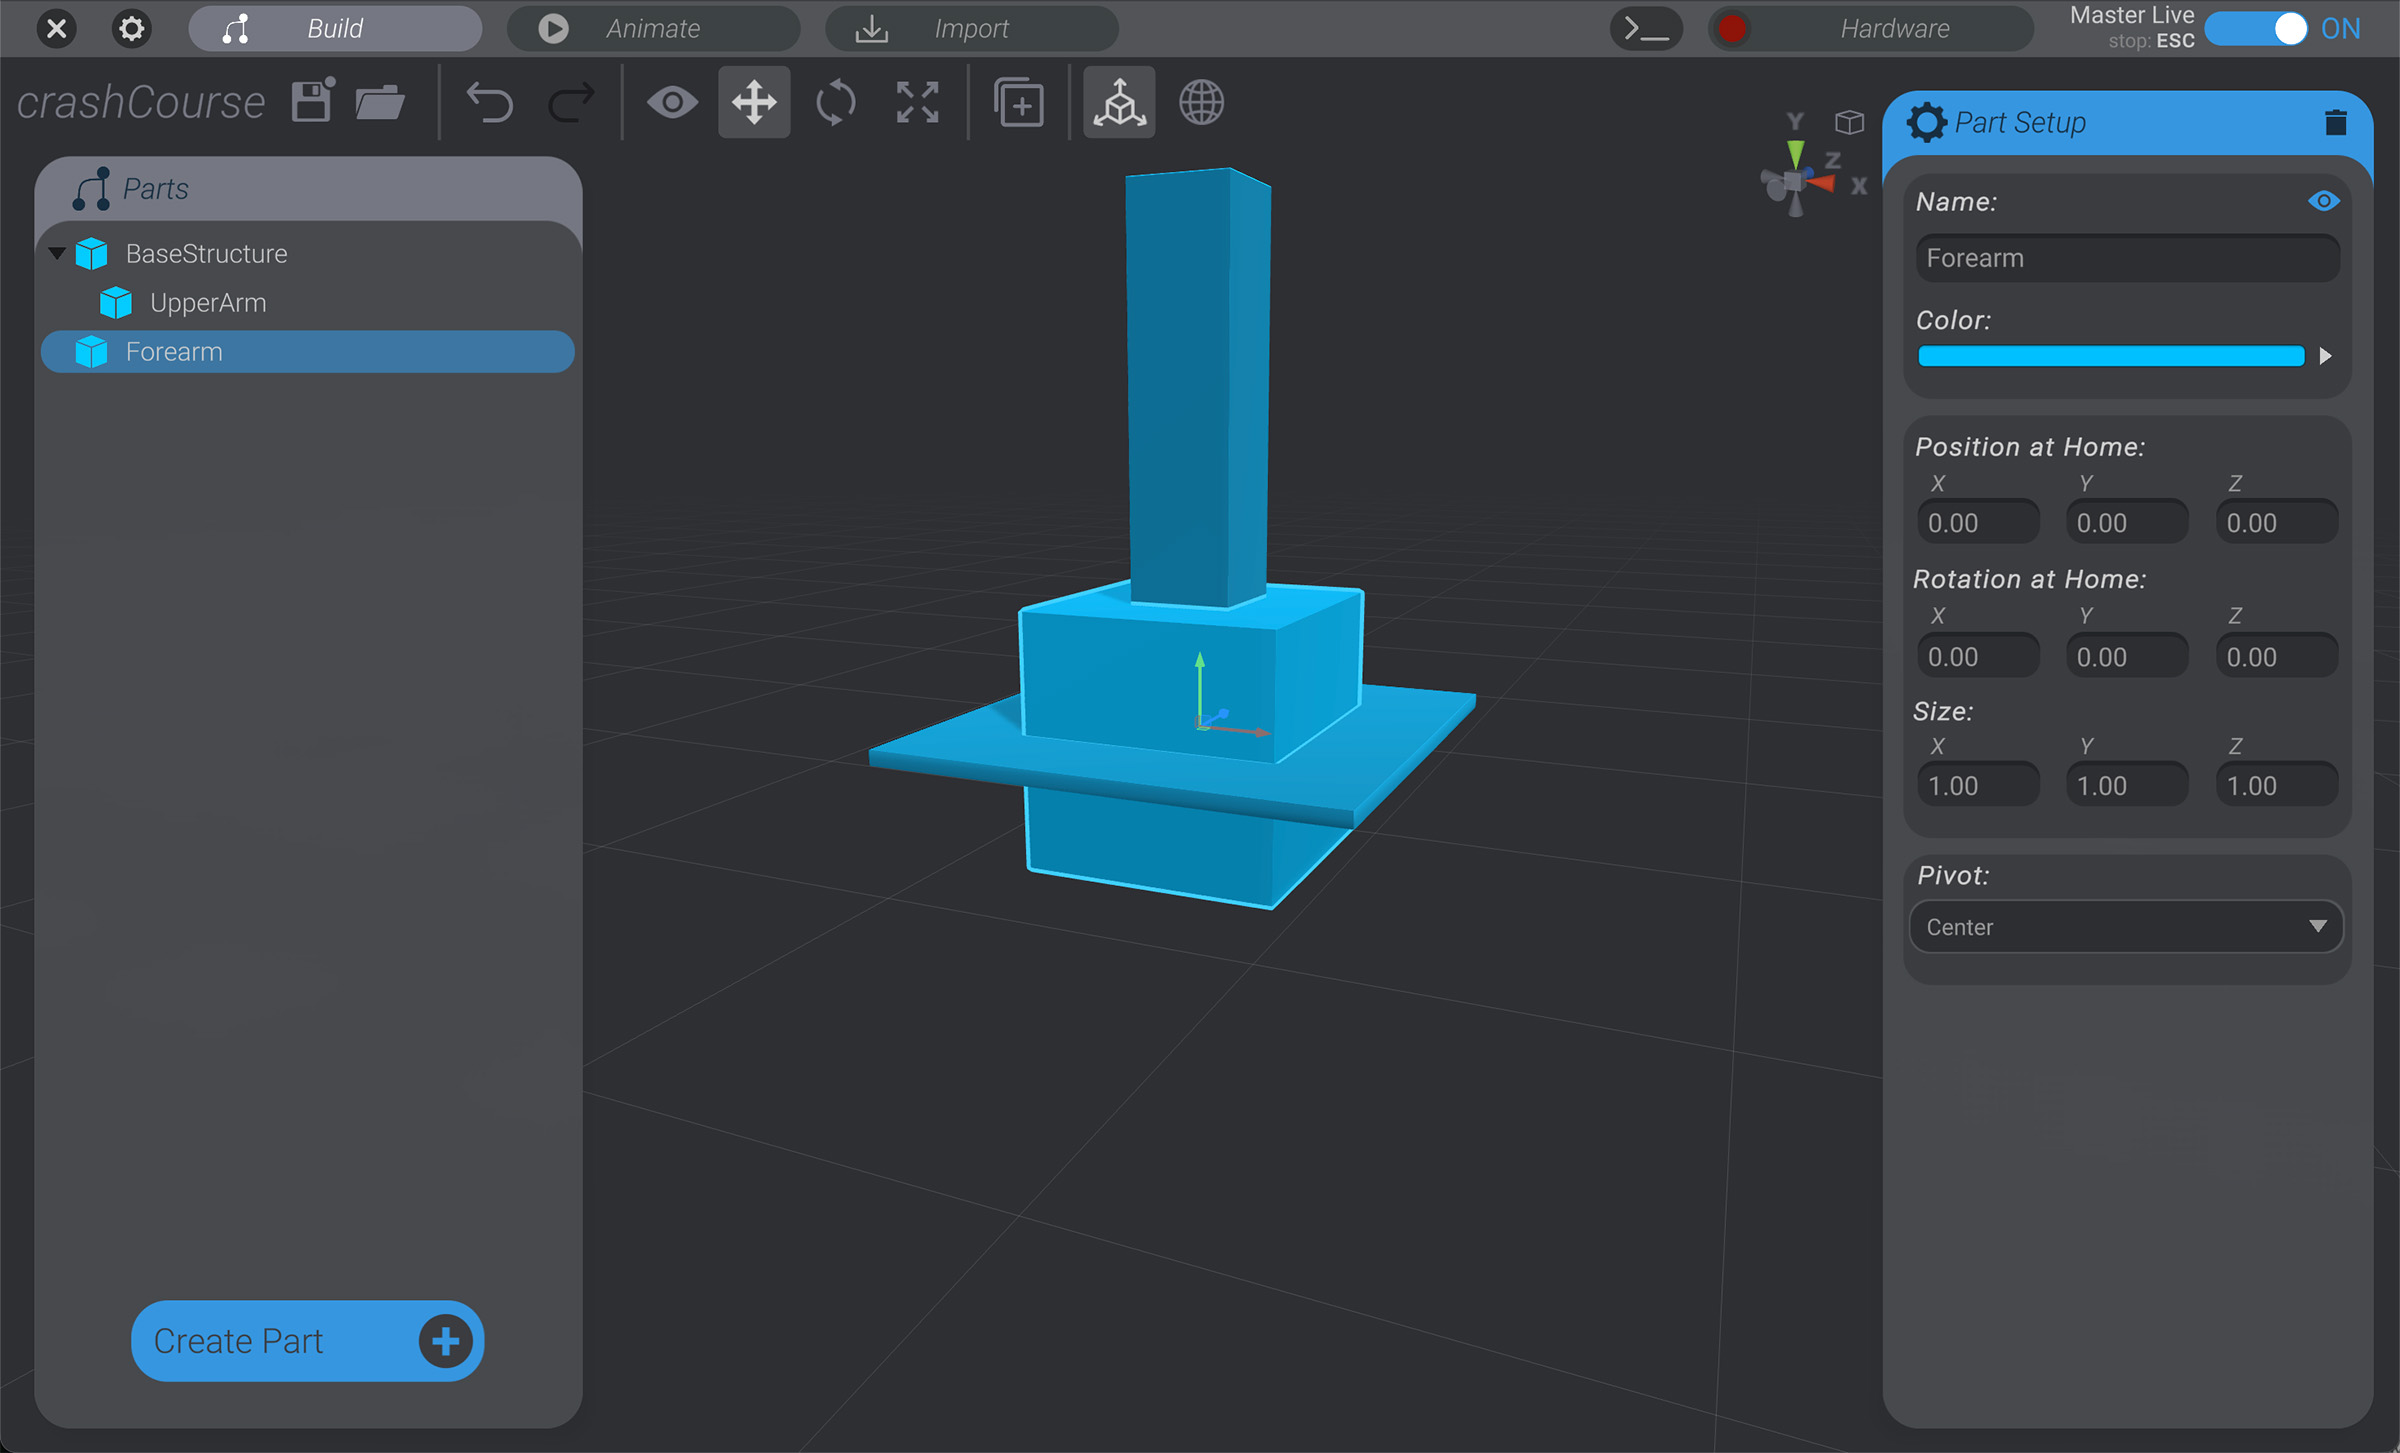
-
Because you created this structure with nothing selected, it was created at the “root” of the project, and is not a child of any other part.
-
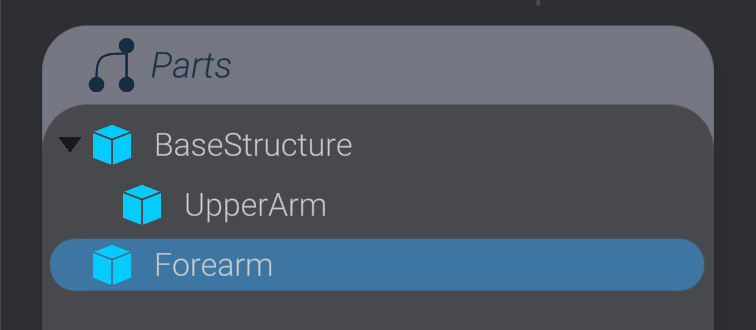
Drag and drop the
Forearmstructure in the left side “Parts” menu on top of theUpperArmstructure, like you would drag a file into a folder. This makesUpperArma parent ofForearm. -
Move (
Wkey) / Rotate (Ekey) / Scale (Rkey)Forearmuntil it’s roughly the size and position shown.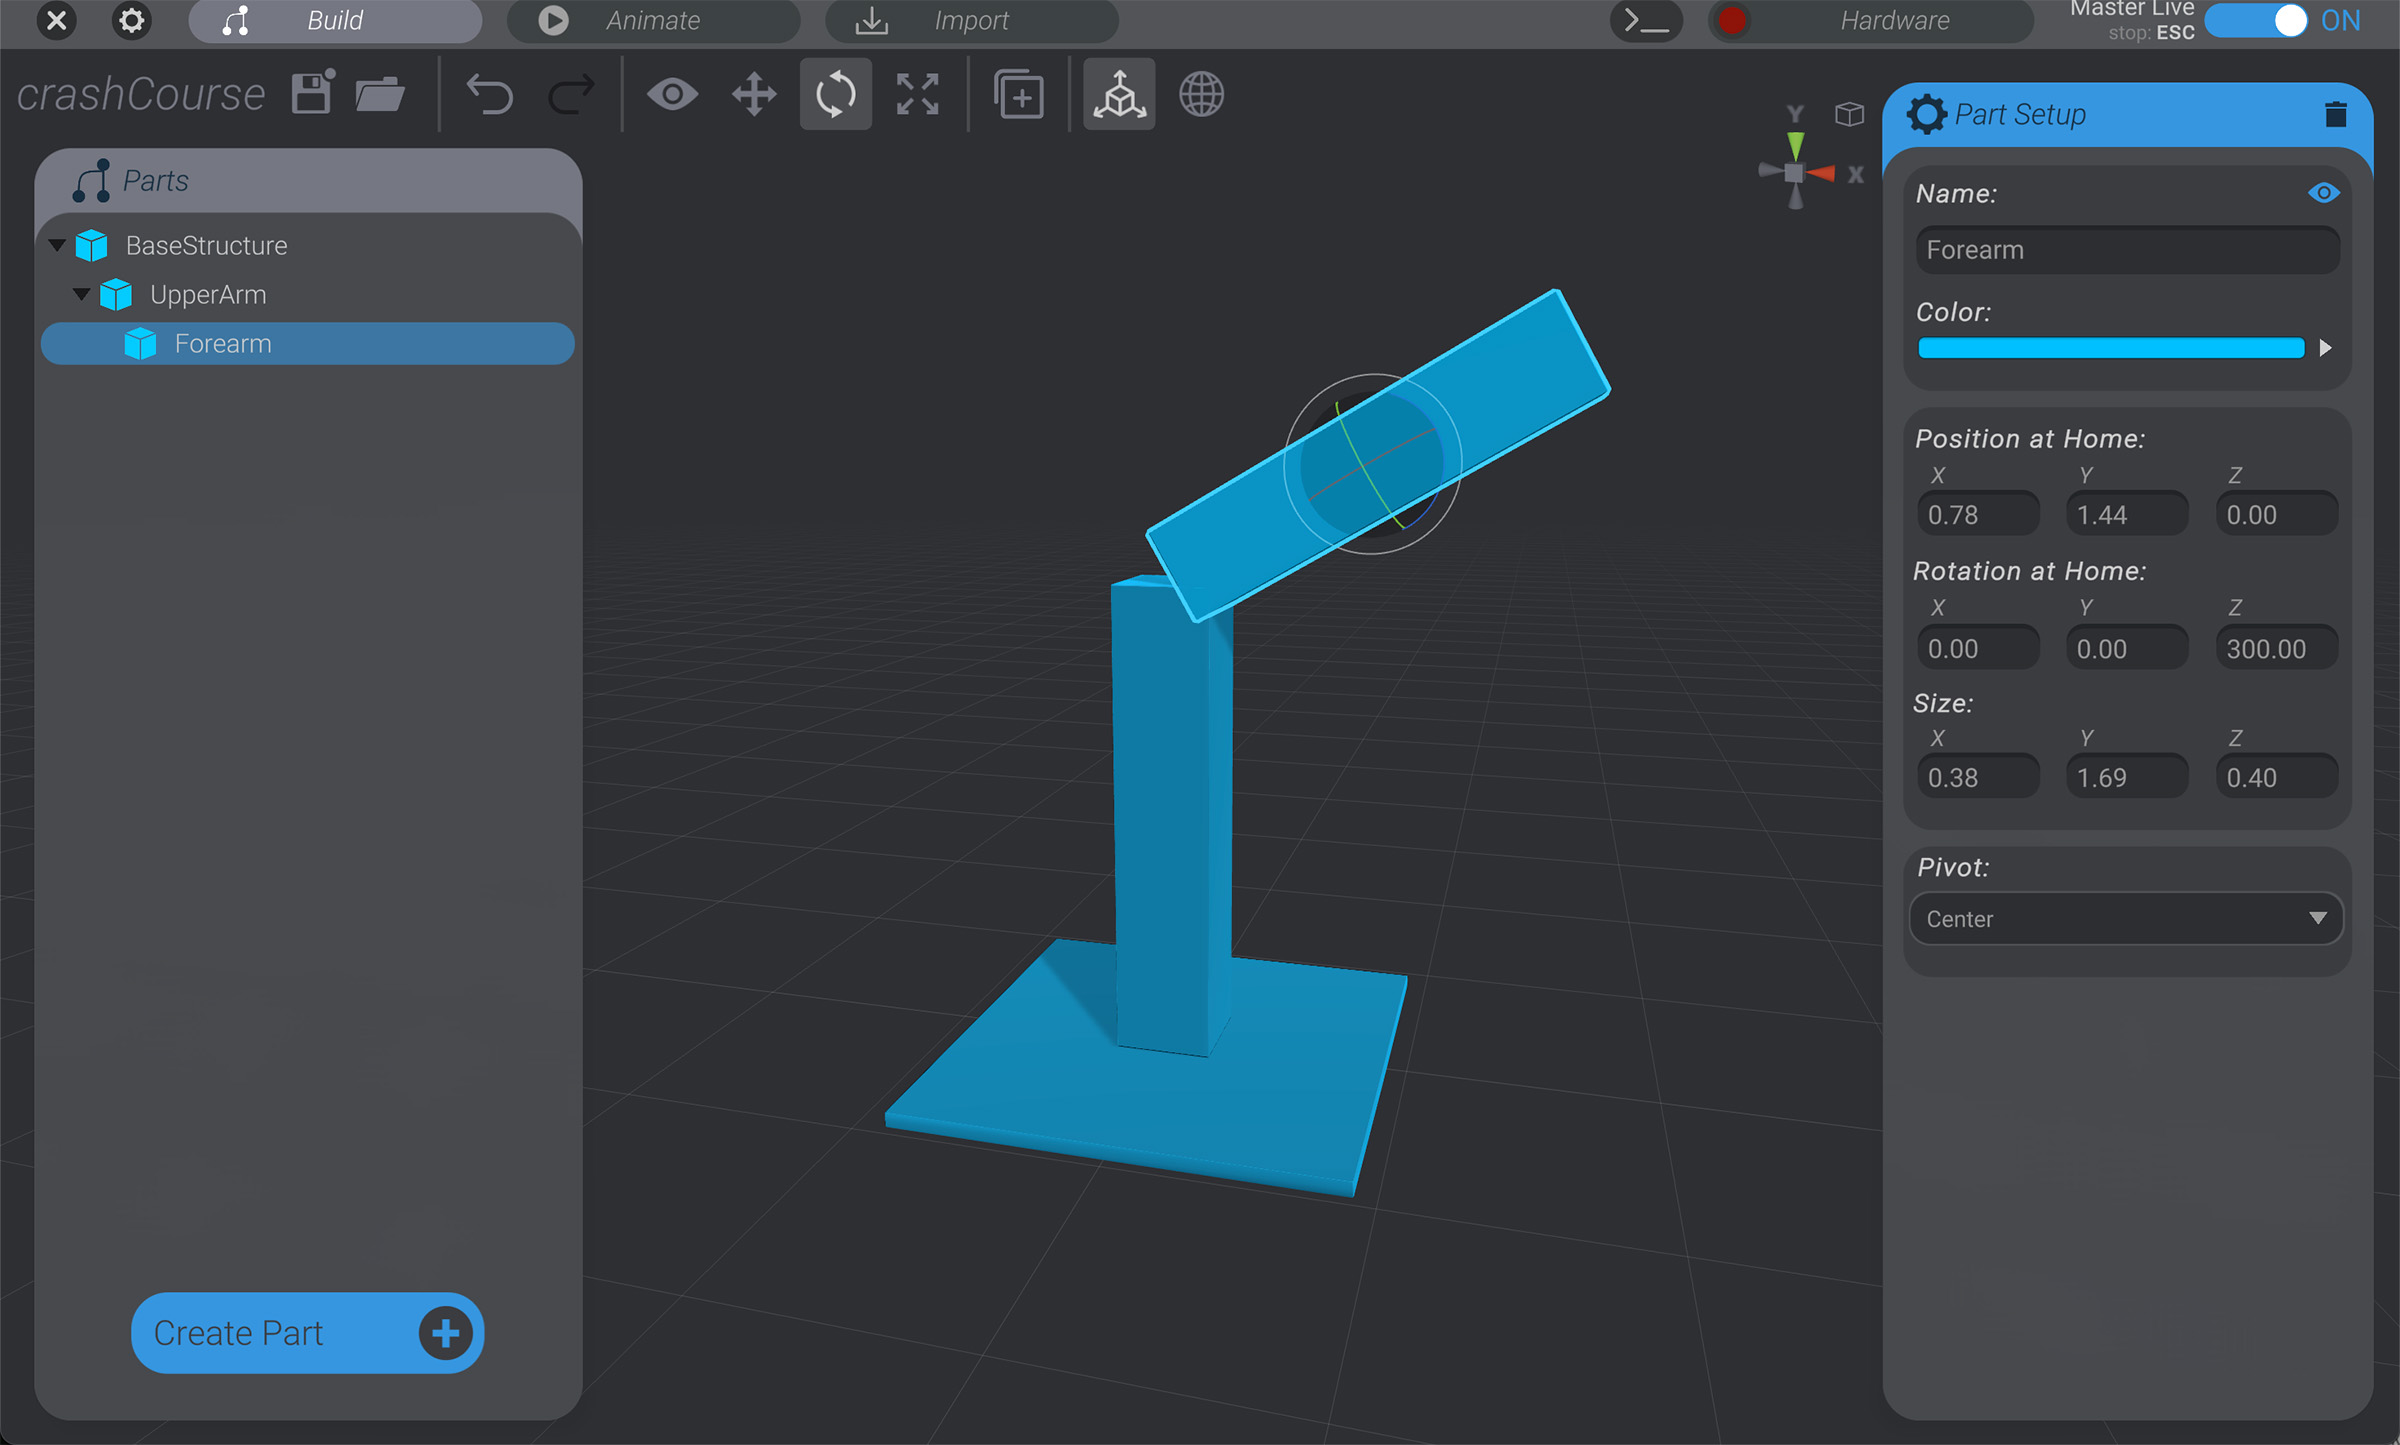
-
Repeat all the techniques so far to create the final structure, “
Hand.” Make sureHandis a child ofForearm, and move (Wkey) / rotate (Ekey) / scale (Rkey) it until it’s roughly the size and position shown.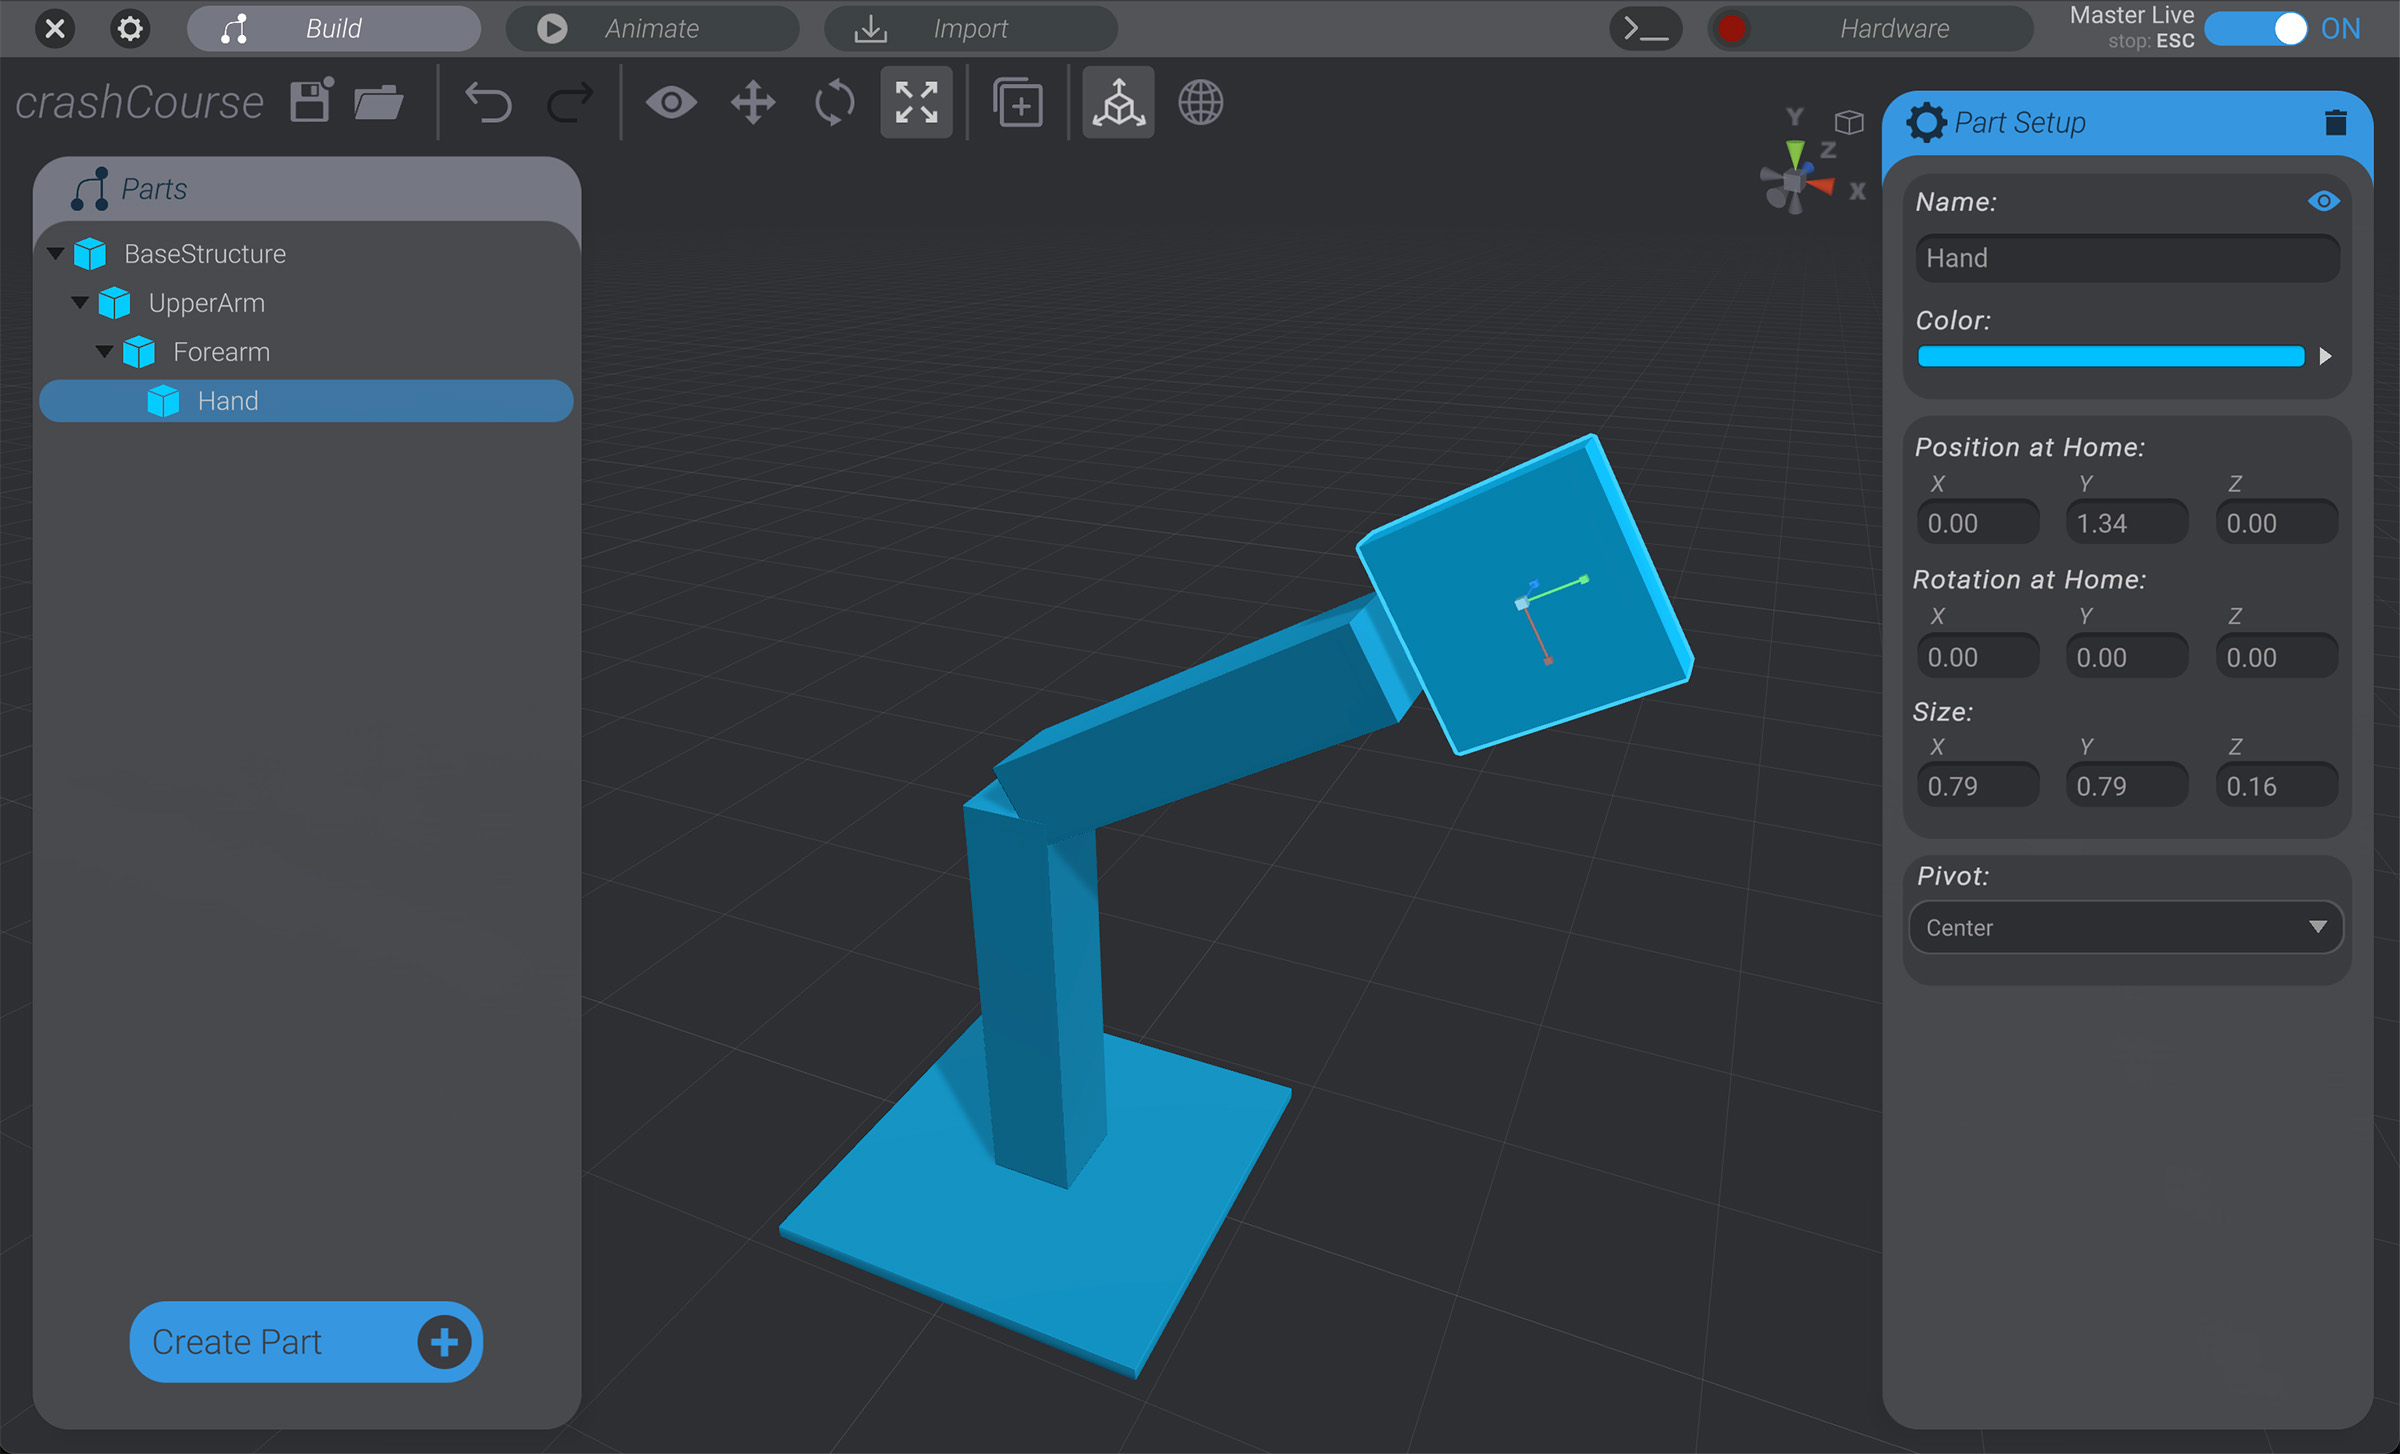
Finish the structures
Section titled “Finish the structures”-
Select
BaseStructure, which should be a parent of all the other structures made so far, then rotate it 90 degrees in theZ-axis. If you’ve done the above steps correctly, all the other structures will rotate with it, maintaining the same relative positions and rotations, while rotating the entire assembly.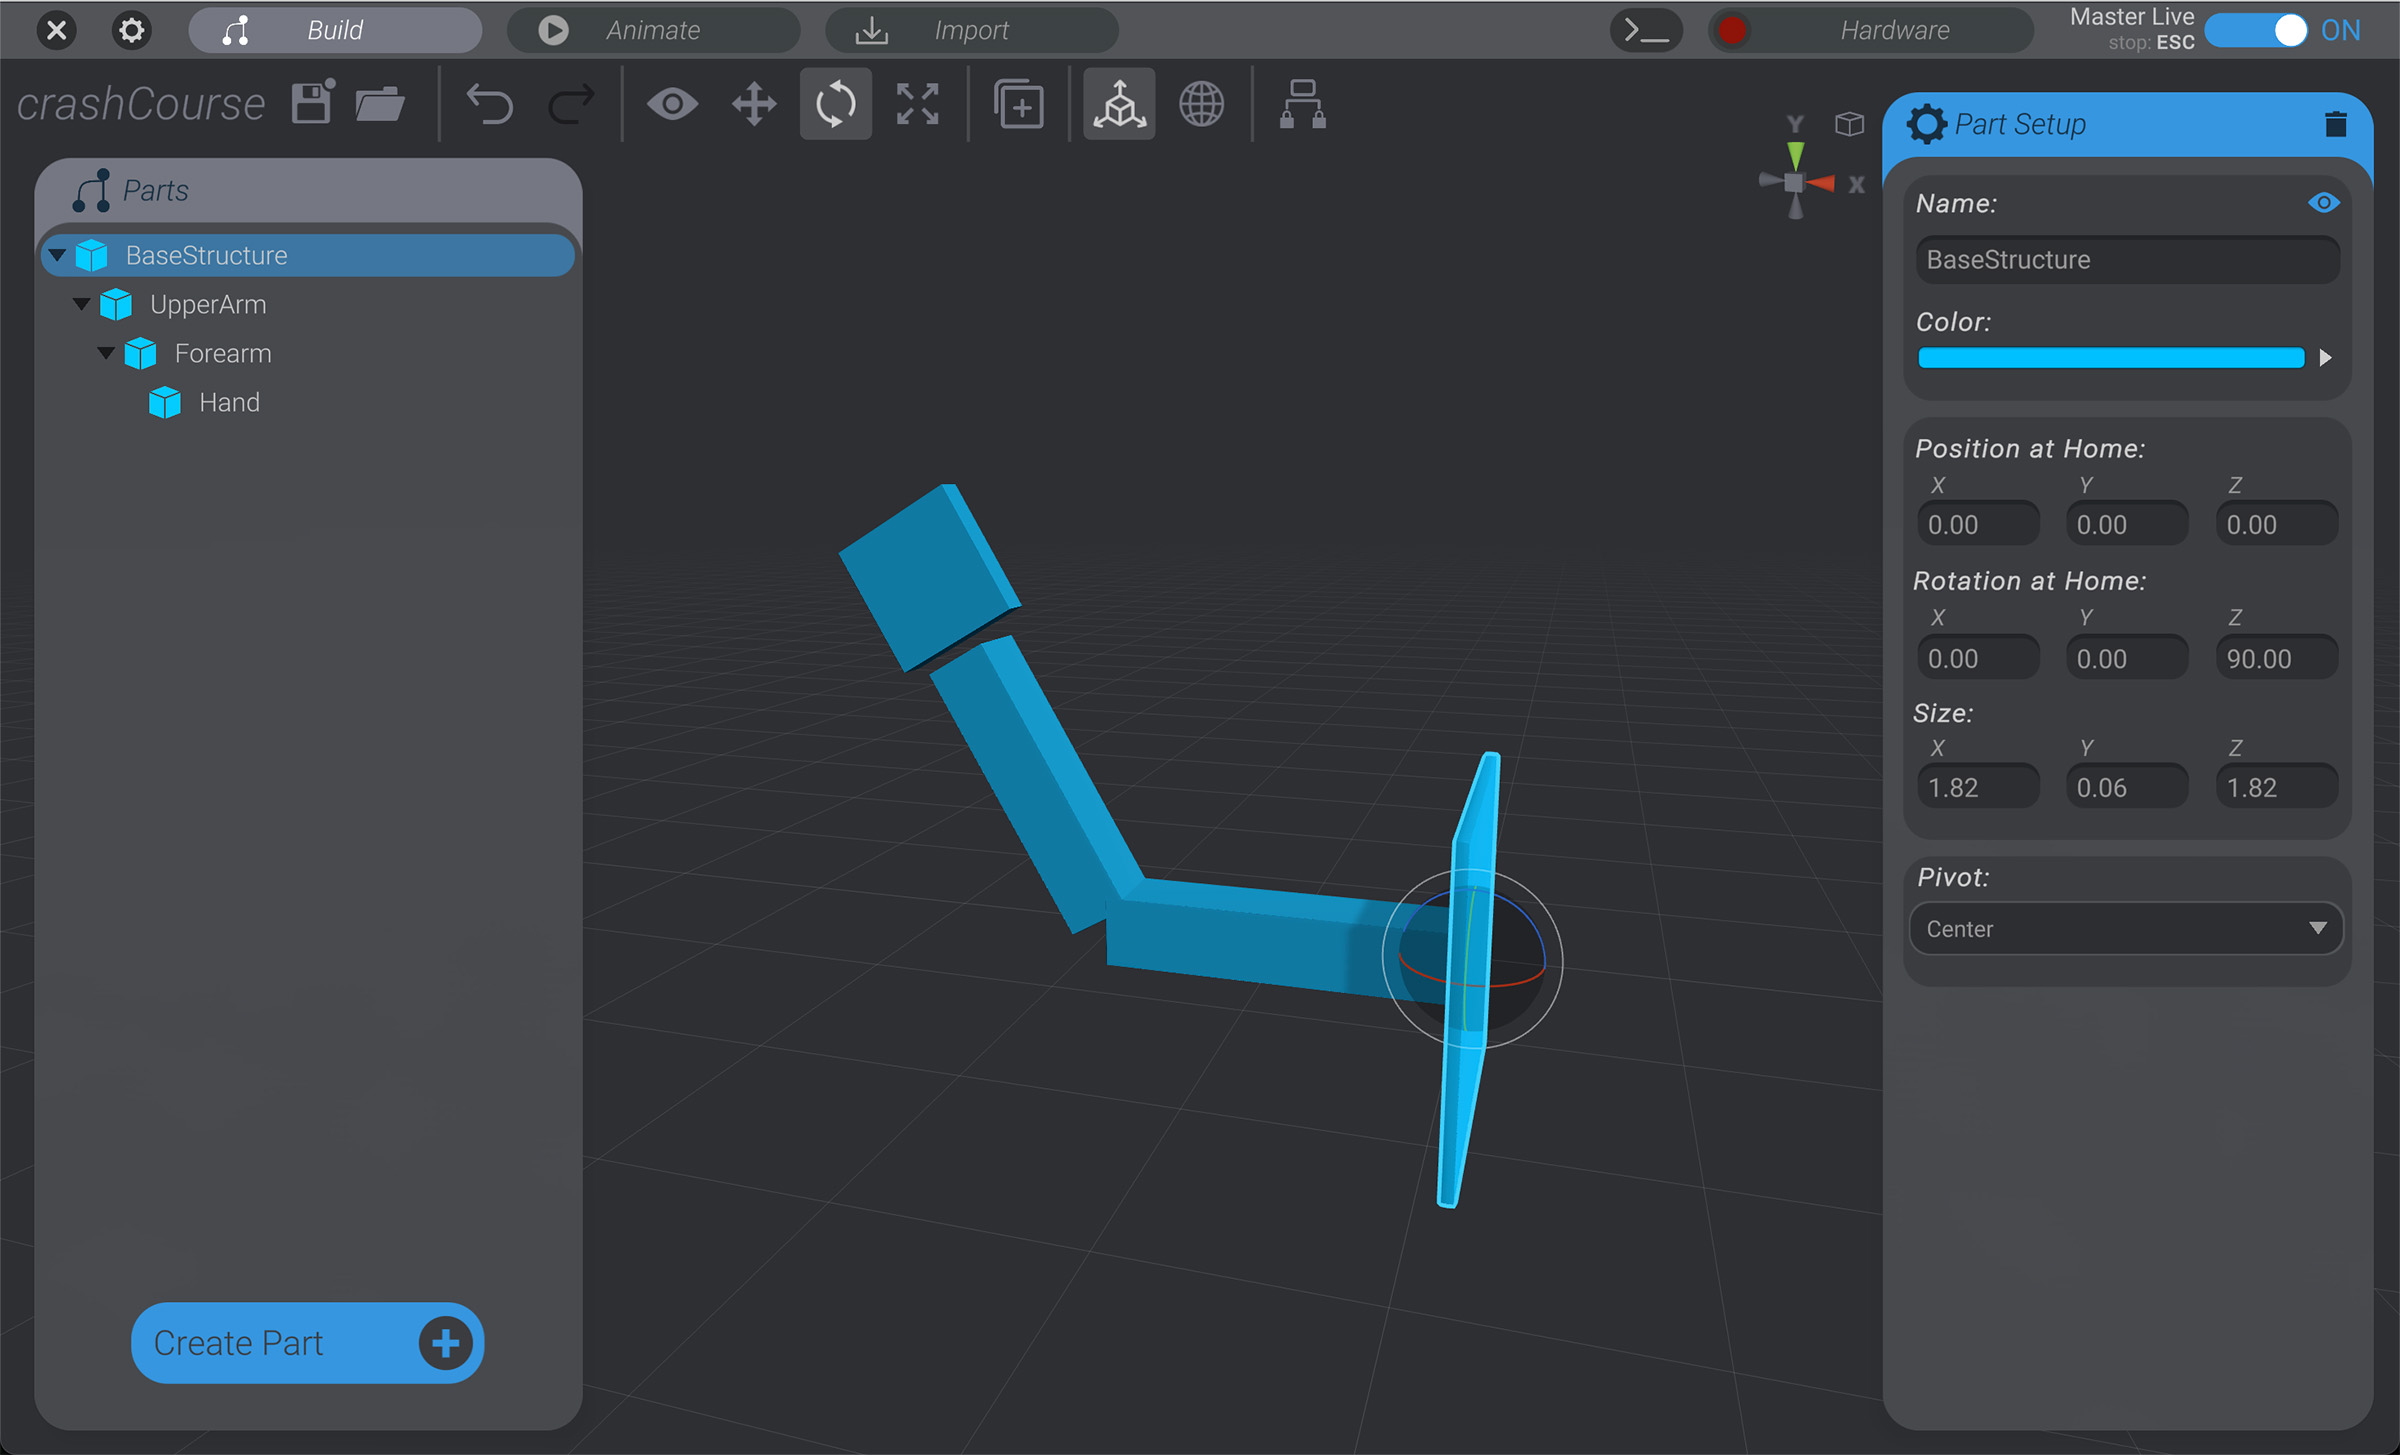
Why did we model one way, then rotate the whole assembly after? So you can feel out the process of rotating an entire assembly and see parent/child relationships in action. We could have also modeled out the structures like shown from the start.
-
As an optional step, you can add fingers as a child of Hand.
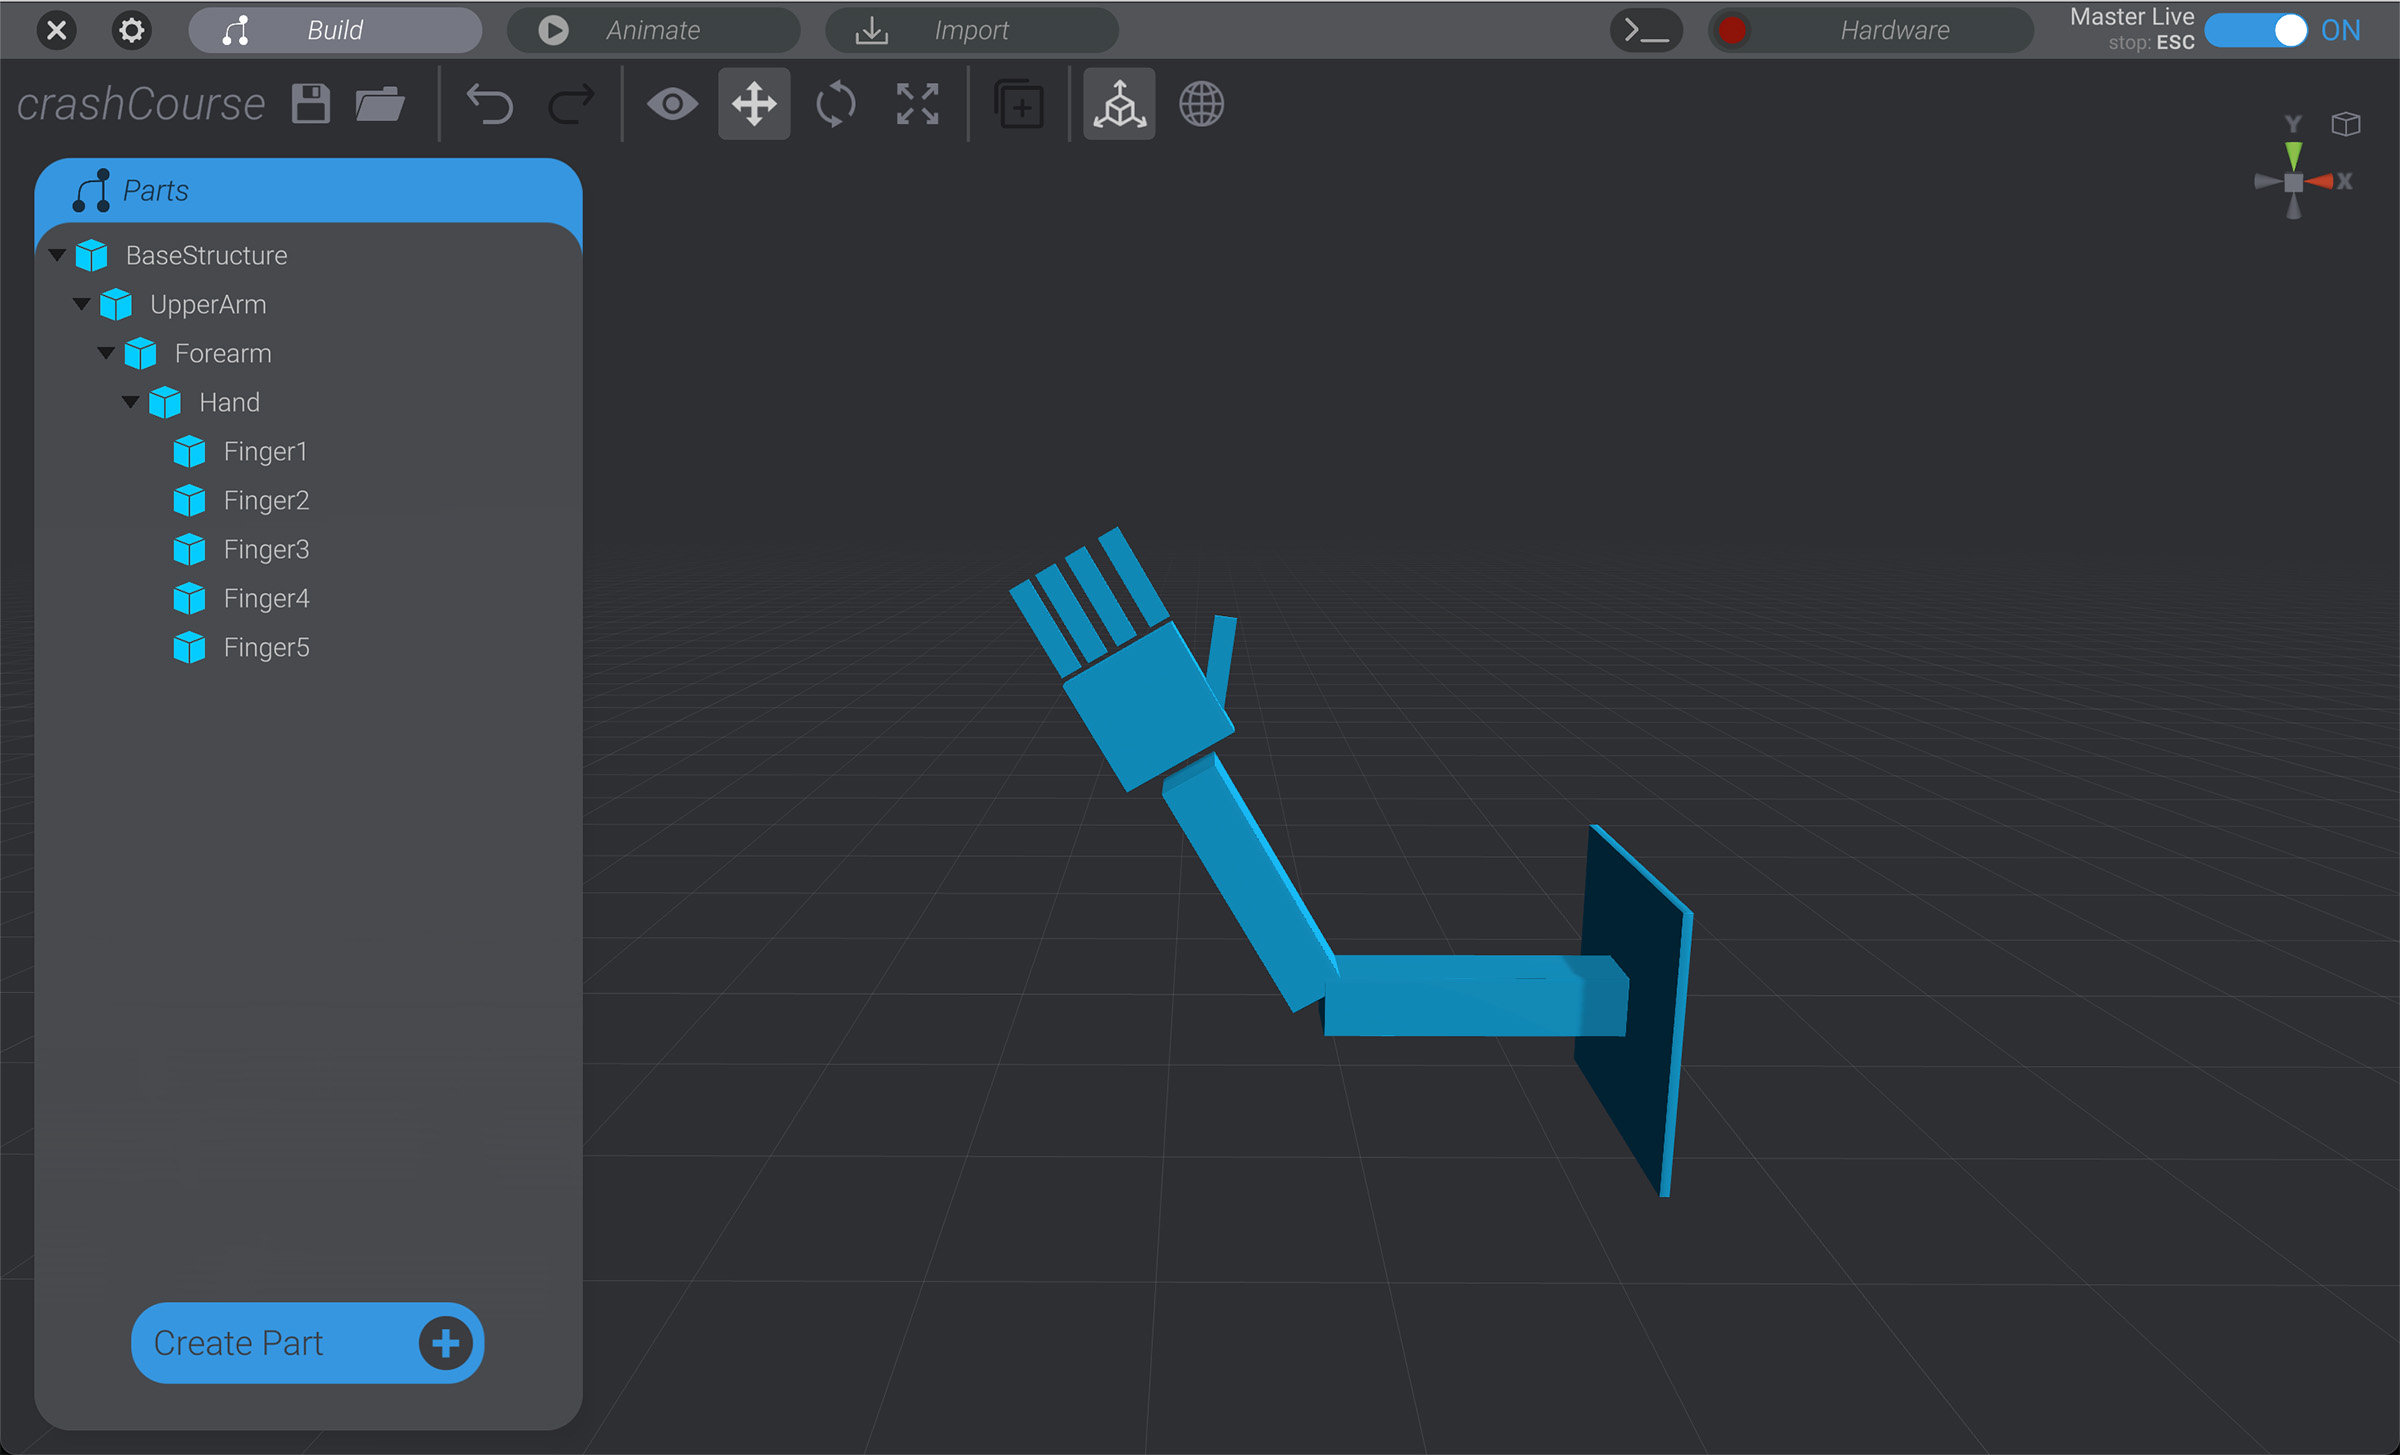
The fingers aren’t strictly needed, but may help as slightly higher visual fidelity of a waving hand when we’re animating. It’s up to you.