Create a Project
We’ll start by creating a new blank project, and learning how to navigate.
-
Download the latest version of Bottango, and install it. Be sure on Windows to extract the downloaded zip file, as you’ll need items in the archive besides the installer.
-
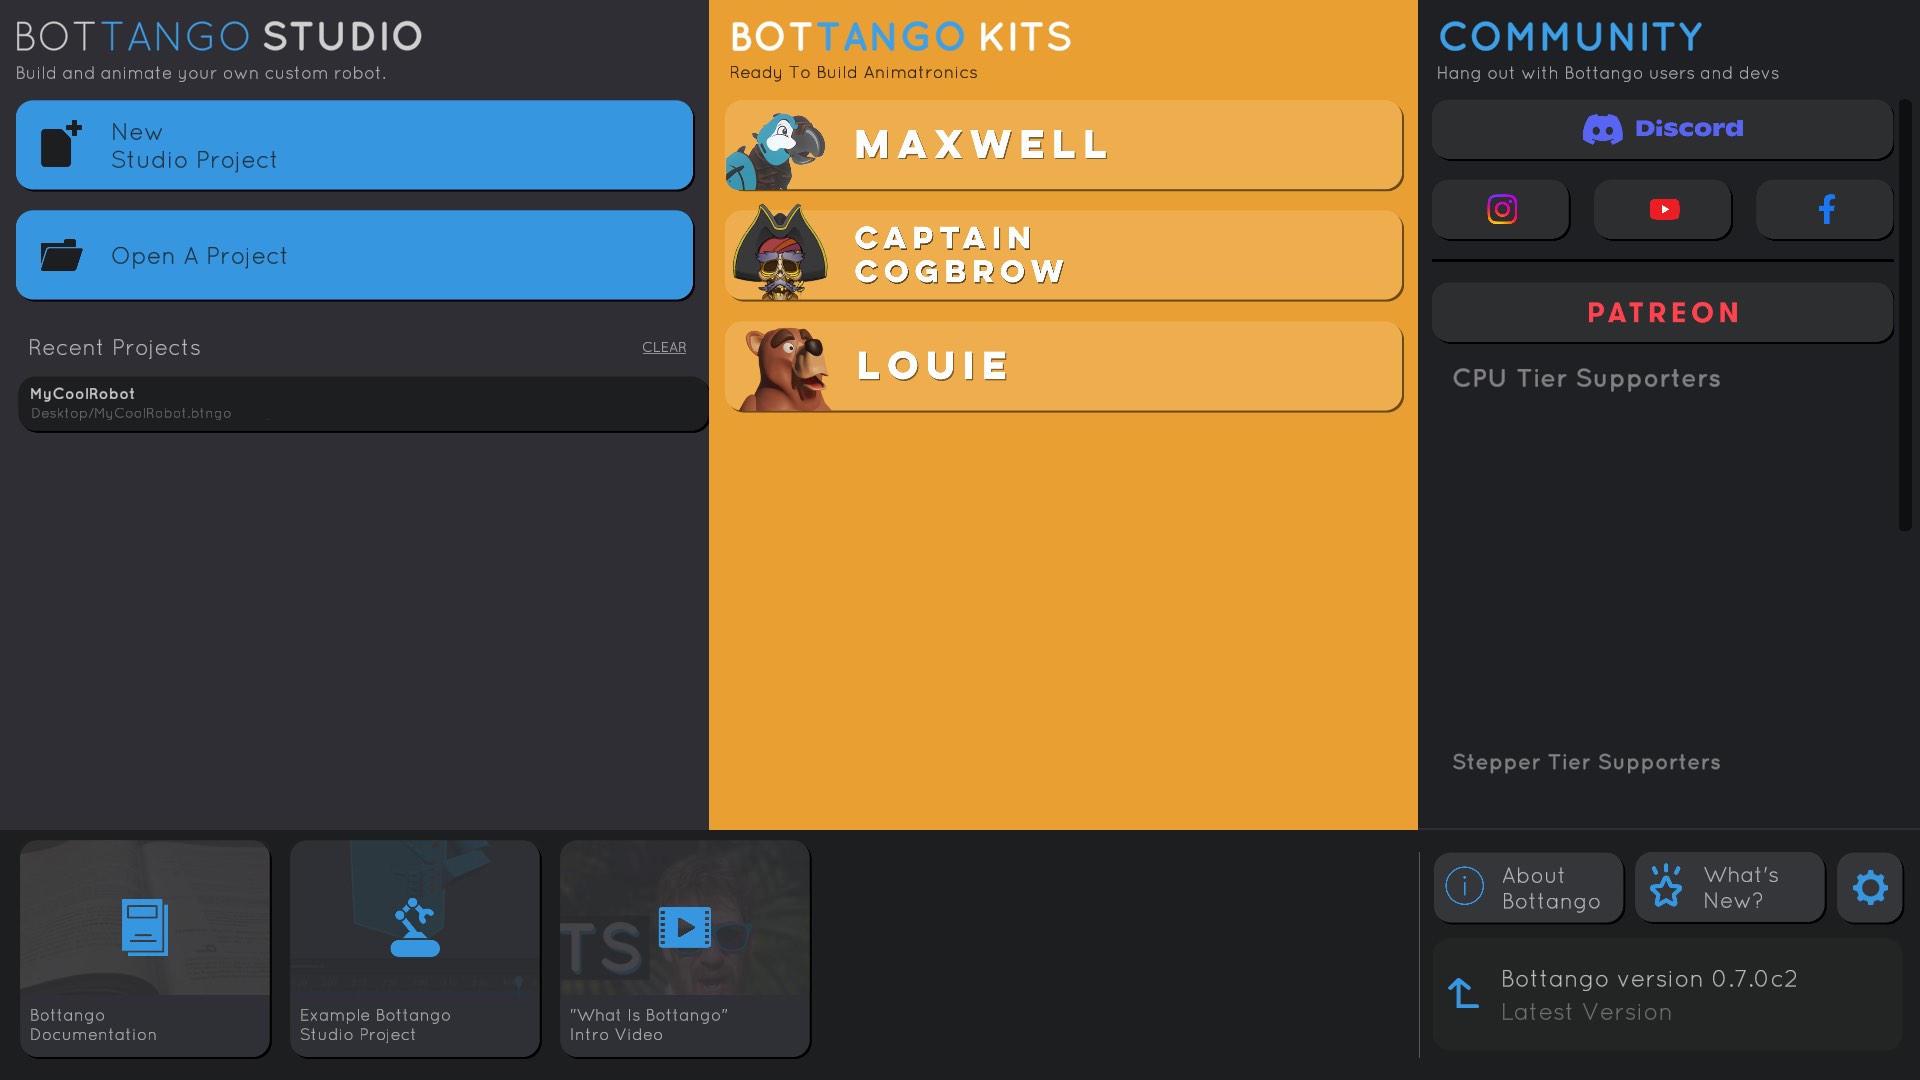
Launch Bottango. After you read and agree to the EULA, you’ll be in the home screen.
-
Click “
New Studio Project”.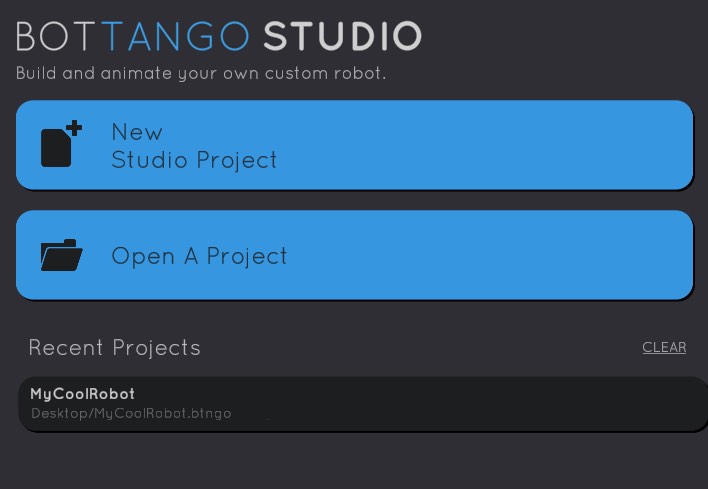
-
Once you click “
New Studio Project” you’ll be taken to a new empty Bottango Studio project.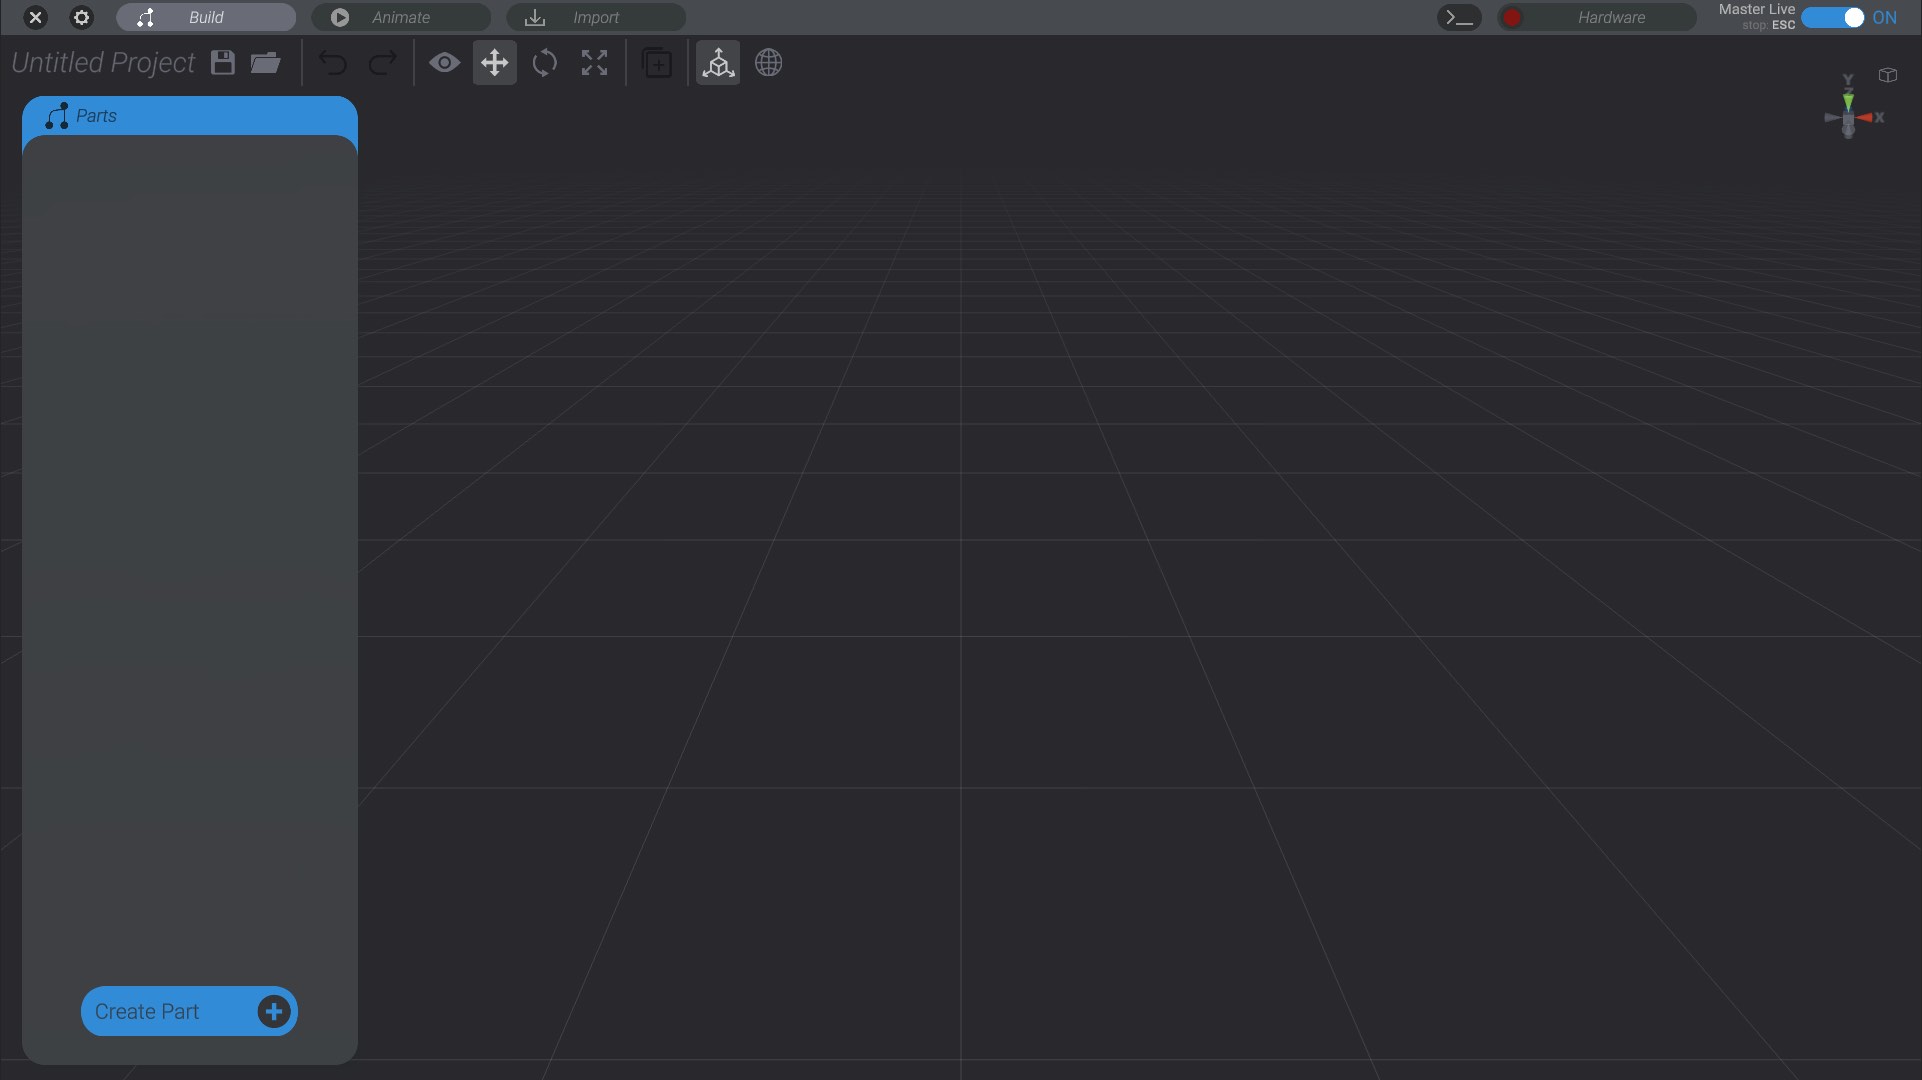
Camera Control
Section titled “Camera Control”Bottango is a 3D application, so you can control your robot in 3D space. Try each of these controls to test out navigating the 3D space.
- Zoom: Use the mouse scroll wheel to zoom in and out.
- Rotate: Drag with right-click to rotate. Alternatively hold down
option(macOS) oralt(Windows) while dragging with left click to rotate the camera. The camera will rotate around the last set pivot. - Pan: Drag with middle-click to pan. Alternatively you can hold down
option + command(macOS) oralt + control(Windows) while dragging with left click to pan the camera. Panning the camera will also move the camera pivot. - Focus: Press “
F” while a part is selected to focus in on that part. (Since you have a blank project, there will not be a part yet. Remember to try this step once you create your first part)