Animate
To animate a robot in Bottango, you animate joints, moving them between their minimum and maximum range of movement. You create the animation by creating keyframes along a timeline and setting values at those keyframes.
When you go to the Animate view, you’ll see a lot of the same content that you saw in the Build view, but now ready to animate.
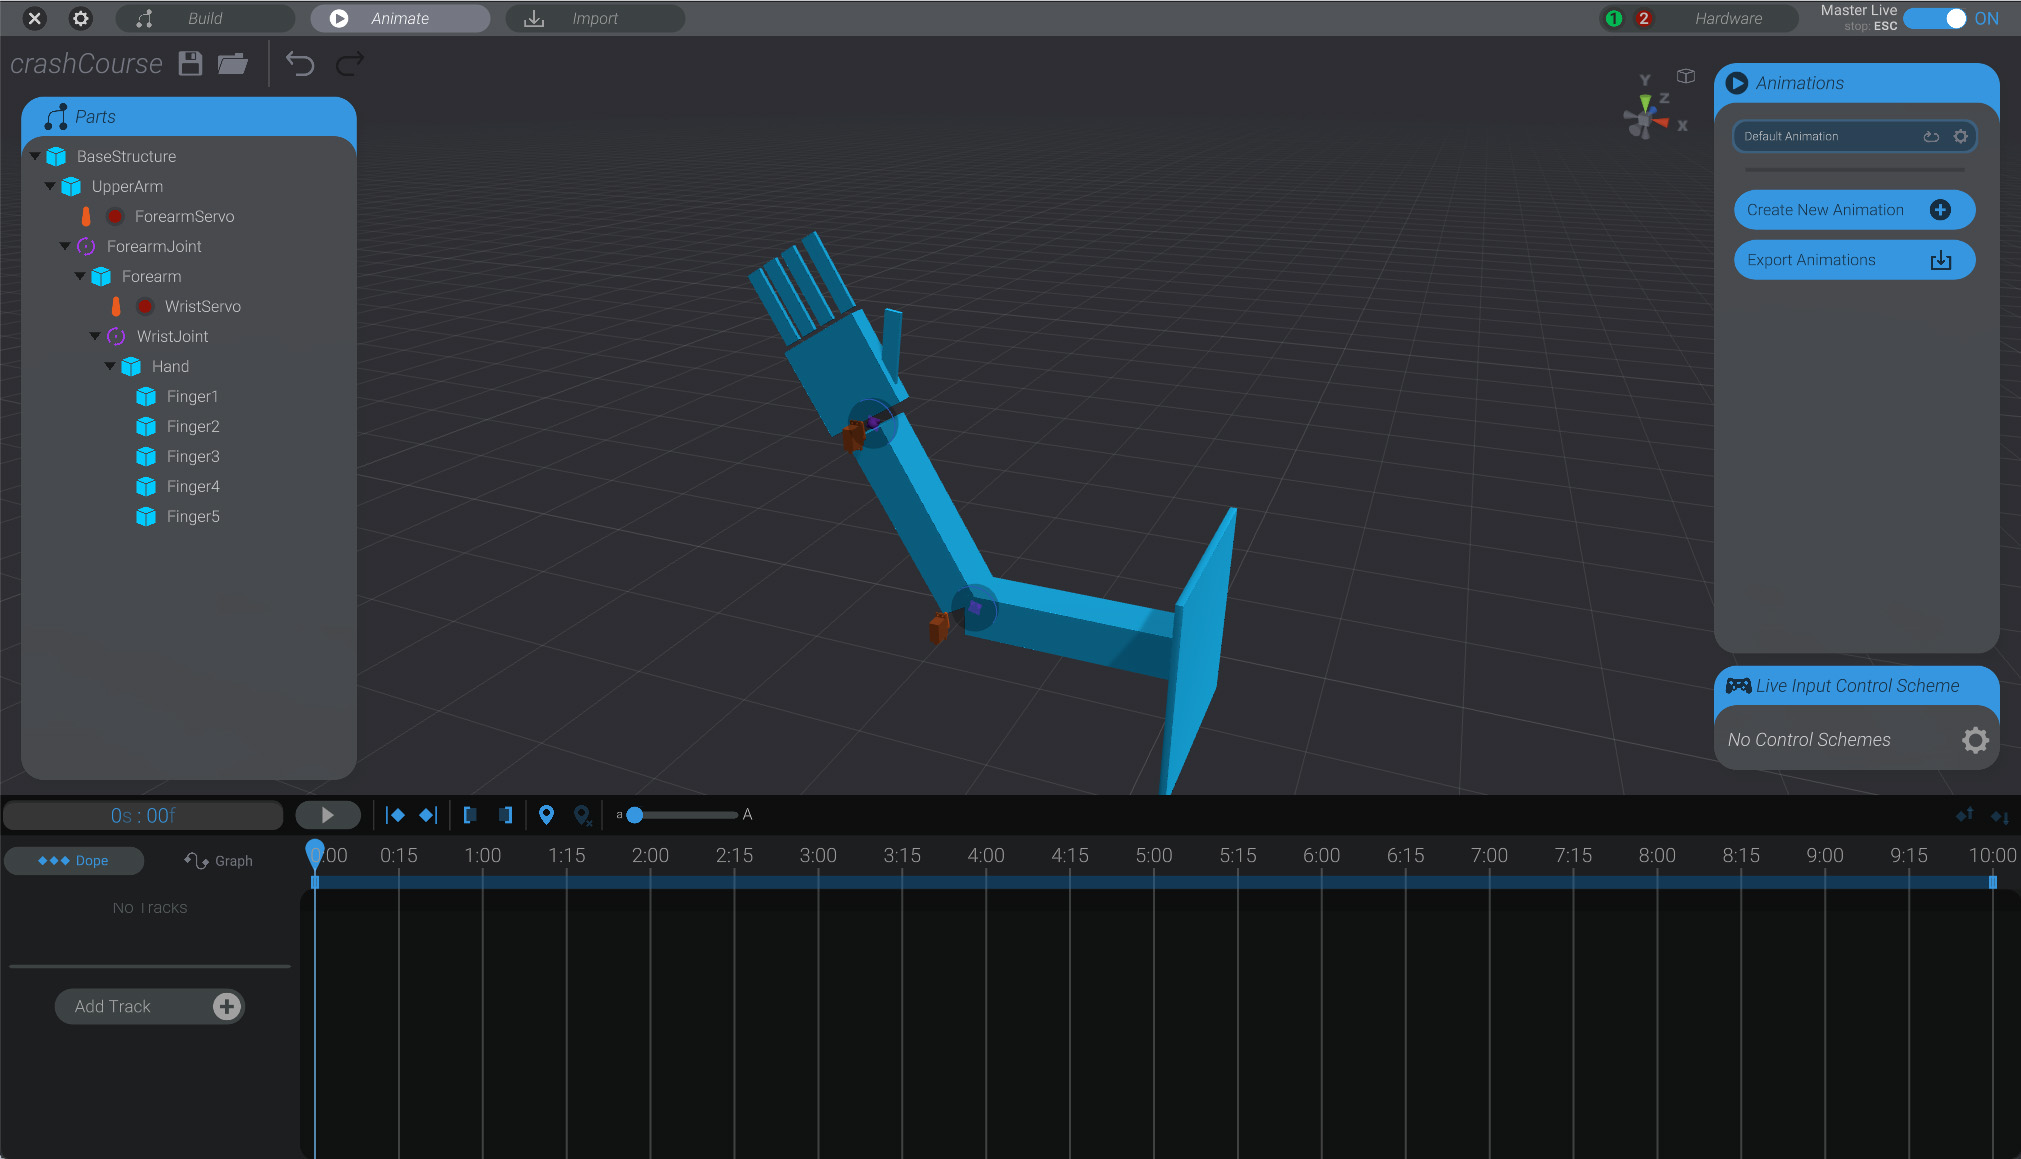
- On the left side of the screen is the same list of parts as in the Build view.
- On the right side of the screen is the list of animations in the project, as well as settings for live input and puppeteering.
- On the bottom of the screen is the animation timeline.
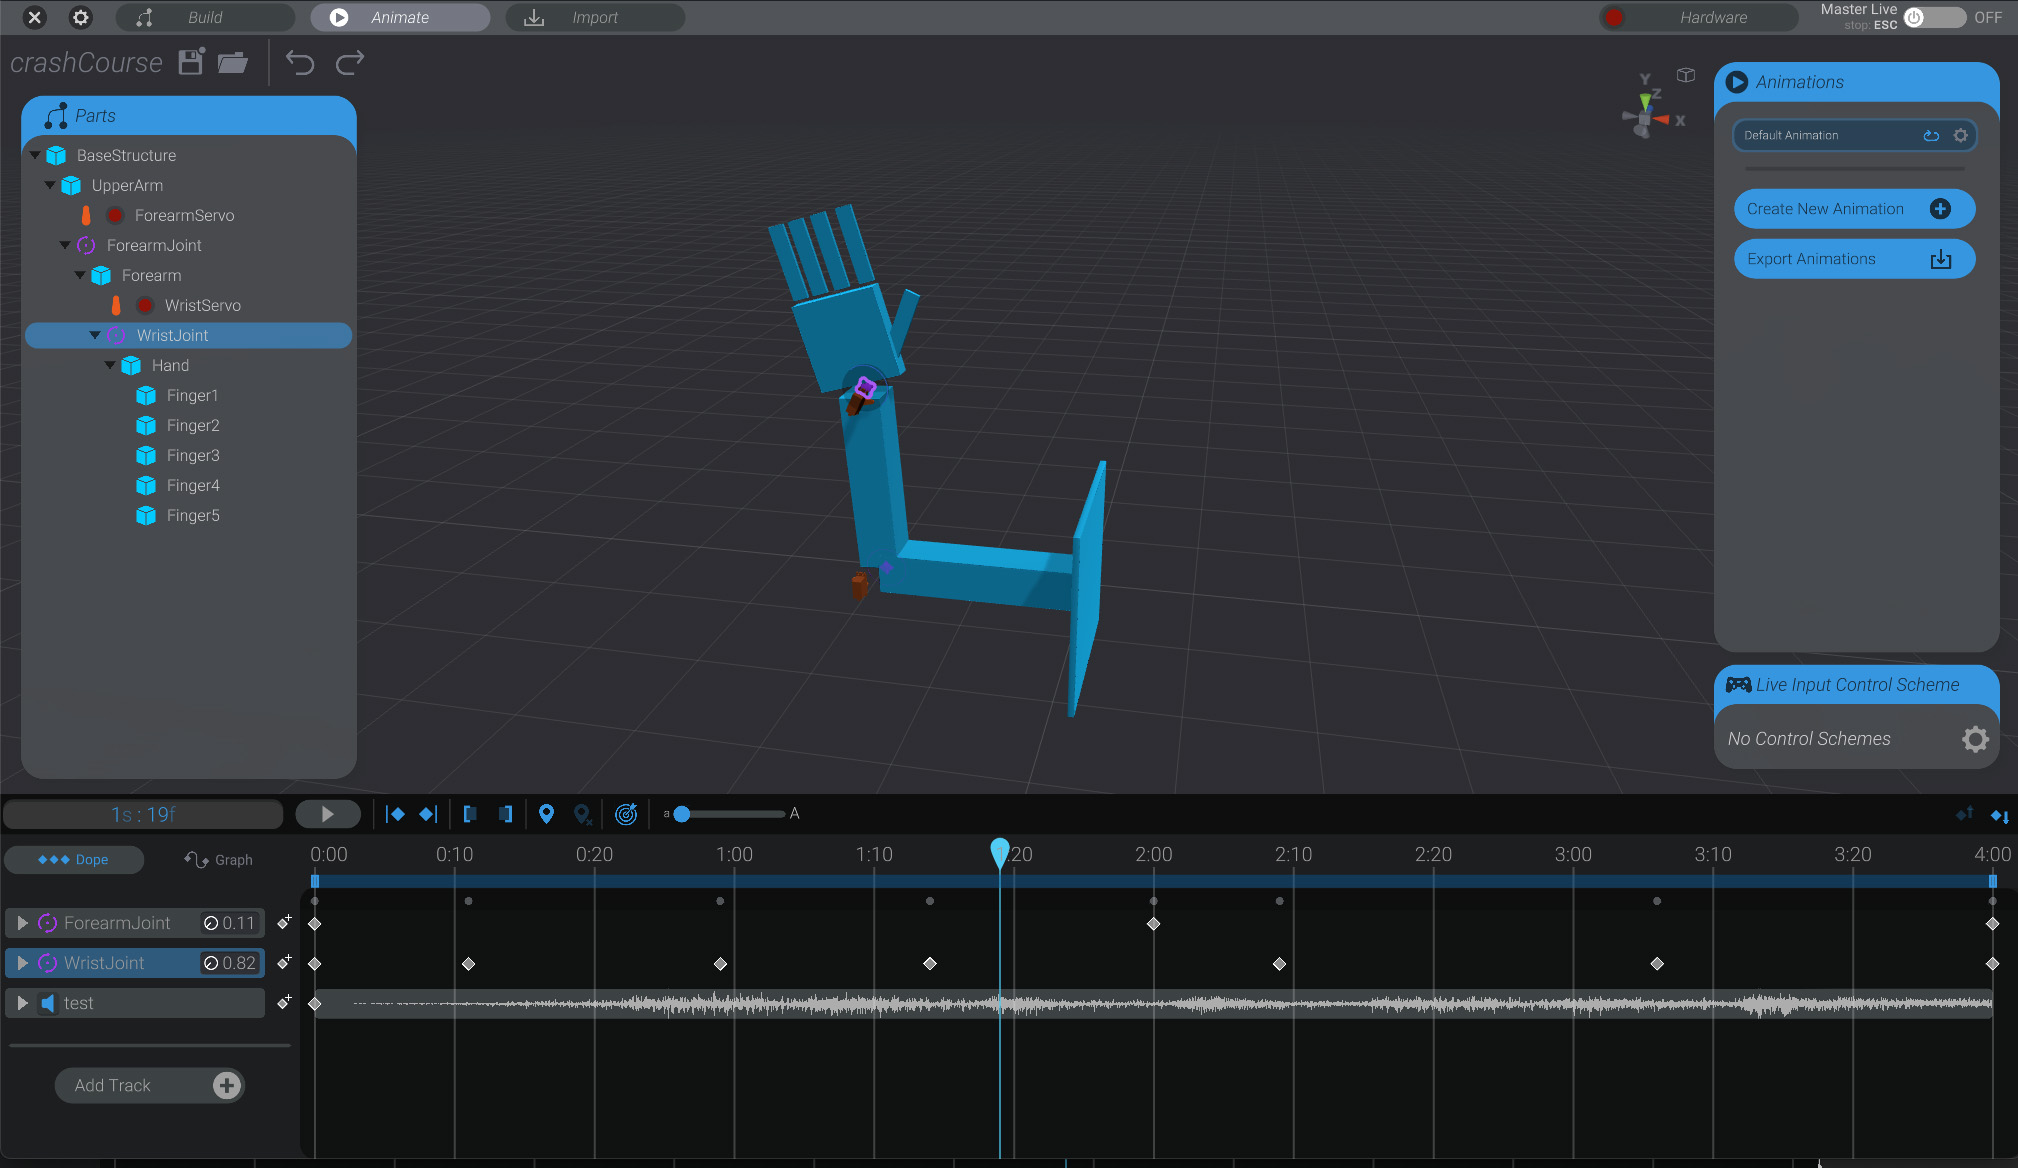
Animation Time Scrubber
Section titled “Animation Time Scrubber”In the animation timeline, there’s a blue scrubber that shows the current time in the animation. At the far left is 0:00:00, or the very start of the animation. At the far right is the end of the animation (what time that is depends on the duration of the animation.)
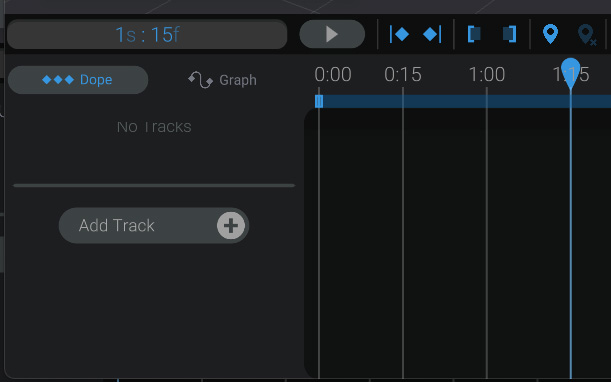
In the above image, by dragging the top of the blue scrubber bar, the time has been set to 1 second and 15 frames.
Create your first keyframes
Section titled “Create your first keyframes”To animate your robot, you simply move a joint to its desired position or rotation, and Bottango creates a keyframe at whatever time the scrubber has set. Then, as Bottango plays back an animation, it will move the joint from one keyframe movement value to the next over the duration of the animation.
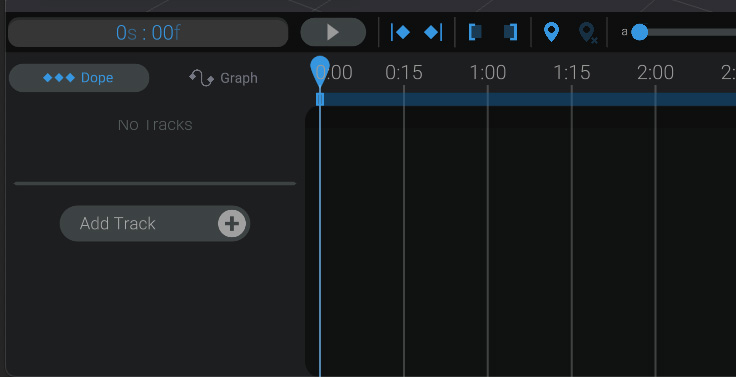
- Move the animation scrubber to the start of the animation if it’s not there already.
- Drag on the rotate handle of the
ForearmJointto move it to one end of the range of motion. As soon as you do that, a new keyframe is created for you automatically at the current time.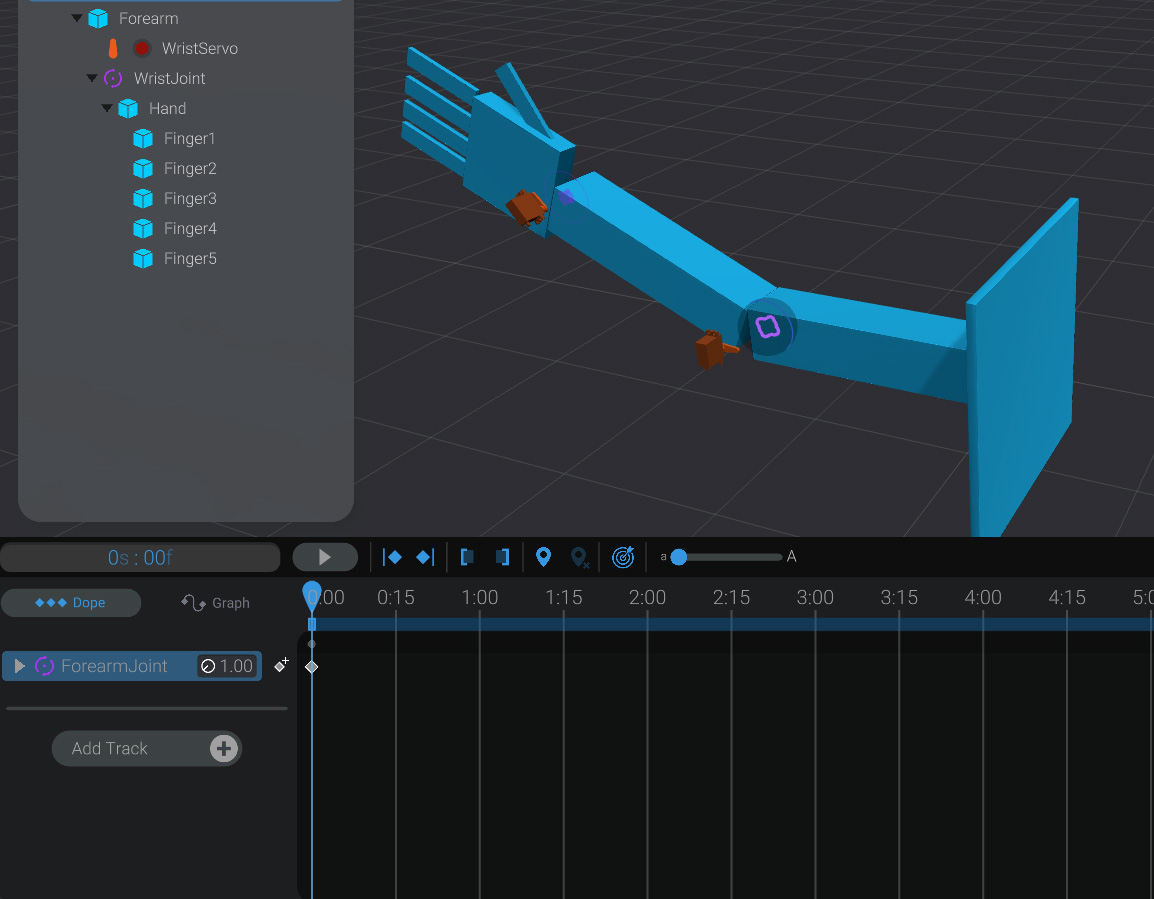 You can see here that small triangle keyframe at the
 0:00:00mark in the timeline. - Move the animation scrubber to the two second mark on the animation timeline.
- Create a second keyframe at
00:02:00by dragging theForearmJointhandle all the way to the other side of its range of motion.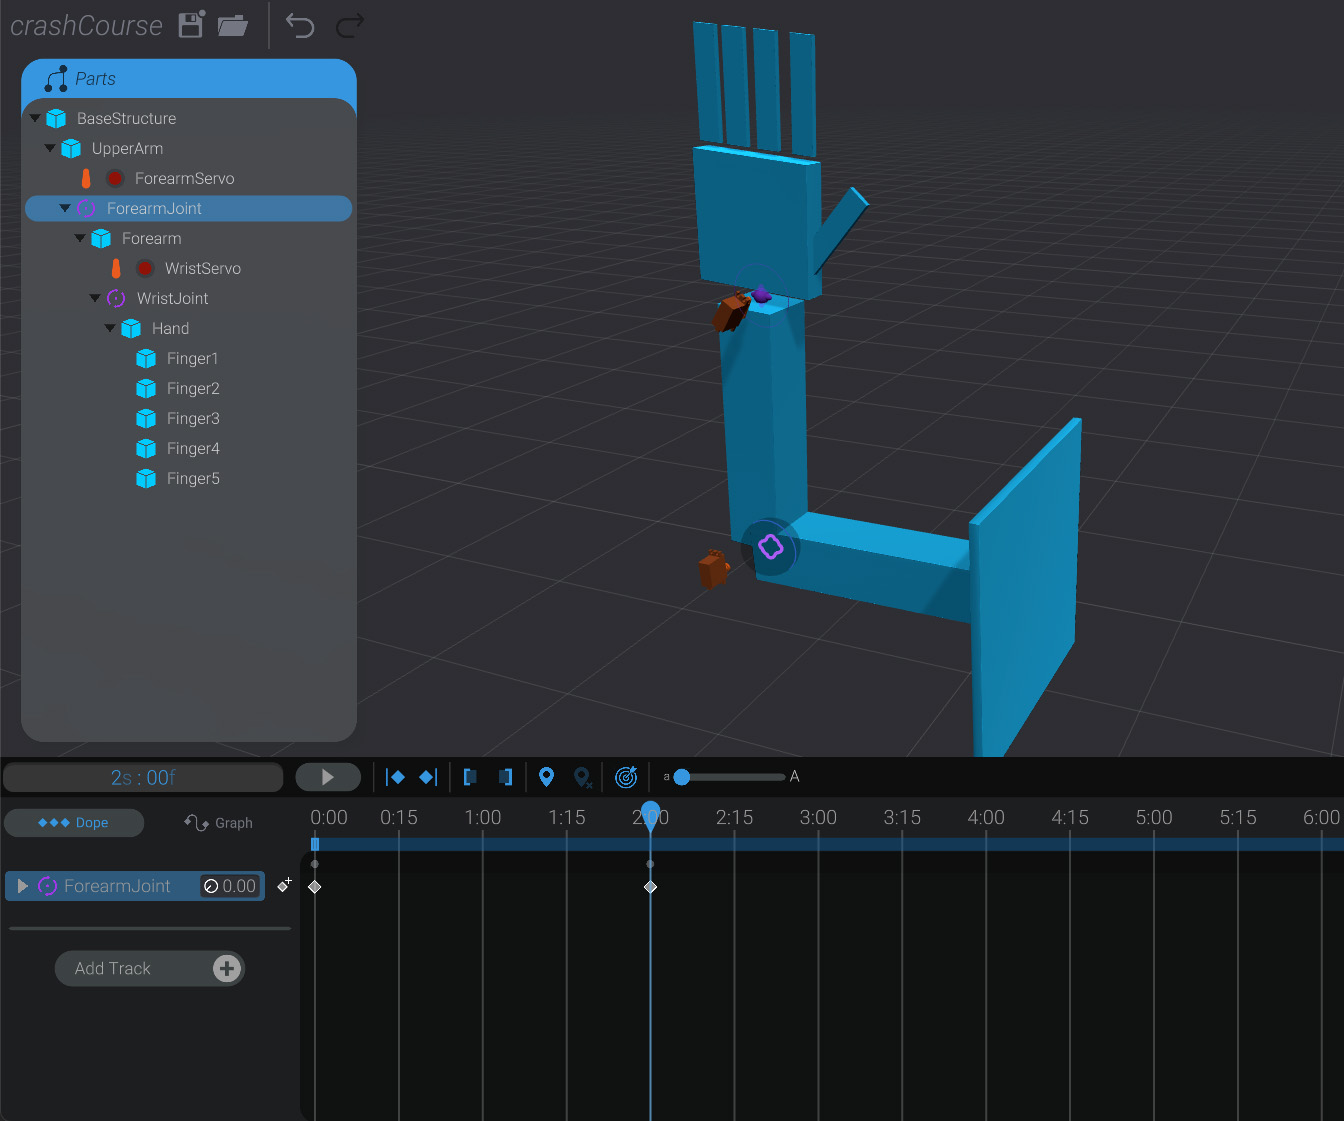 You can see now that there’s two keyframes, one at the start and one two seconds later.
Move the scrubber back to the start of the animation, and press play. Over two seconds, ForearmJoint will move from one end of its range of motion to the other. If you have your hardware and real-world servos correctly connected and turned live in Bottango, your real-world robot will move to match.
Make the animation loop
Section titled “Make the animation loop”Let’s add some more keyframes, and make this a simple looping animation.
- On the right side of the screen is the list of animations in the project. We only have one right now, but you can make more later.
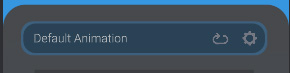
- Click the loop button to enable looping on this animation.
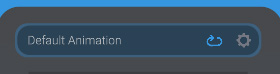
- We’re going to change the duration of this animation and shorten it. Click the “settings” gear button next to loop and then change the duration from the default
10seconds to4seconds. Press OK.
- Drag a box around the first keyframe, the one at
0:00:00. Copy it by pressing ctrl-c on Windows or cmd-c on macOS. - Move the time scrubber to the new end of the animation at
0:04:00and paste a copy of the starting keyframe at the end with ctrl-v on Windows and cmd-v on macOS.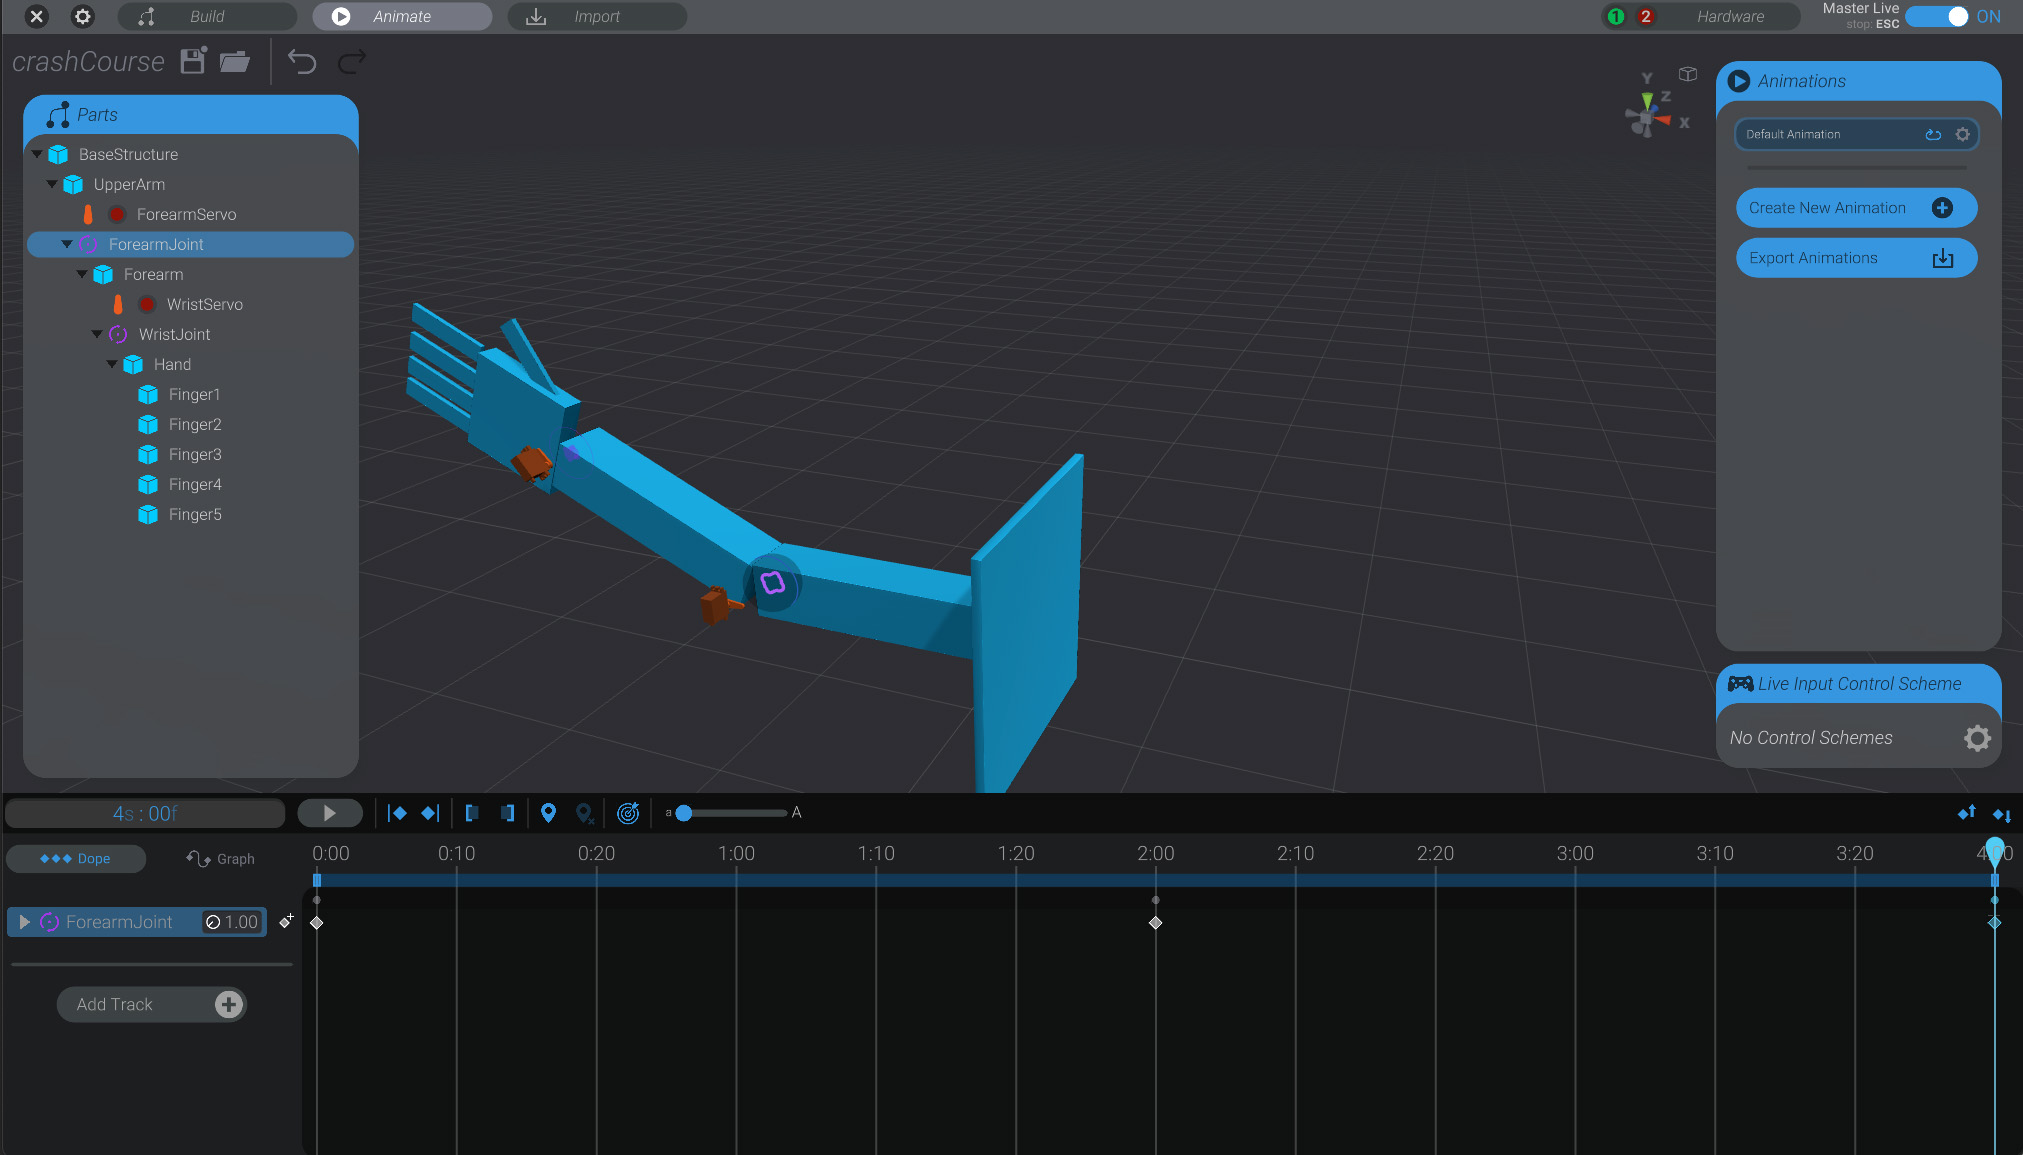
We now have a short 4 second long animation, where the ForearmJoint and linked motor animate back and forth looping. Because we copy and pasted the starting keyframe at the end, the loop is seamless as well. You could have created the same effect by manually moving the joint to the same position at the end of the animation too.
Create Audio Track
Section titled “Create Audio Track”Let’s add some audio to our animation to bring more life to it.
- On the bottom left side of the screen, click on “
Create Track.”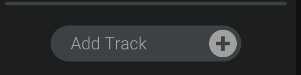
- Select the “
Audio or Video Track” option and then select the audio file we imported into the project earlier in the crash course.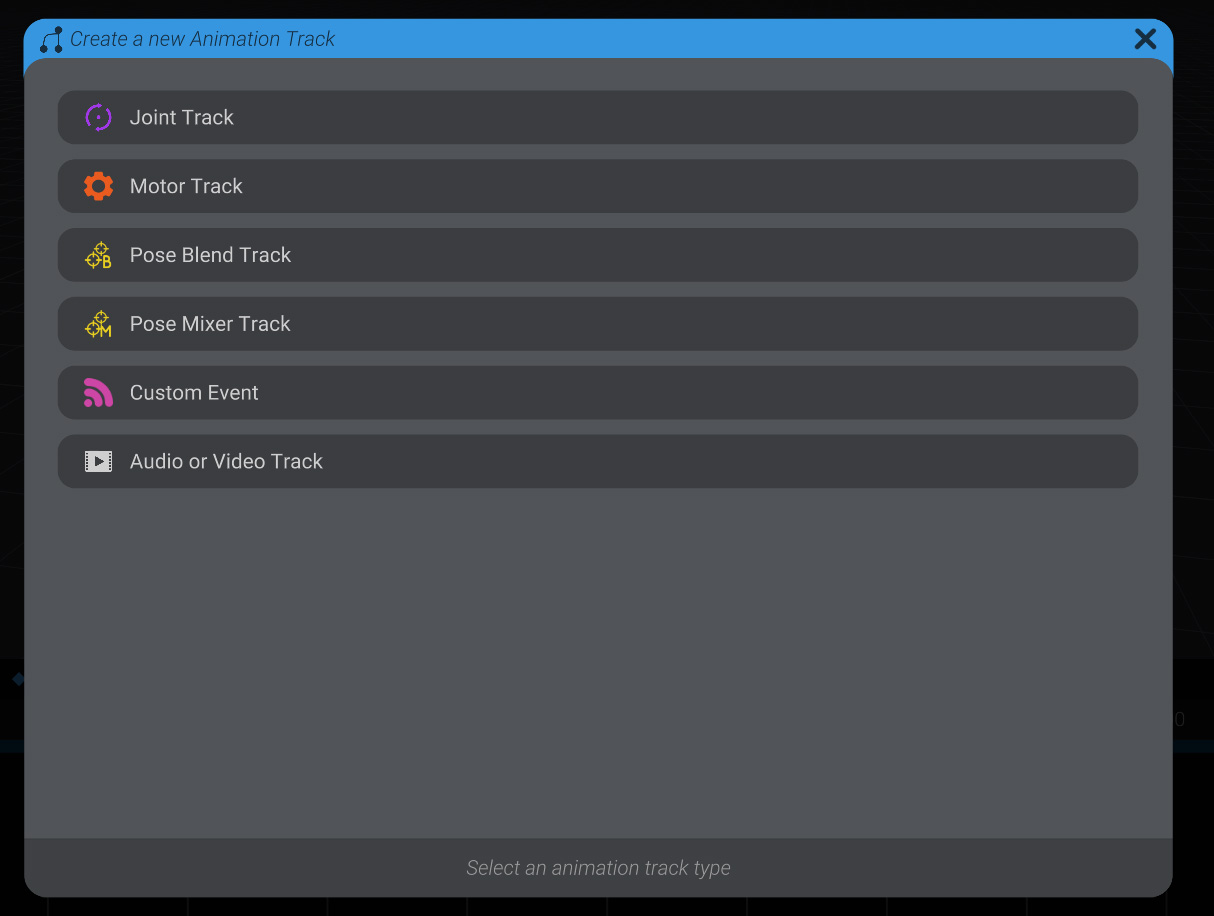
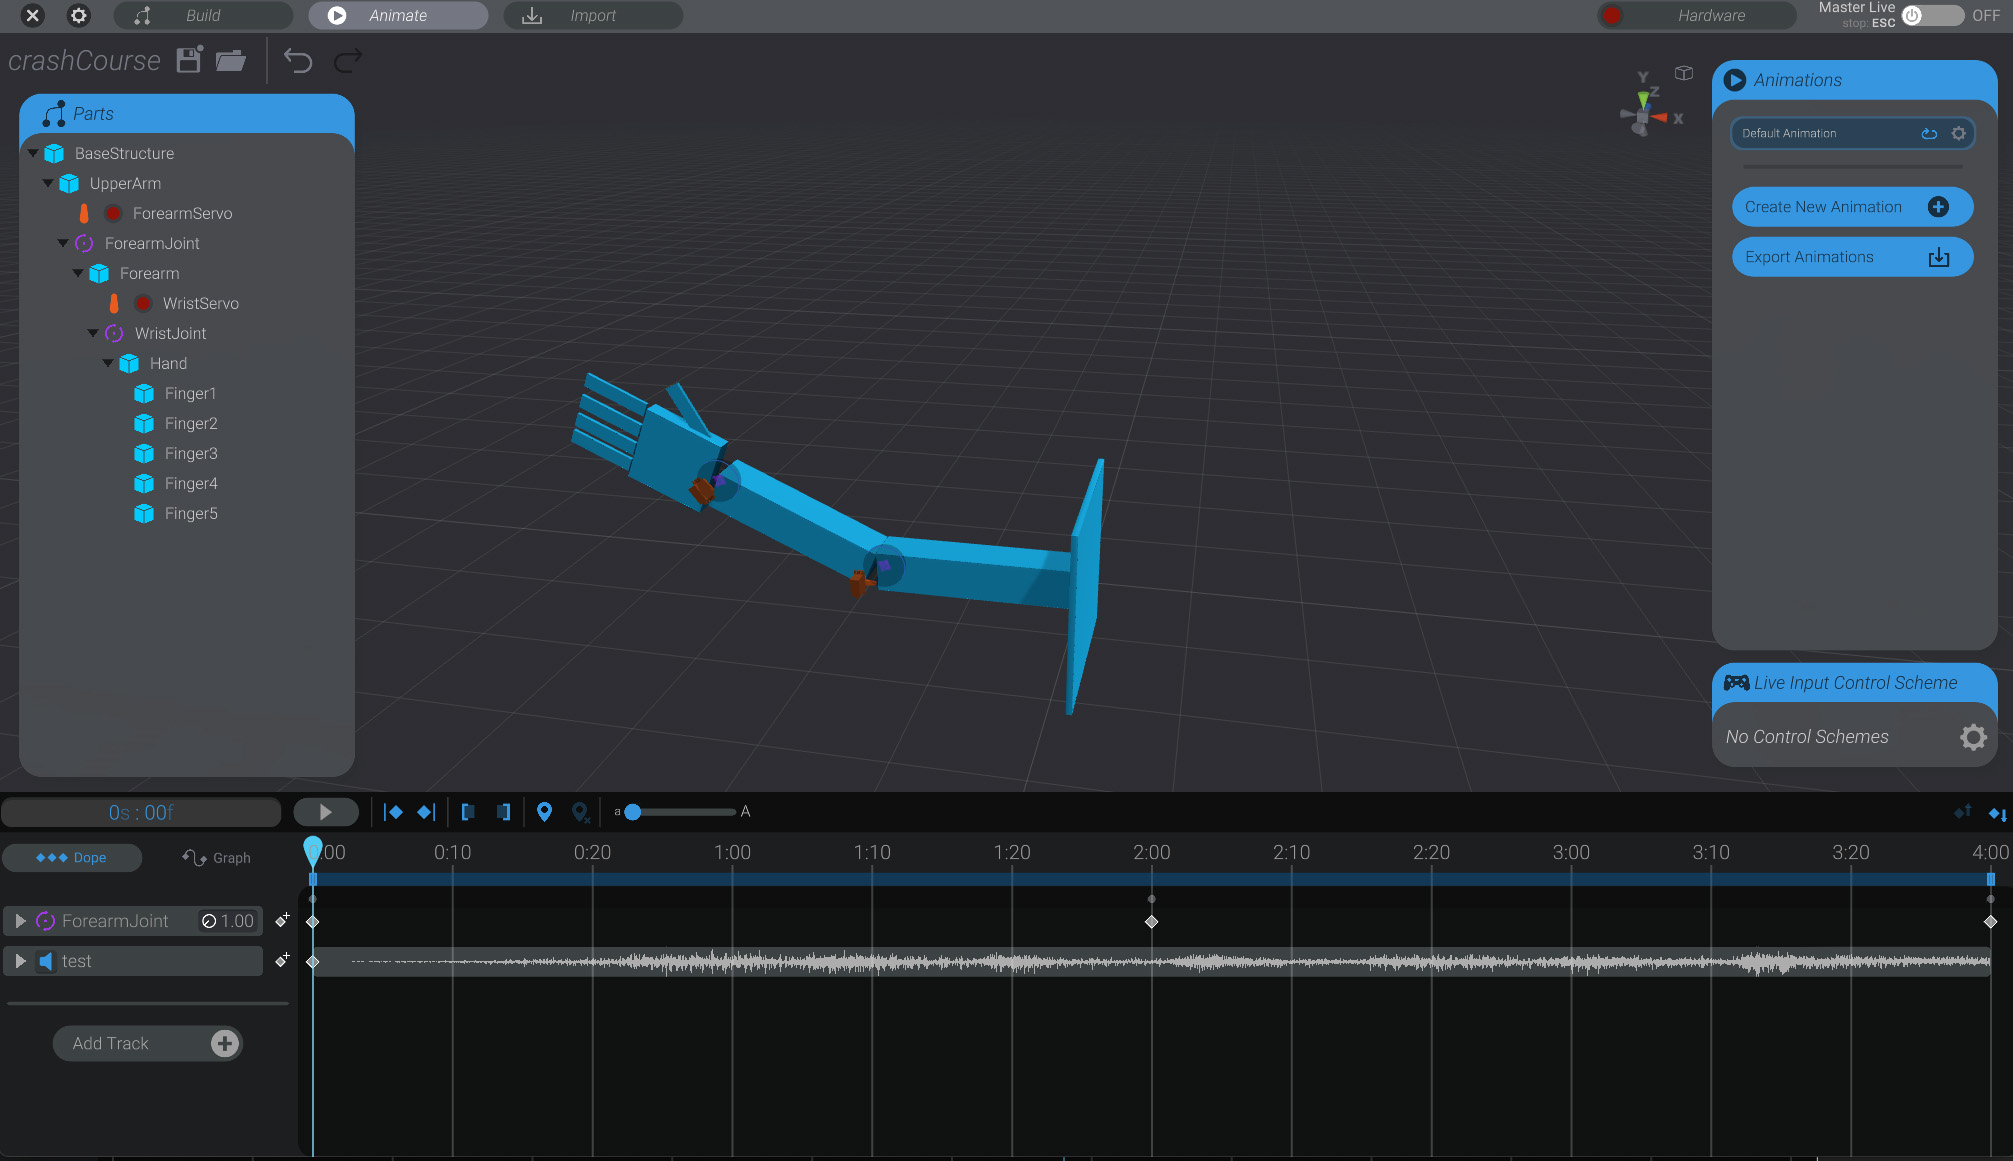
- An audio keyframe will be created wherever your current time scrubber was.
 If you want to move it, you can drag the keyframe left and right to change its time.
 - The audio file will now play from your computer’s speakers, in sync with your animation. Though it’s possible to play audio on your robot’s hardware itself, that is an advanced topic.
Add Wrist Movement
Section titled “Add Wrist Movement”Repeat the same steps you did on the ForearmJoint but for WristJoint. This time, move it around more. Experiment with what animation looks right for you on the wrist. If you want to keep a clean loop, keep the starting and ending keyframe on the wrist matching as well. If they don’t match, Bottango will smoothly jog back to the start of the animation before starting playback over.
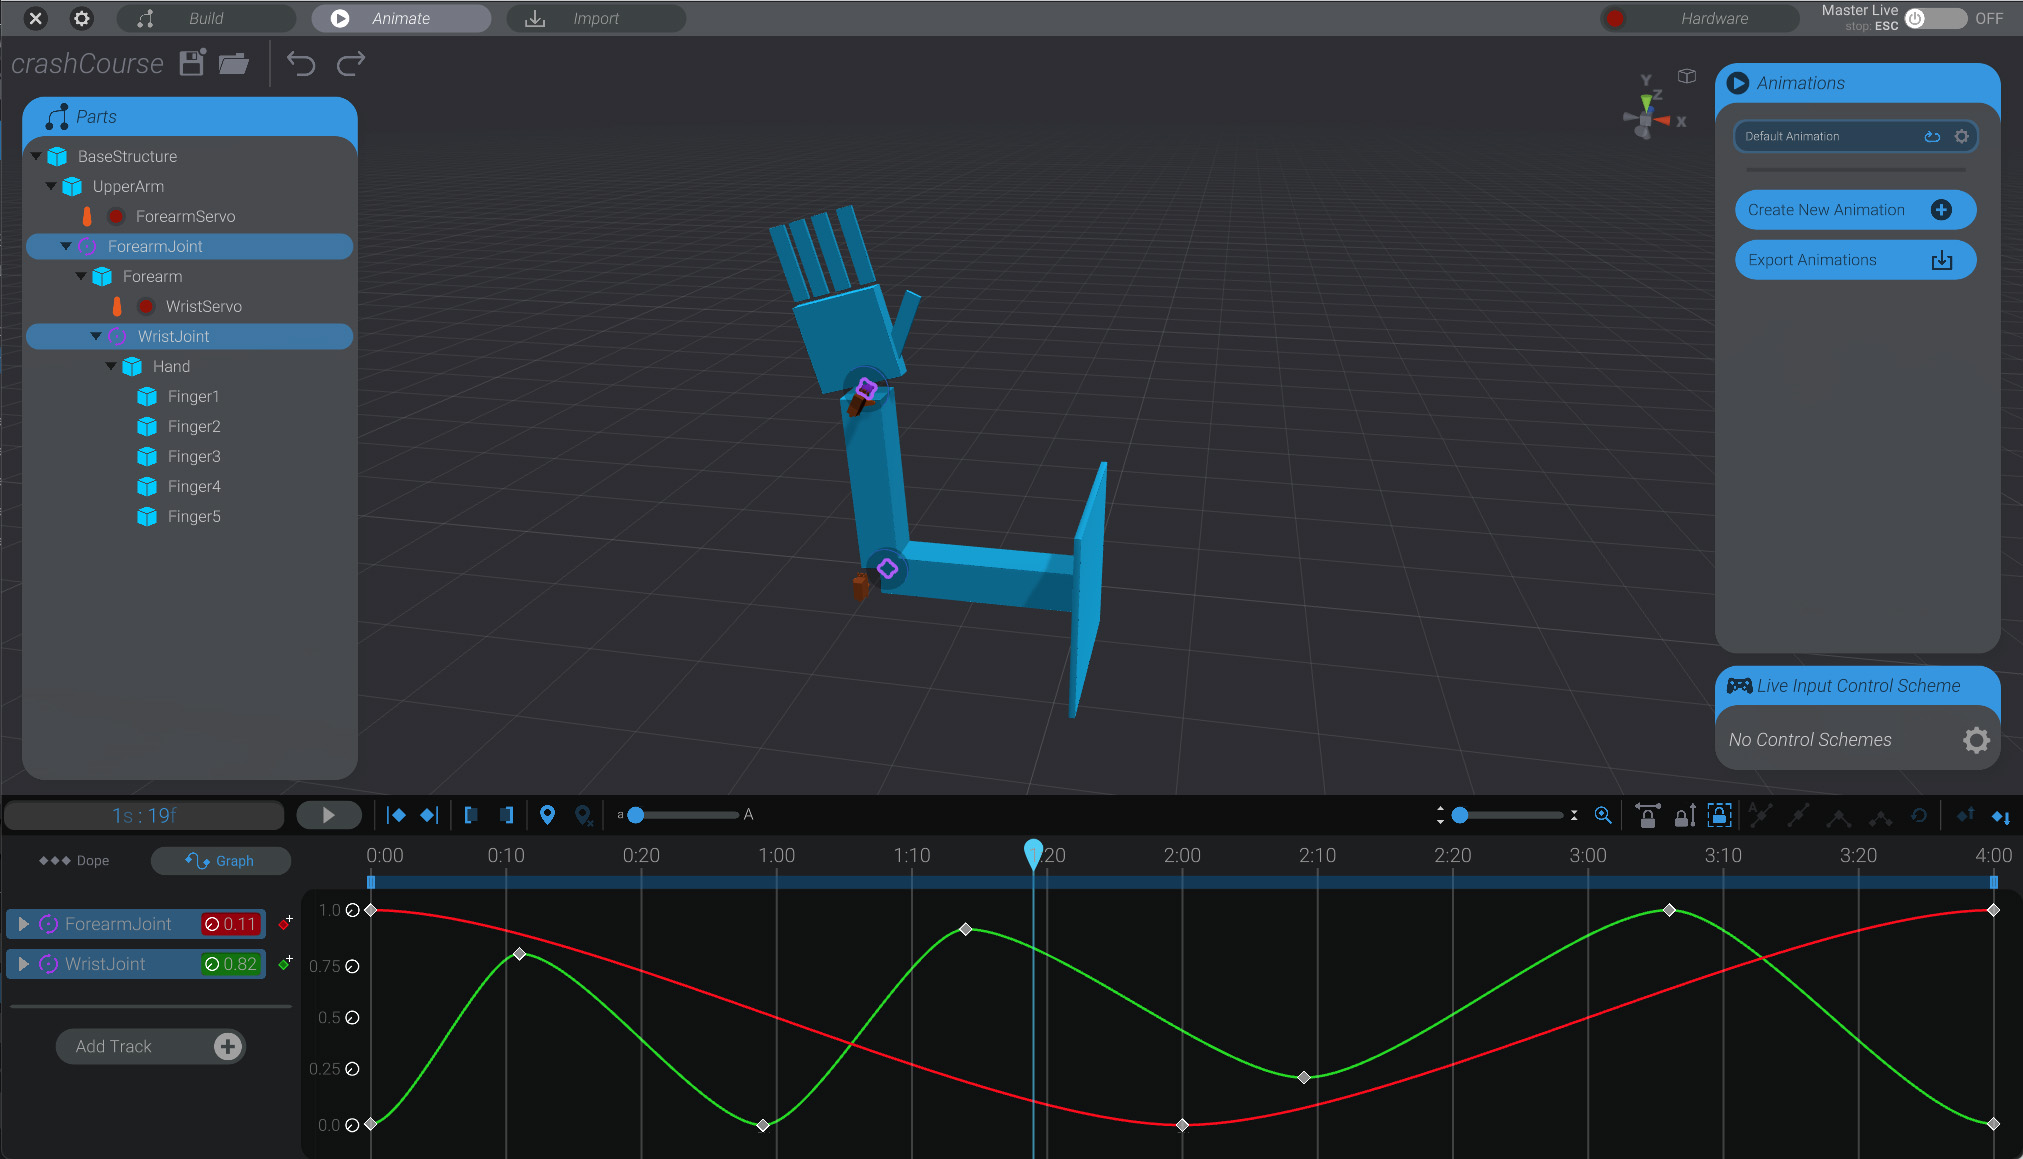
Graph View and Beyond
Section titled “Graph View and Beyond”Press the “Graph” button on the bottom left side of the screen to view the graph interpolation of your animation. You can control not just what keyframes exist and when, but even the shape of how the animation interpolates between your keyframes.
Or you can start experimenting with live input and puppeteering to record animations using inputs like a game controller. Or explore any of the many other unmentioned features not covered in this crash course. But we’re getting out of the territory of a crash course! If you want to experiment, keep going from here and try things out. If you want more guided lessons, start the comprehensive guide to Bottango’s software as we continue the documentation here.