Essential Topic for learning Bottango.
In this section, we’ll show you how to create keyframes along a timeline to animate your robot.
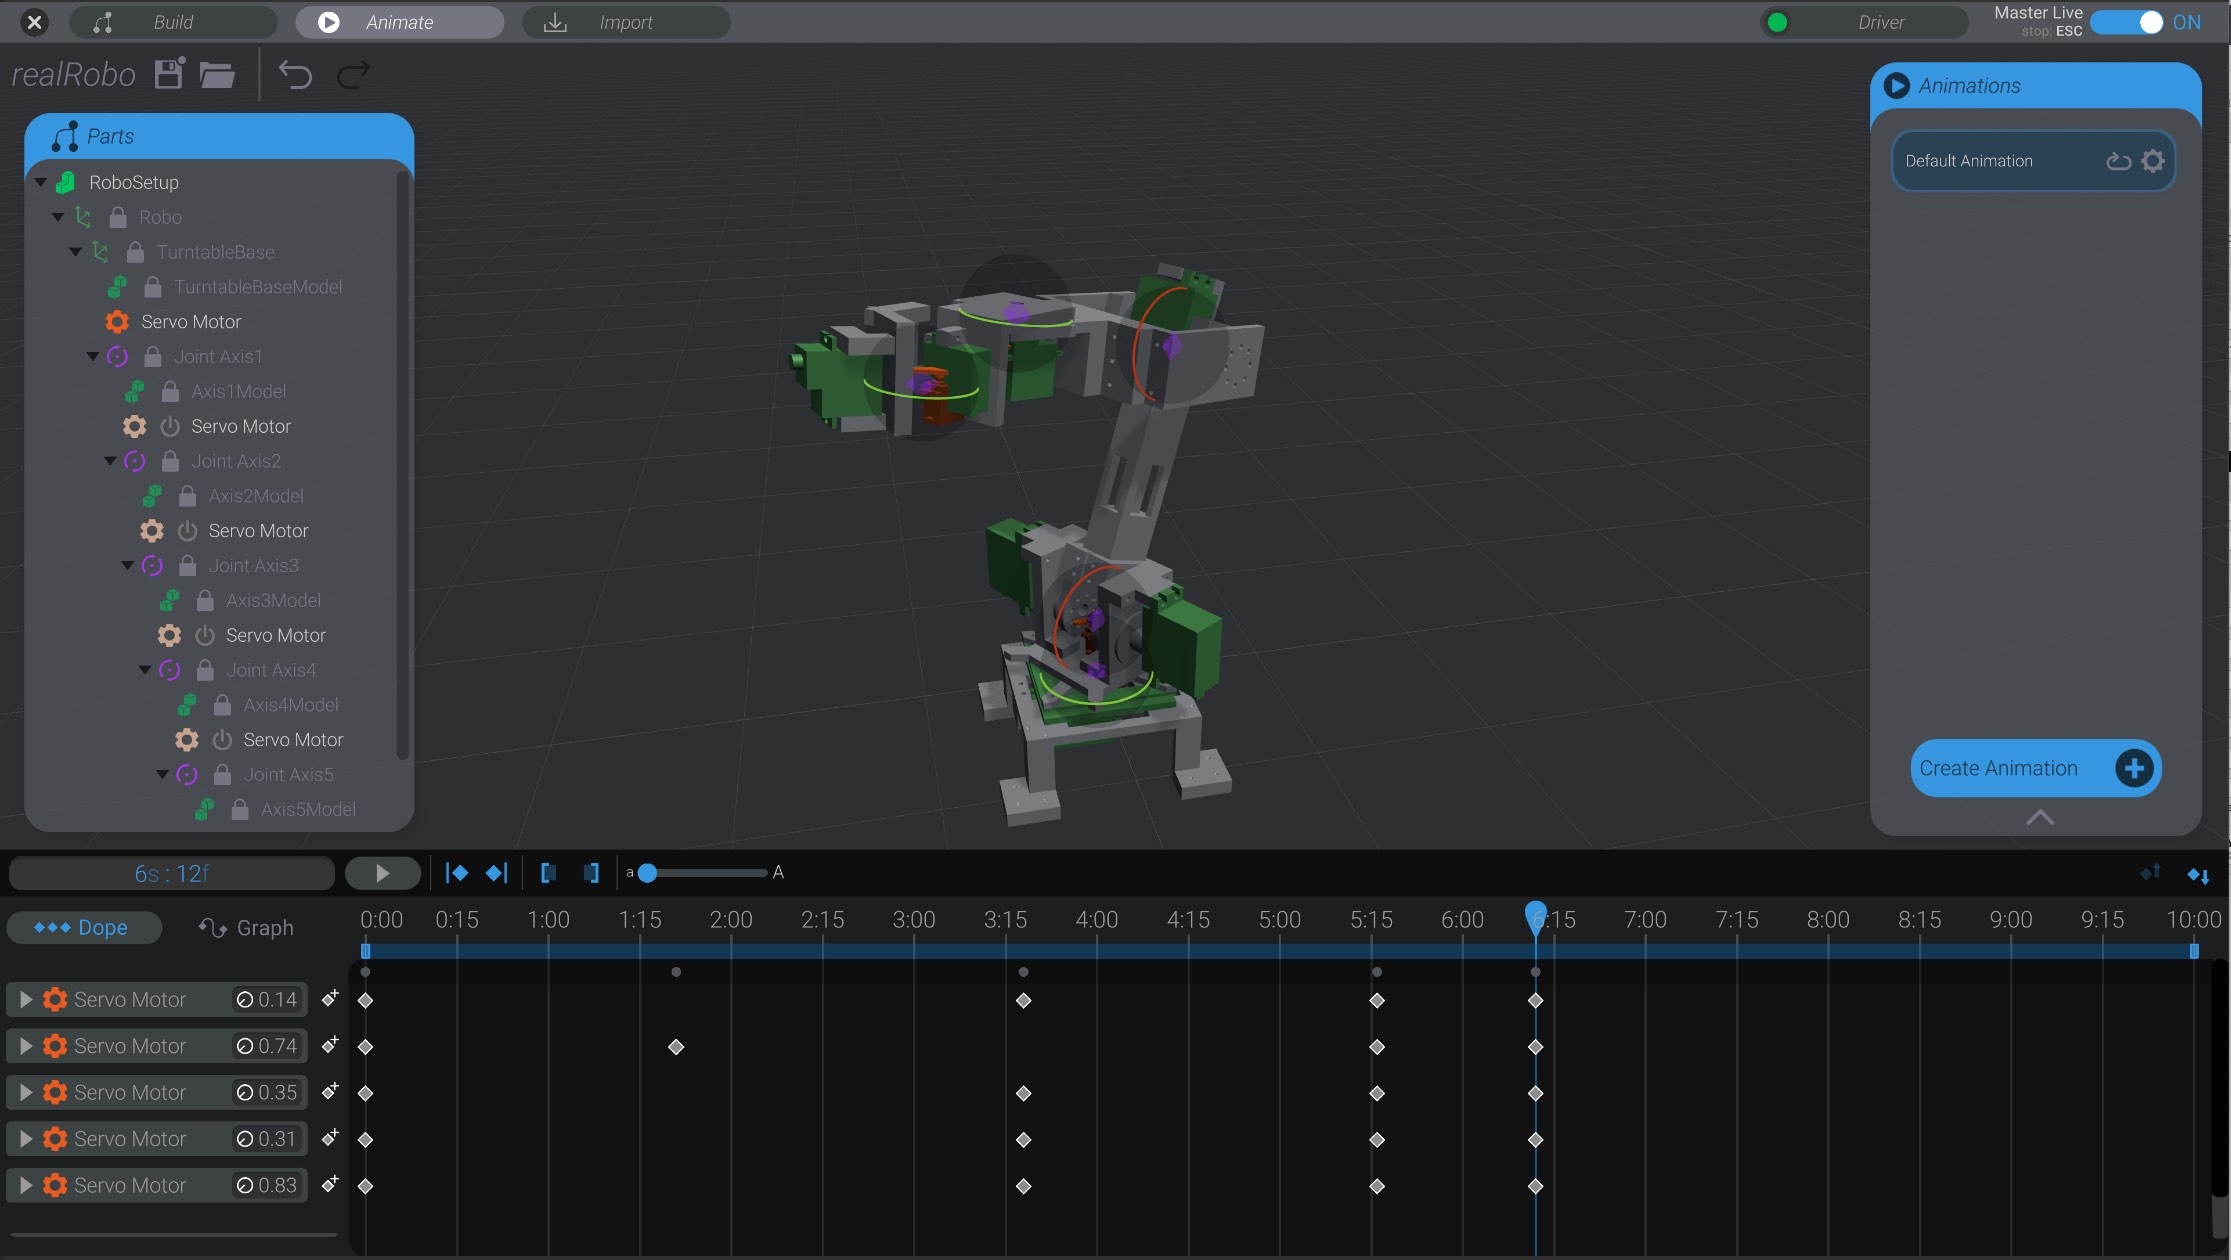
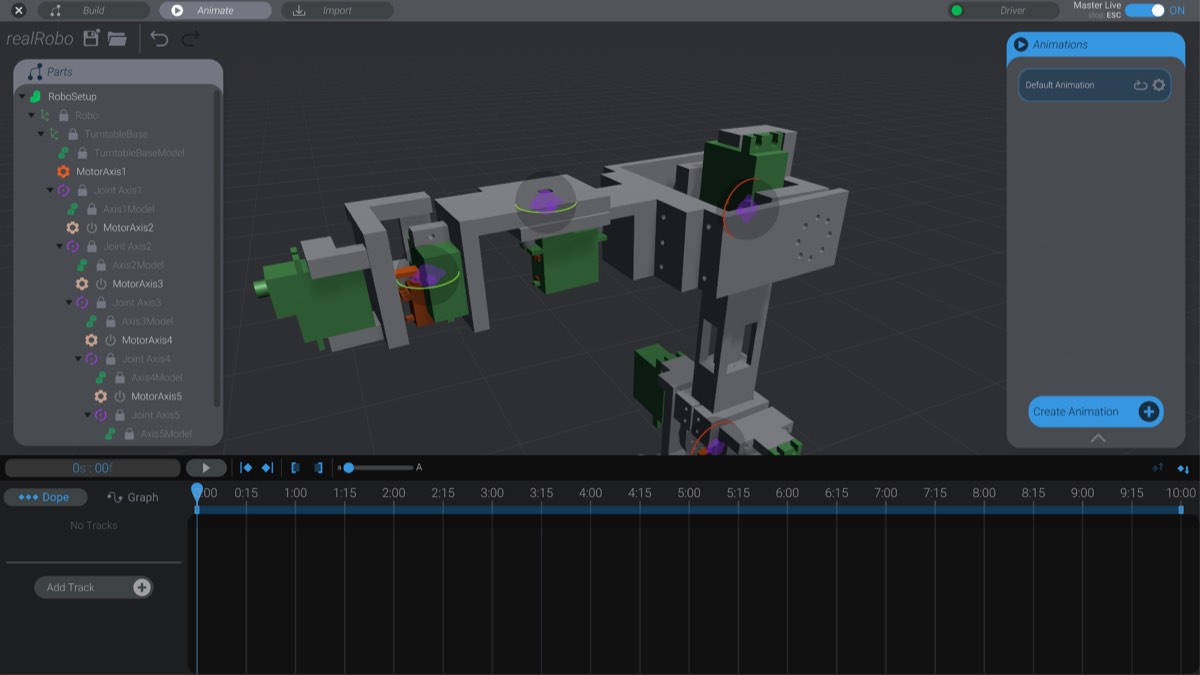
Click the “Animate” button in the top tabs section of the screen to switch to the Animate view. While in the Animate view, you cannot create, edit, or destroy parts. Switch back to the Build view to perform those actions.
At the bottom of the screen is the animation window. At the right is the list of animations in the project. On the left, the parts list is shown just as in the Build view.
Every Bottango project must have at least one animation. When you create a new project, an empty animation is created as well. You can create and duplicate animations, which we’ll get into later. For now, just know that the animation we’re creating on this page will be contained in the default animation.
Animations are made of animation tracks. Each track contains a series of keyframes that are played back in the animation. Animations in Bottango can only have one animation track per animated part. However, you can have as many animated parts in an animation as you have animatable parts in your project. You can also have as many media tracks in an animation as you’d like.
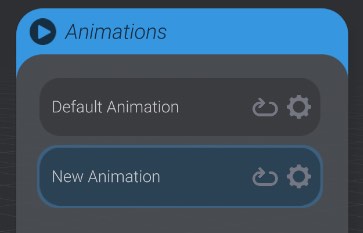
You can change some of the details of the animation itself using the Animations window on the right. You’ll see that we have one animation to start: Default Animation.

If you want the animation to loop while playing (i.e. return to the start and play again after finishing playing), click to toggle the loop option.

You can also click the settings button to edit a few more details of the animation.

Here you can change the name and duration of the animation. Input the desired animation duration the same way you would enter time when selecting time in the animation window (Minutes : Seconds : Frames).
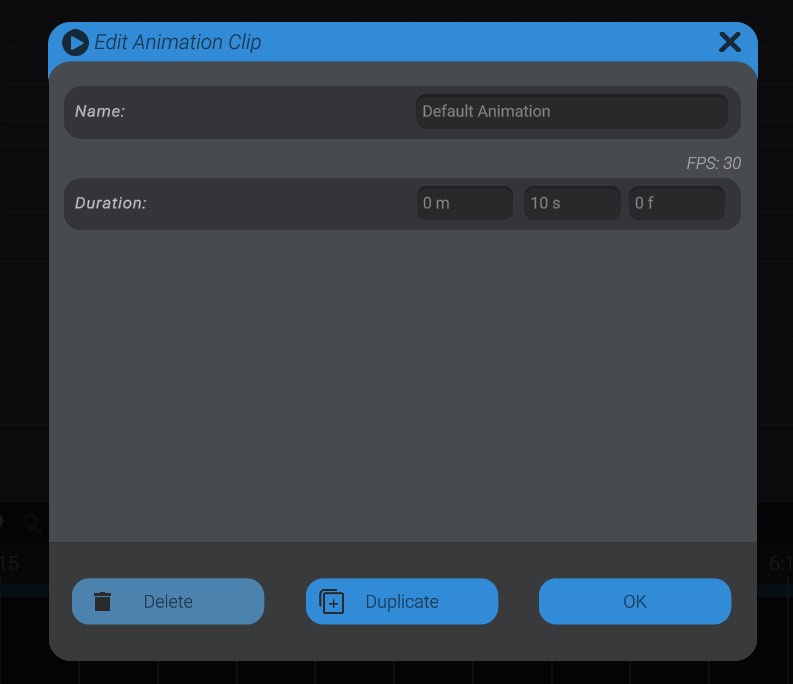
If you set an animation’s duration to shorter than it is currently, any keyframes that currently exist beyond that time will be deleted.
You can also duplicate an animation by pressing the Duplicate Animation button.
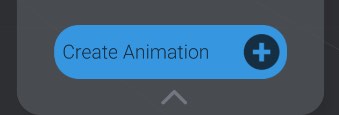
Finally, you can create a new animation in the Animation window by pressing the Create Animation button.
Click on an animation in the Animations window to select and begin editing that animation.
When you enter the Animate view, your robot will go to its home position, and all configured joints are shown with their axis handles visible. The main way you animate and create keyframes in Bottango is to simply move or rotate the joints to the position or rotation you want. Bottango automatically captures the pose you create and stores it as a keyframe in the selected animation frame. Some animation programs refer to this behavior as “auto-key.”
Drag on a joint handle to move or rotate it (as configured in build mode) and you’ll see a new animation track created for the motor used in that joint, and a new keyframe on that track to capture the pose.
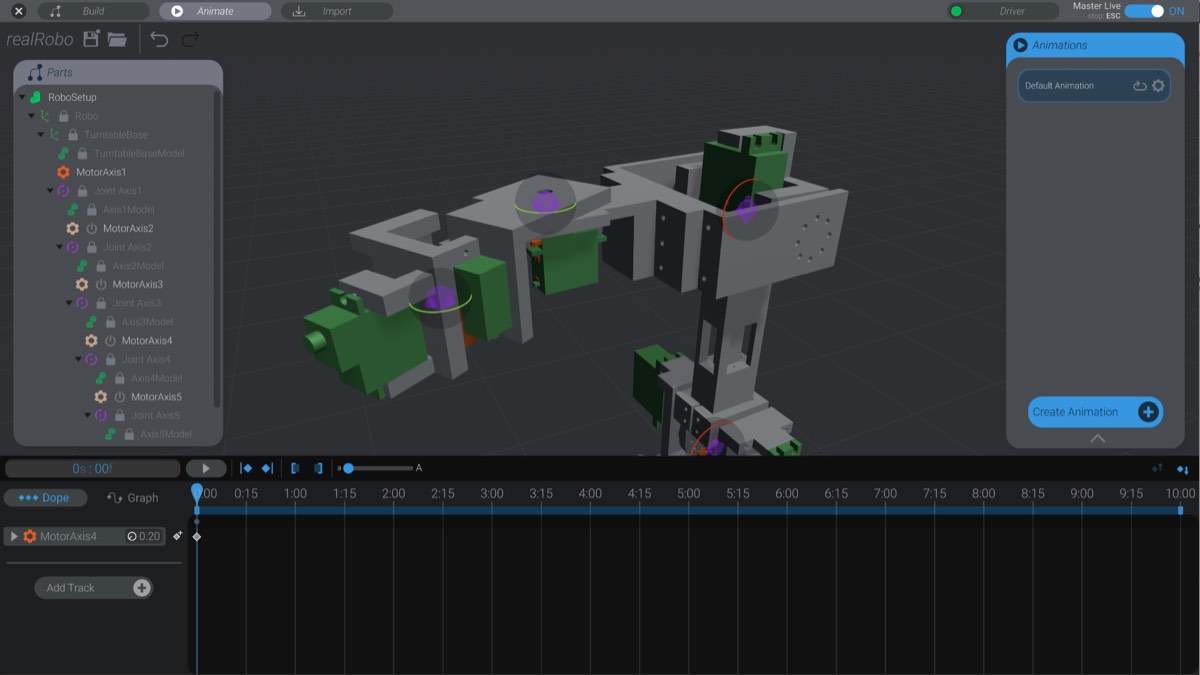
If you drag on that joint handle again, the new pose keyframe will again be updated automatically. Keyframes for motors are captured, like lots of things in Bottango, in terms of movement. You animate the keyframe between the min and max movement for the joint, which is expressed in the min and max signal for the associated motor.
If you have motors in your project that are not linked to joints, you’ll be able to animate them directly using the slider that appears on the motor. If a motor is linked to a joint, you must use the linked joint to animate. As you animate the joint, it will map automatically into the necessary animation on the motor for you.