Beginner Topic used frequently in Bottango workflows.
By default the animation window scales time so that the entire animation is viewable on screen. You can adjust the time zoom slider to zoom in and have more fine-grained control of keyframes.

You can also resize the animation window by dragging on the top portion.
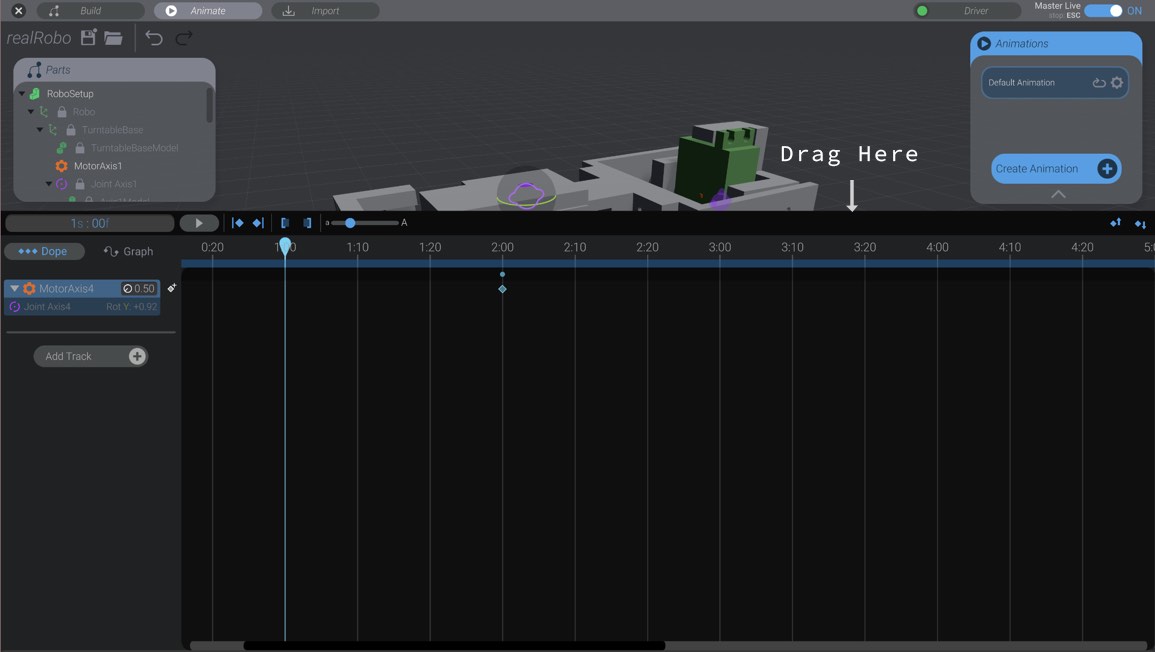
If you want to change the value of a keyframe, simply move the selected time to the same time as that keyframe, and then repose the robot how you want it. The keyframe will be updated automatically.
It can be a little finicky to get the time exactly where the keyframe is, so there are two buttons to help:
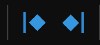
The button on the right will move the selected time to the time of the next keyframe after the current time. The button on the left will do the same except with the previous keyframe. You can also use the keyboard shortcuts J and K.
If you hold down option/alt while pressing J and K or pressing the above buttons, you will move forward or backward a single frame. You can also move forward or backward a single frame using the arrow keys on your keyboard.
If you want an exact movement value, you can type it in on the track:
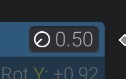
Enter a movement between ![]() 0.0 and
0.0 and ![]() 1.0 to modify the keyframe at that time (or to create a new keyframe if one doesn’t exist).
1.0 to modify the keyframe at that time (or to create a new keyframe if one doesn’t exist).
Click on a keyframe to select it. You can change the time of the keyframe by simply dragging on it.
You can select multiple keyframes by holding down shift. You can add or remove the selected keyframes by holding down command on OS X or control on Windows.
With multiple keyframes selected, drag on one of them to move all selected keyframes.
Press delete to delete any selected keyframes. You can also select animation tracks and press delete to delete them. When you delete an animation track, all associated keyframes in that track are deleted as well.
You can copy and paste keyframes. Select your keyframe(s) and use the standard command/control C and command/control V to do so, or use the copy / paste buttons:

When you paste keyframes, the keyframes start from the current selected time. So if you copy a keyframe from 2:00, and paste it while 3:00 is selected, it will be pasted at 3:00 (and any additional keyframes offset in time accordingly.)
Copy / paste behaves differently in different circumstances.
If you have copied keyframes from just one animation track, Bottango will attempt to paste those keyframes into any track selected. This will allow you to copy movements from one motor and paste them onto a track for another motor.
If you have copied keyframes from multiple tracks, though, Bottango will only paste those keyframes back into the original tracks (at the new selected time).
You can paste into missing tracks as well. For example, you could copy keyframes from one track, then move to another animation that doesn’t have a track for that motor. As long as you have no other tracks selected, when you paste in that second animation, Bottango will create a new track for that motor and then paste the keyframes.
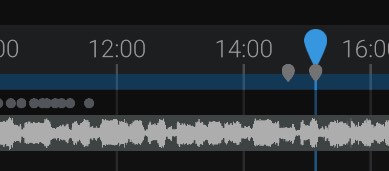
Bottango allows you to add markers to animation tracks and clips themselves. Markers allow you to more easily synchronize keyframes with each other, or with audio. Markers also allow you to visually flag parts of your animation.
To add a marker, press the “add marker” button.

A new marker will be created at the currently selected frame.
If you have any animation tracks selected, markers will be added to all selected tracks. Otherwise a marker will be added to the clip itself.
You can also add markers by pressing the “M” key. This can be especially helpful, as you can add markers while an animation is playing. As an example, if you wanted to add markers on the beat of an audio track, you could select an audio track, start playing the animation, and then press “M” at each beat. This will let you have visual markers at each beat in the audio track, for easier synchronization.
You can also select and drag markers to change their position.
The delete markers button will delete any selected markers. If no markers are selected, the delete markers button will clear all markers from the selected tracks (or animation clip if no tracks are selected).

Markers added to tracks are only visible if the track is expanded.

Collapse a track to hide its markers.
