Advanced Topic Skip if you’re new, explore when you’re ready.
Pose Blends are one animation control you can use to animate and blend between these target poses. When you create a pose blend, you’ll set the dimensions of the pose blend, and then add Target Poses to the Pose Blend.
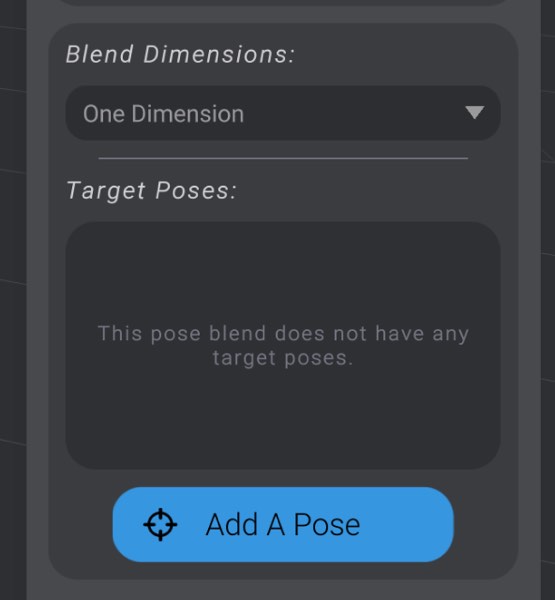
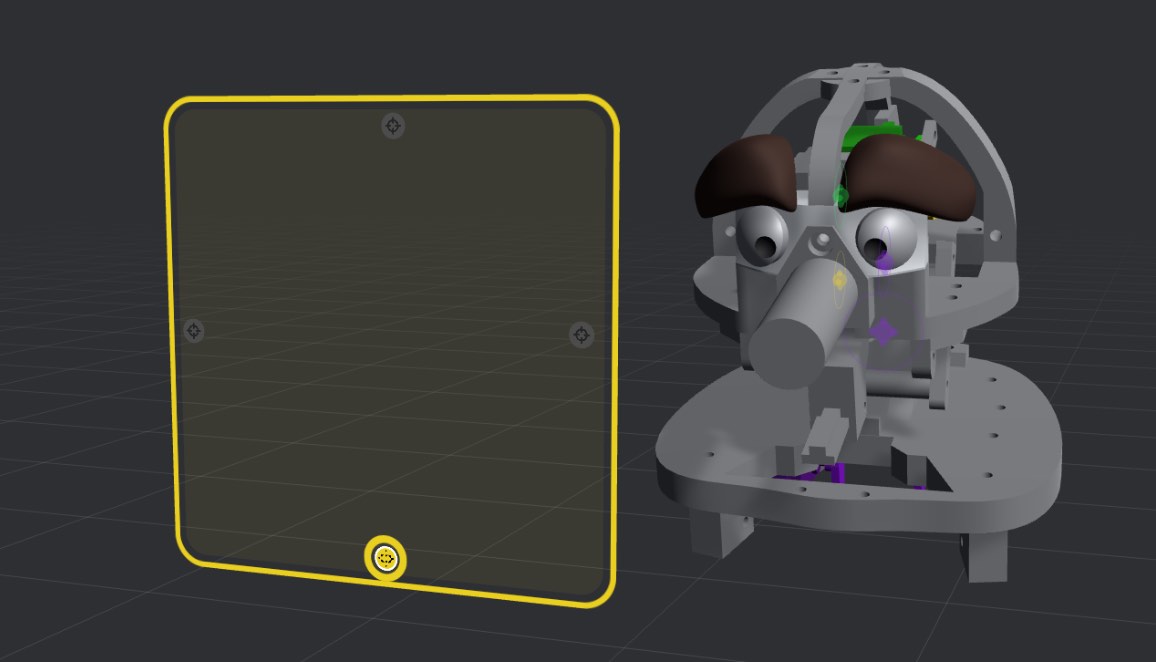
When you select a Pose Blend, you’ll see a dropdown to select the dimensions of the Pose Blend. A Pose Blend can either be one-dimensional:
A one-dimensional Pose Blend is good when you want to blend between poses that form a single kind of action. For example, open and closed eyes, happy or sad mouth, open or closed hand, etc.
Or a Pose Blend can be two-dimensional:
A two-dimensional Pose Blend has more flexibility, and can be used to blend between multiple actions. For example, head turn left/right on the X axis, and head nod up/down on the Y axis. Or as another example, different target poses representing different mouth shapes.
In order to blend between Target Poses, you need to add Target Poses to the Pose Blend.
With a Pose Blend selected, click “Add Target Pose”
Select a Target Pose to add to the Pose Blend.
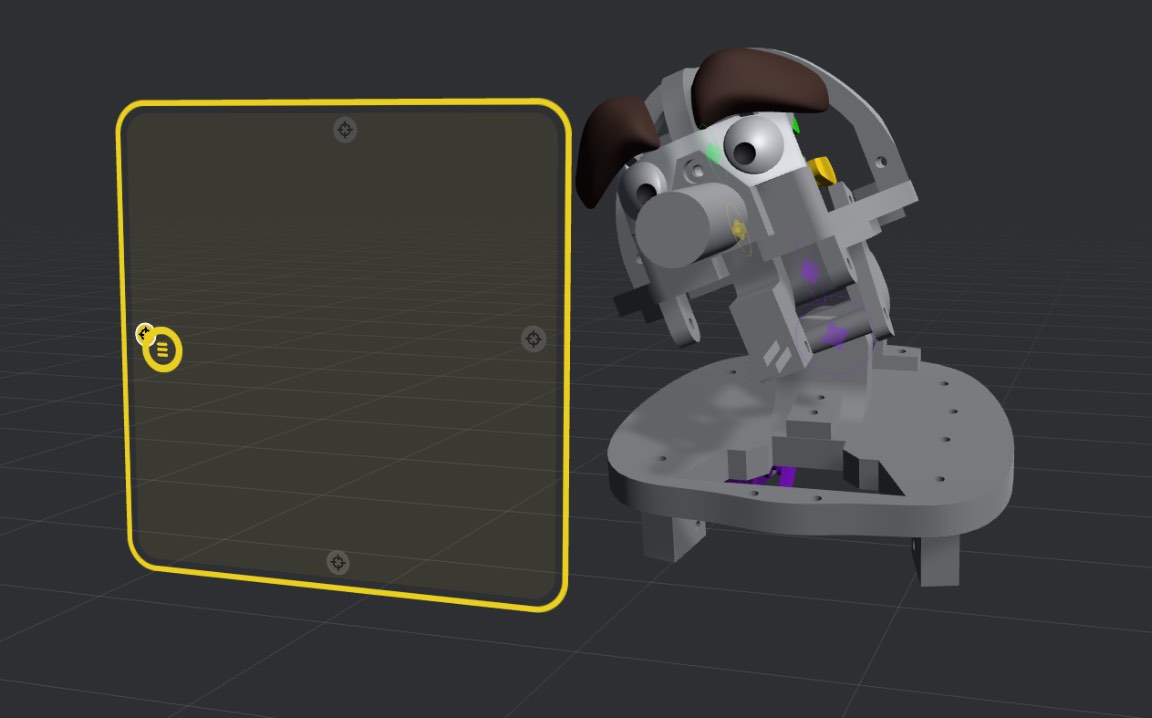
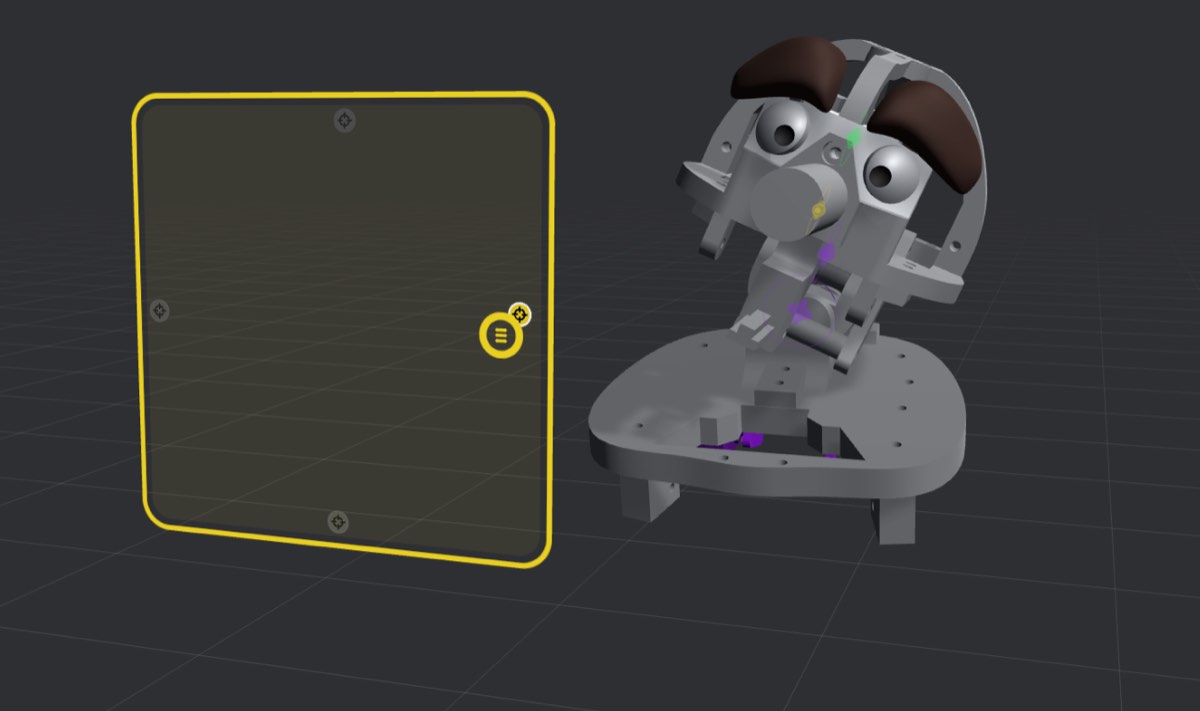
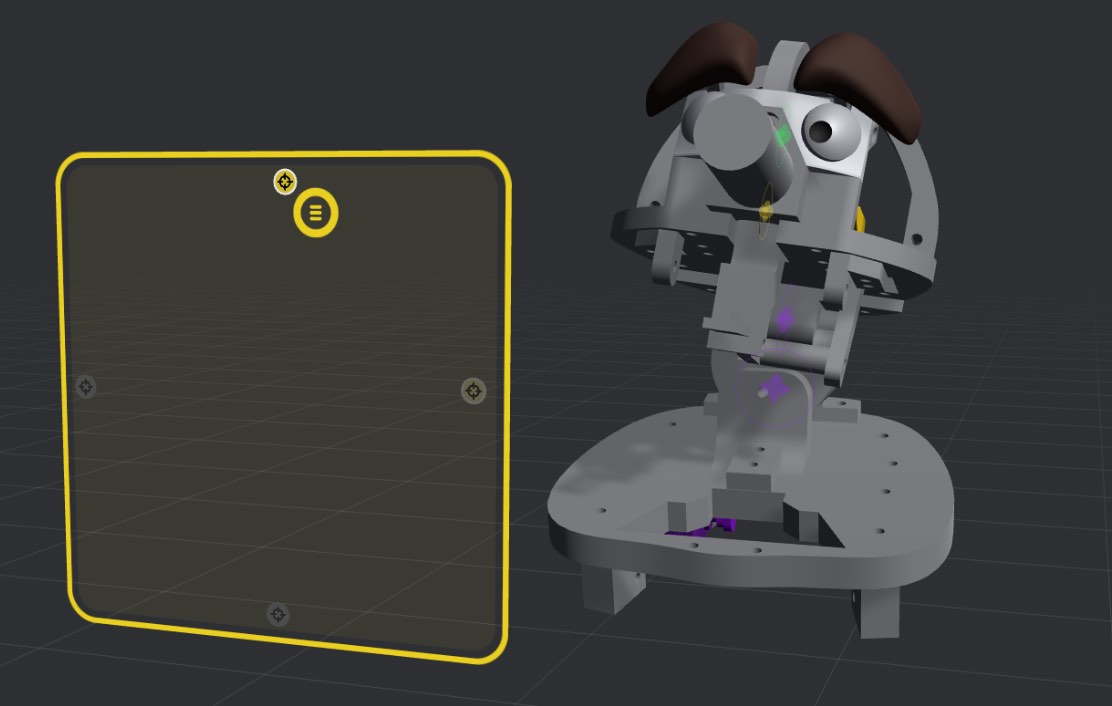
The selected Target Pose will now be added to the Pose Blend. You’ll see it listed in the Target Poses on the Pose Blend:
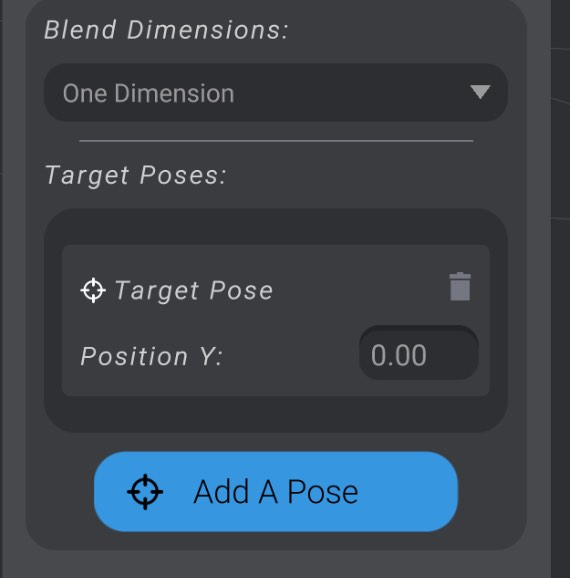
As well, you’ll see its location on the Pose Blend represented on the Pose Blend itself:
In order to change the location of a Target Pose on the Pose Blend, you can either drag the icon representation on the Pose Blend, or change its numerical position value.
On a one-dimensional Pose Blend, 0 is all the way at the bottom, and 1 is at the top. On a two-dimensional Pose Blend, the first value is the X position (0 is left, 1 is right) and the second value is the Y position (0 is down, 1 is up).
We’ll cover why you’d want to change the Target Pose position in the next section.
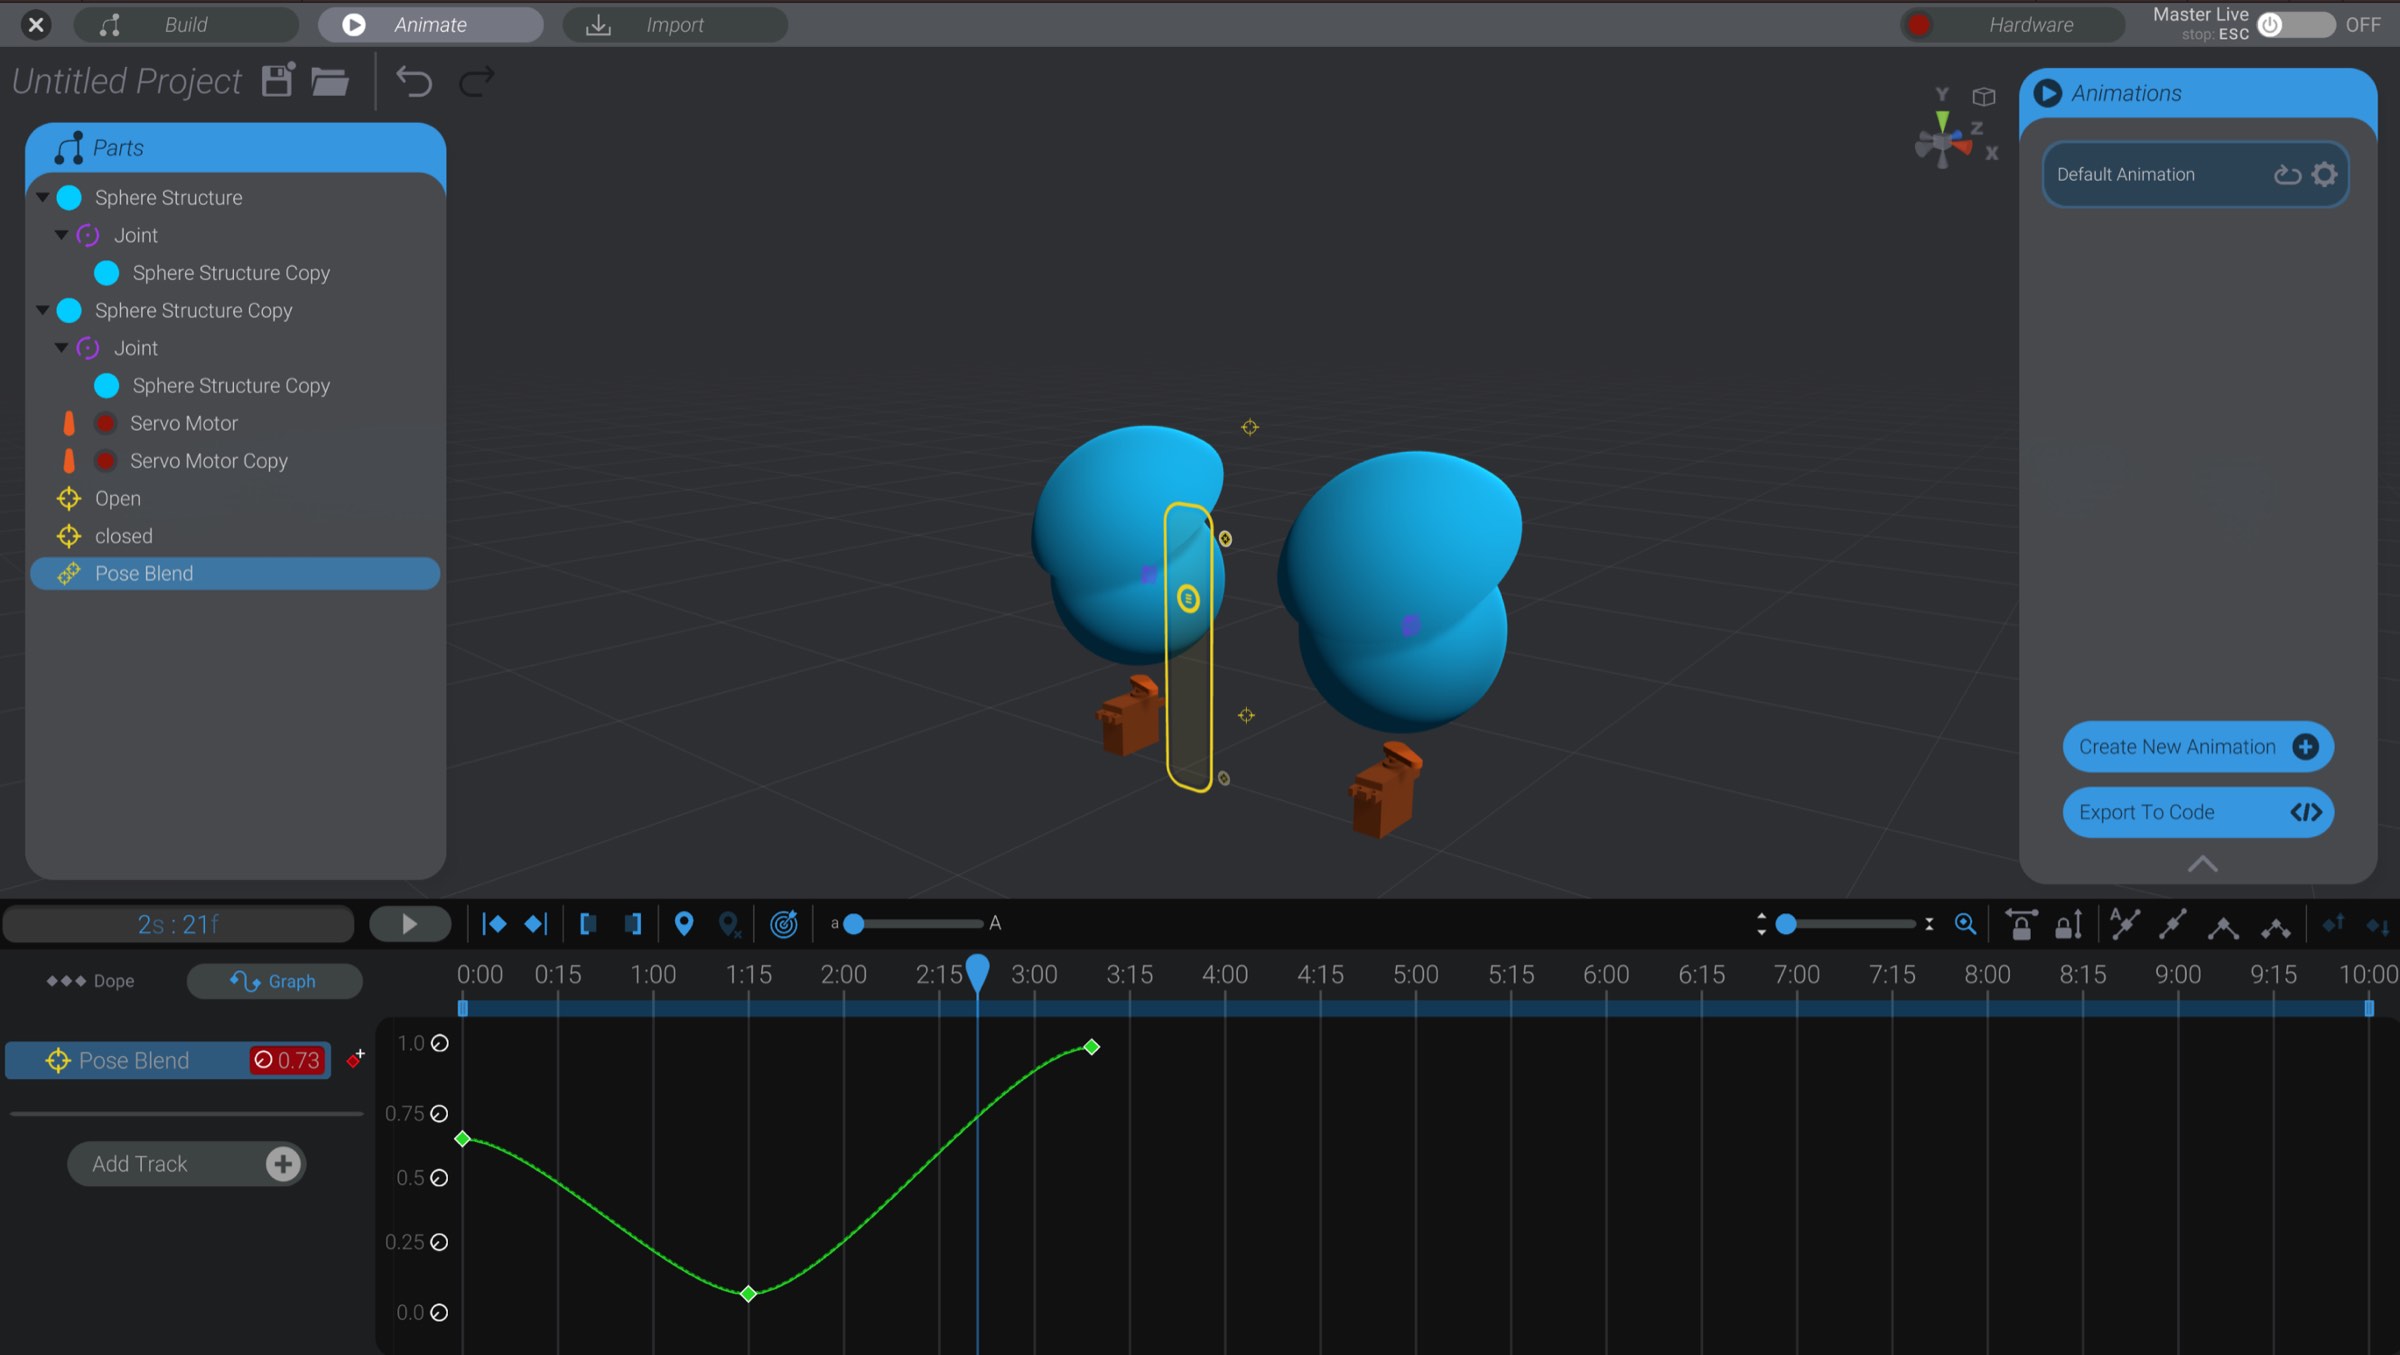
In order to blend between Target Poses on a Pose Blend, you move the handle. In a one dimensional Pose Blend, you can move the handle up and down, and in a two dimensional Pose Blend you can move it up, down, left, and right.
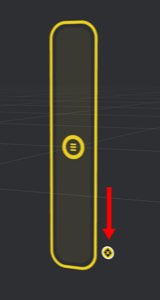
A Pose Blend will blend between the Target Poses on it based on distance from the handle. You can see how much each Target Pose is contributing to the final calculated position based on the brightness of the Target Pose icon.
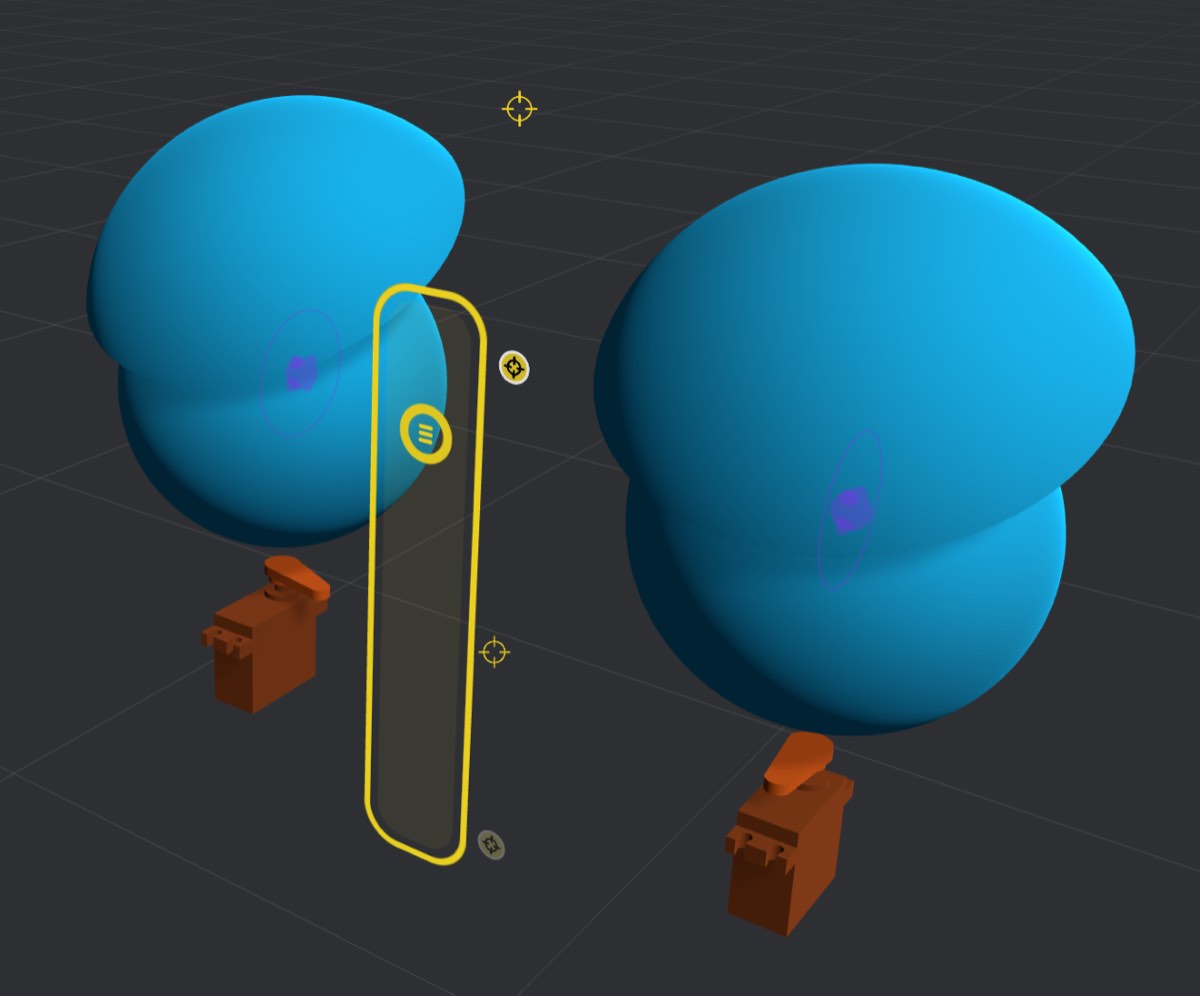
For example, in this one-dimensional Pose Blend, the handle is 75% of the way to the top Target Pose, so the calculated final position will be a blend of 75% of the top Target Pose, and 25% of the bottom Target Pose.
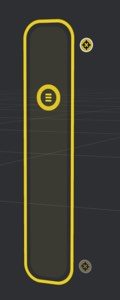
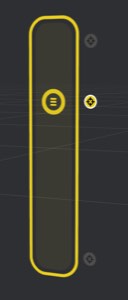
Or in this example, the handle is right on top of a Target Pose, so the final calculated position will be exactly that Target Pose and none of the others.
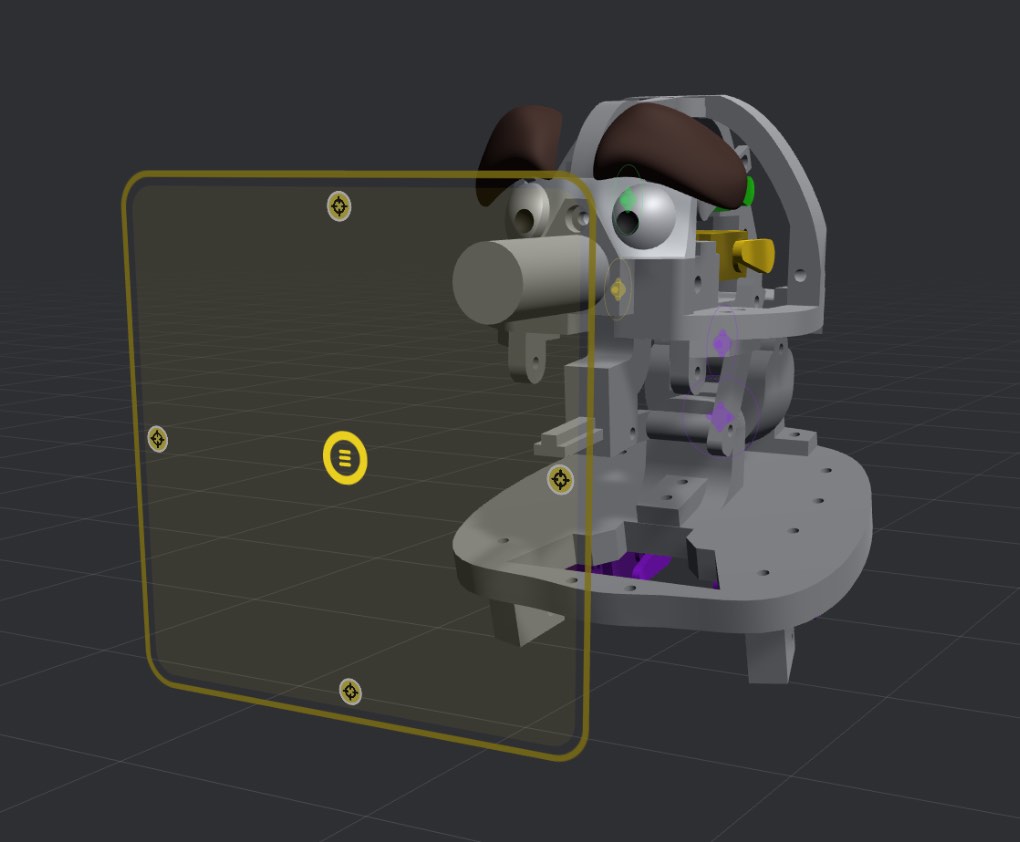
Here you can see a two-dimensional Pose Blend. The closer targets to the handle contribute more to the final calculated position than the further targets.
Finally, you can see in the head control example earlier in this page that as you move the handle around, you blend between looking up/down in the Y position, and left/right in the X position.
You animate a target pose much the same way you animate a joint. While in the Animate view, you can drag the handle to positions, creating keyframes.
Bottango will animate between those positions, and interpolate the various intermediary positions as well.
For one-dimensional Pose Blends, you can control the keyframes and interpolation curves the same way you can a joint’s keyframes.
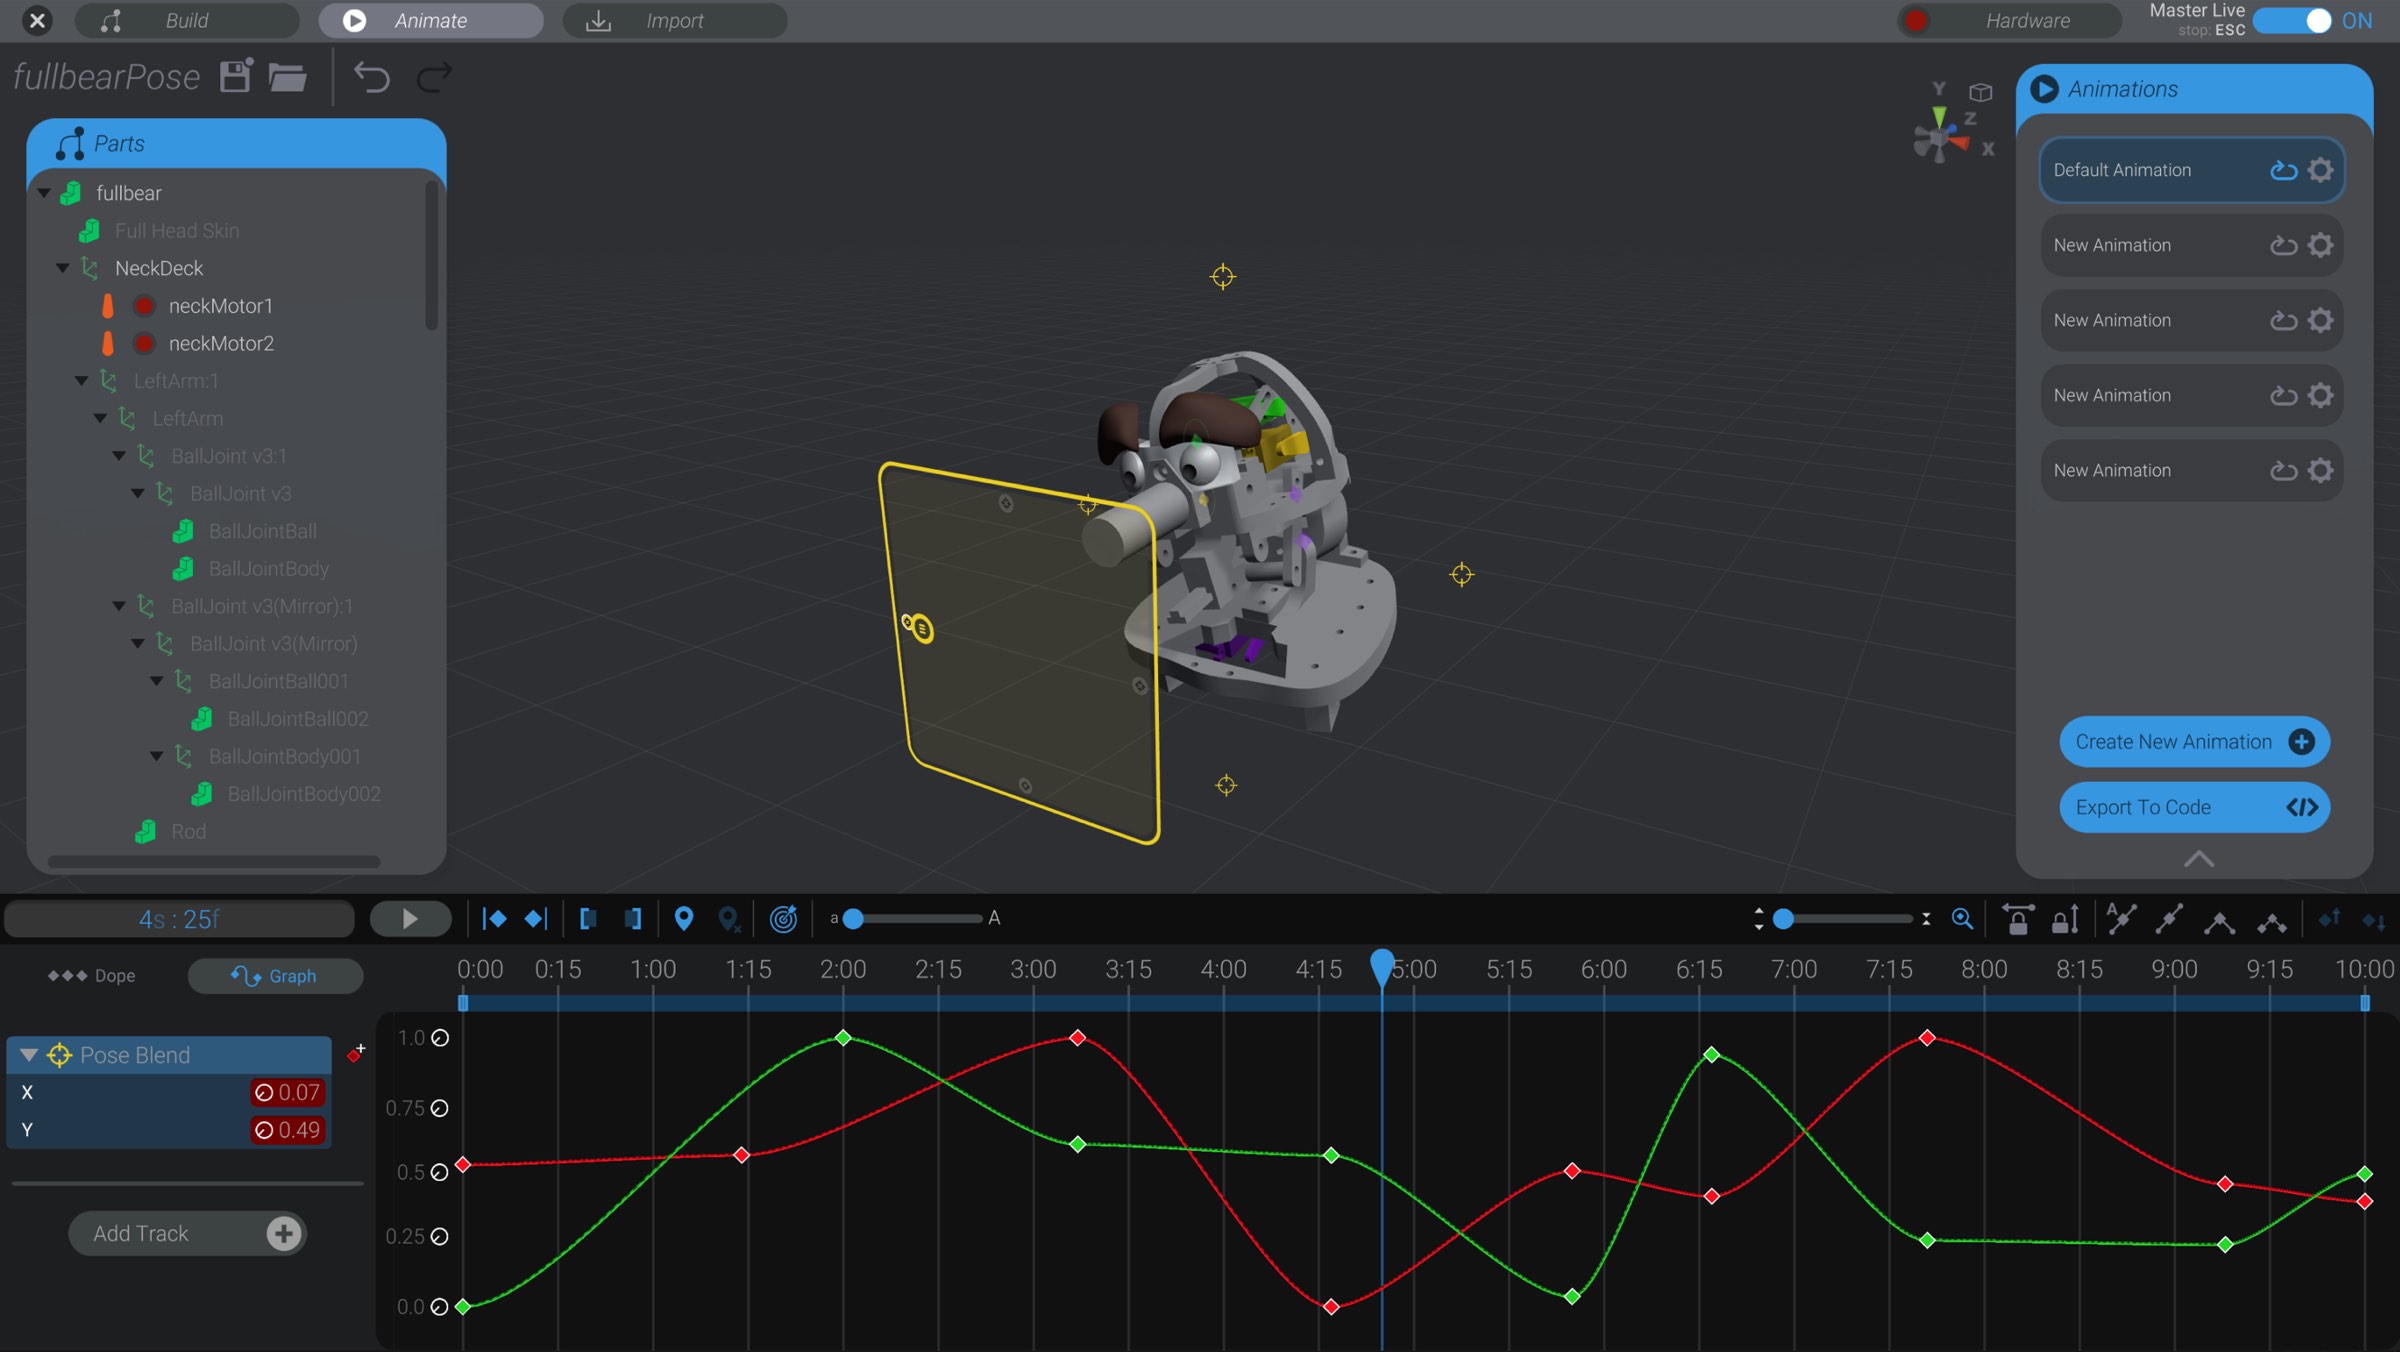
For two-dimensional Pose Blends, you have keyframes for each dimension. As well, there is a master keyframe that lets you drag/control both dimensions at once on each keyed frame.
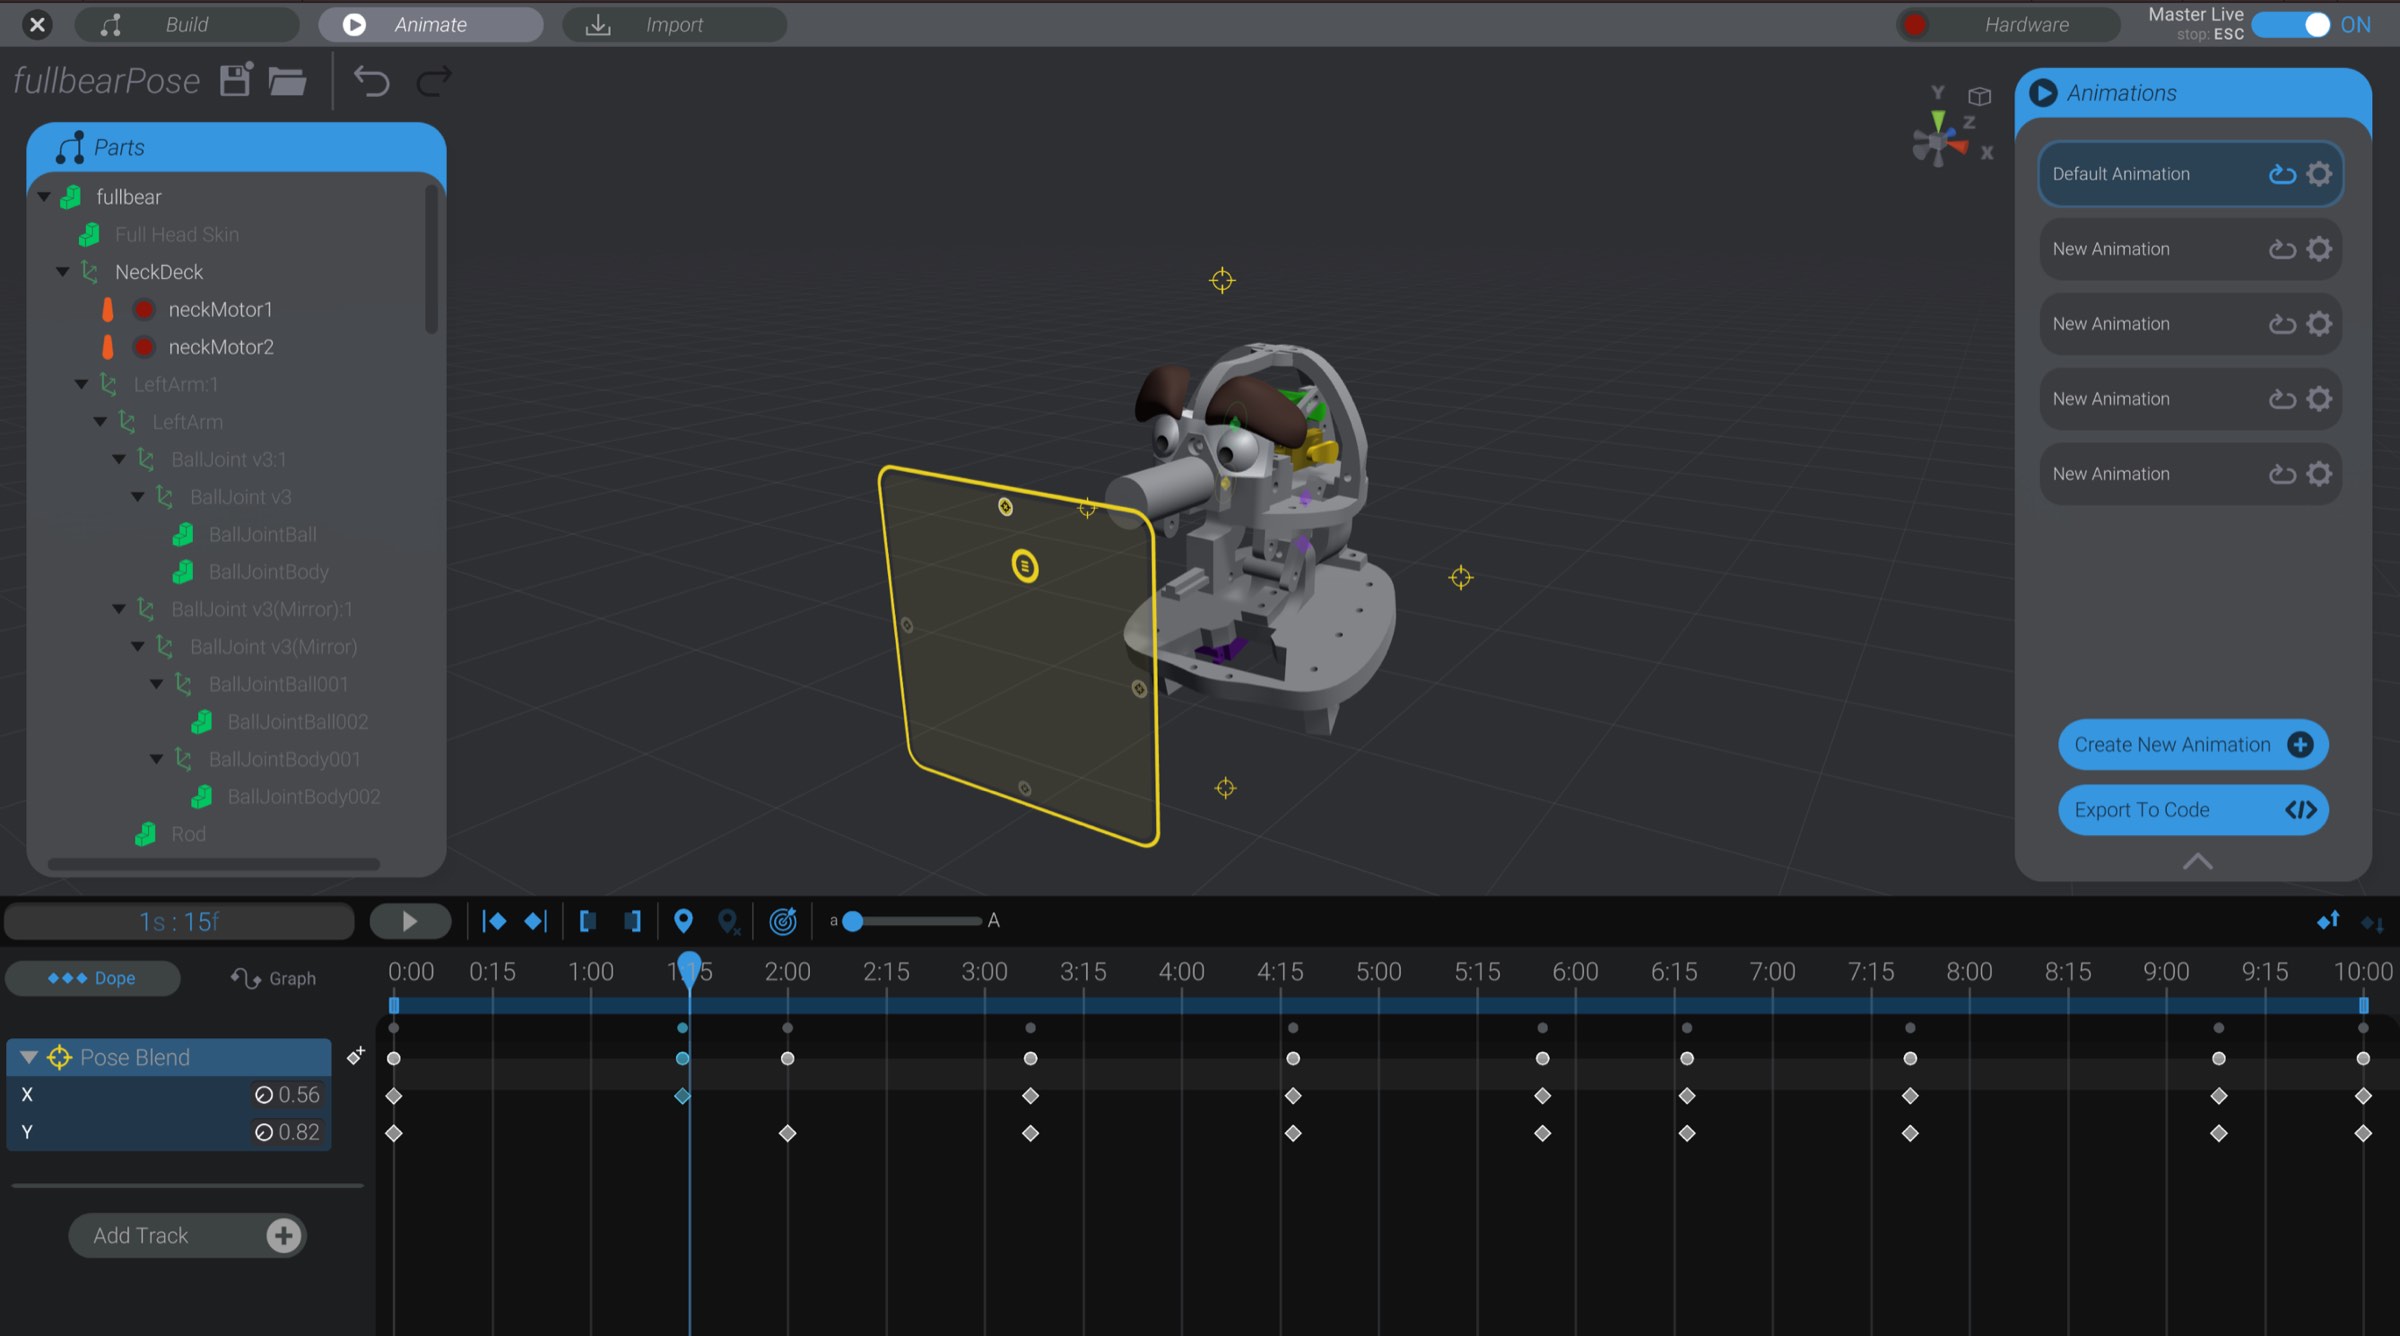
And as well you control the interpolation of each dimension independently.
As discussed in Track Management, if you had animation tracks with target parts previously in an animation that are now animated via a Pose Blend, you will see the previous tracks locked and in an obscured state.