Expert Topic for experienced builders.
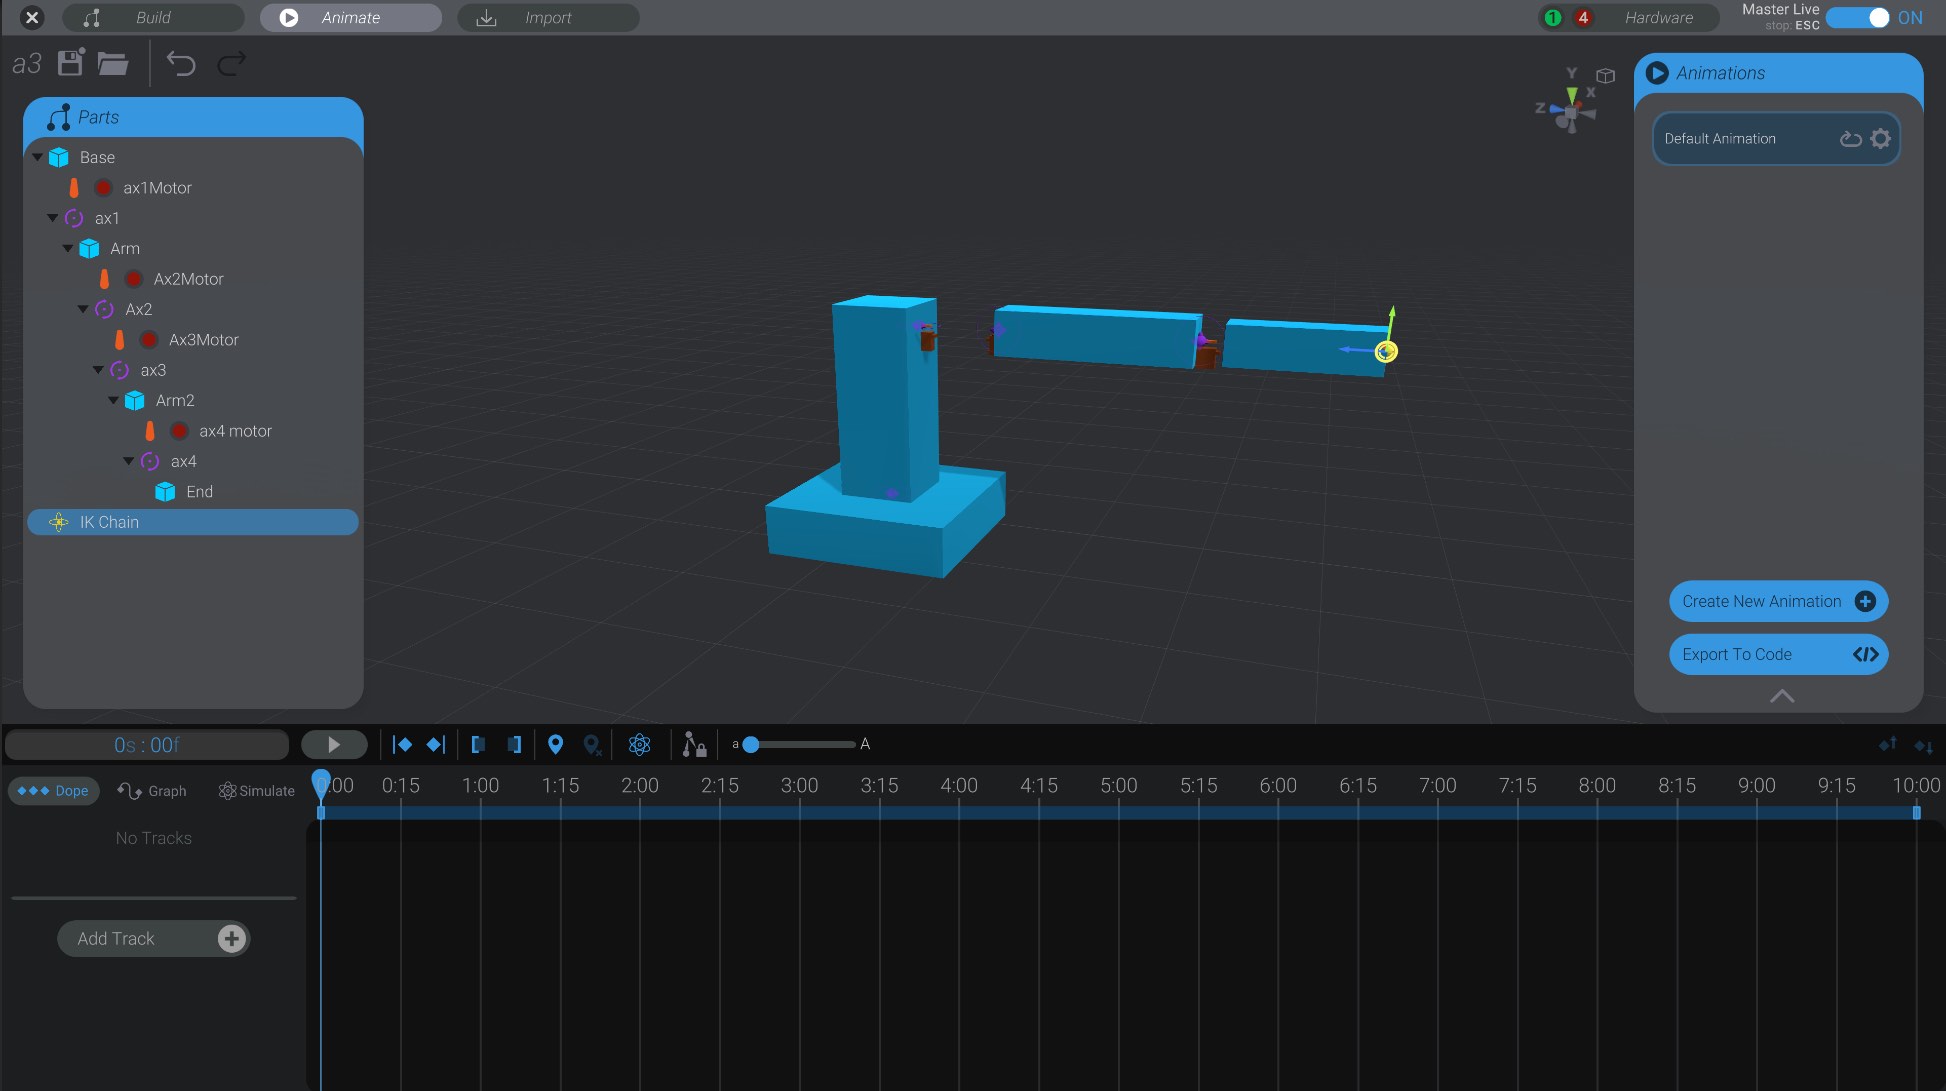
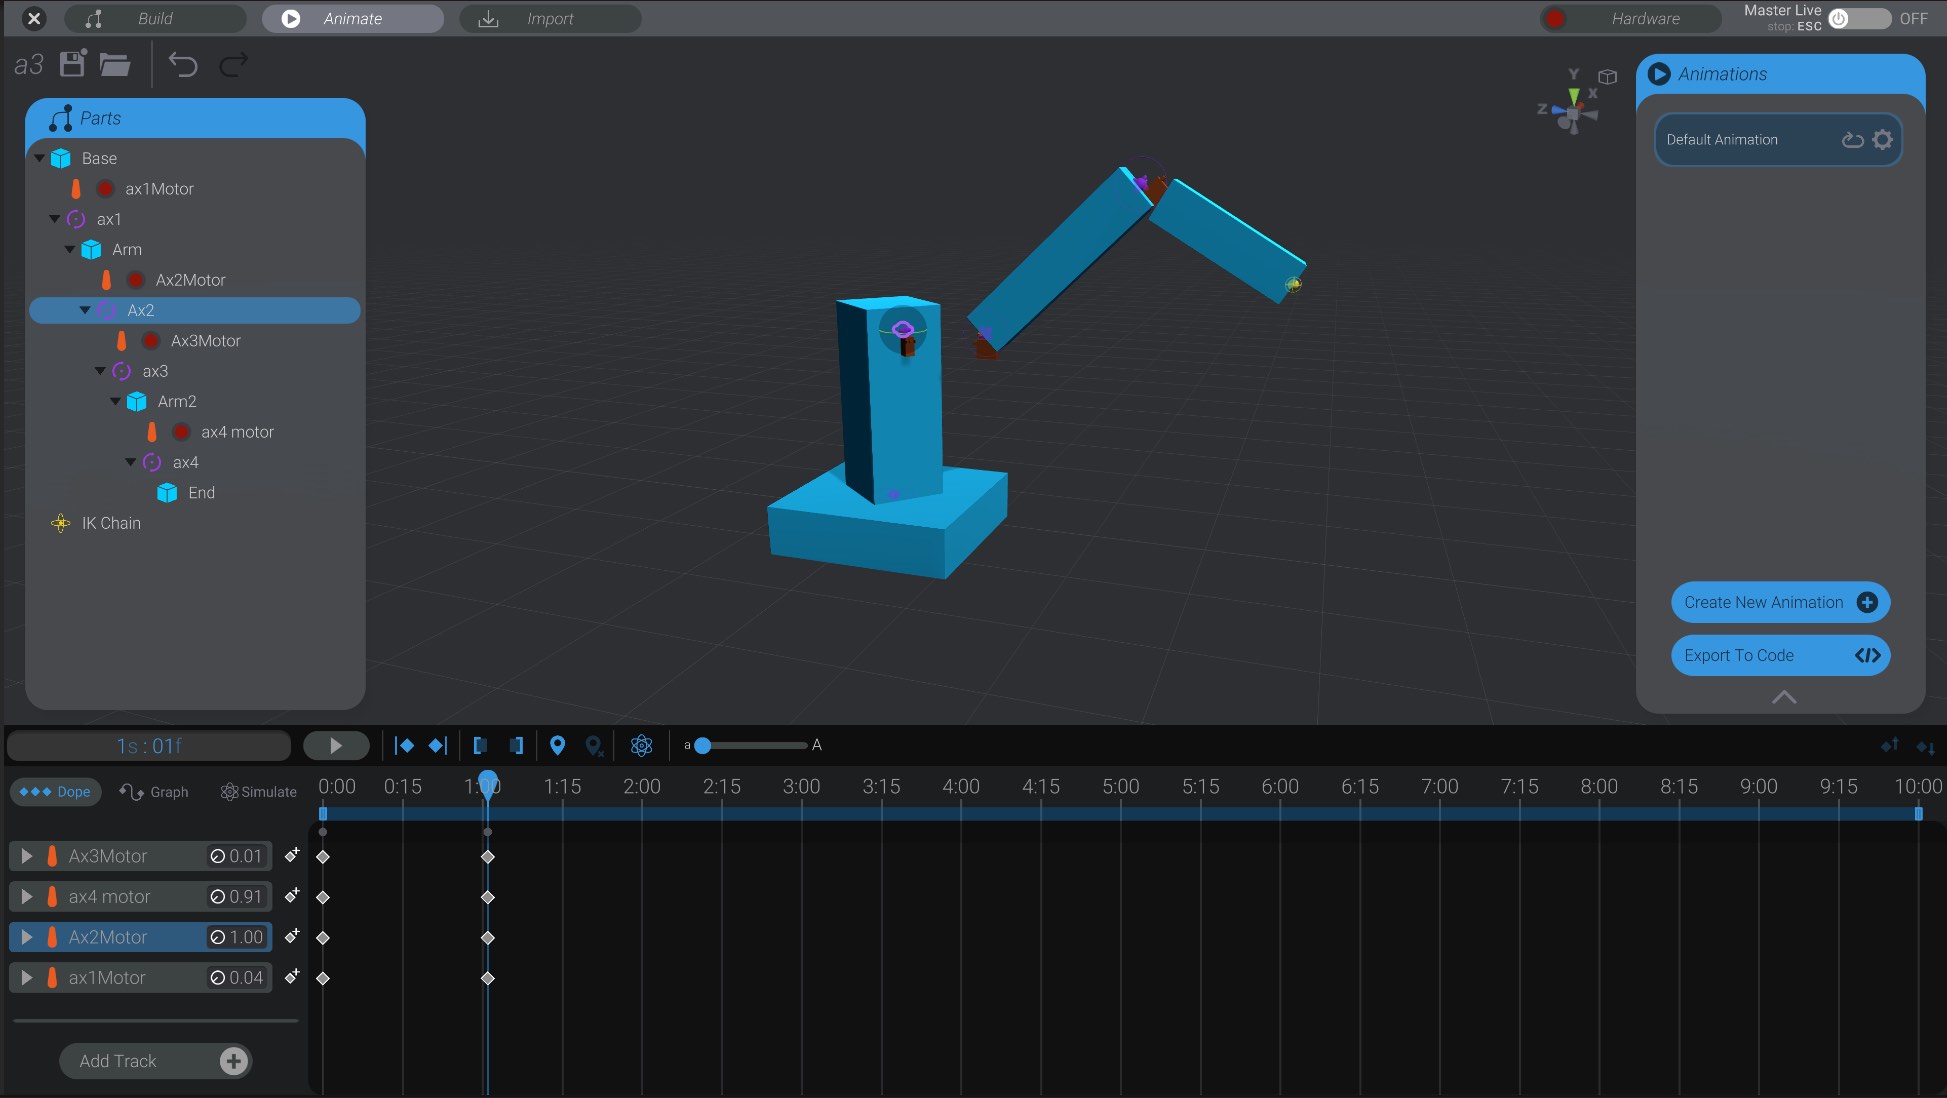
Once your IK chain is correctly set up, you can use it to animate your project.
You’ll see, as you move the IK chain part around, Bottango positions all the joints in the chain as best it can to try and place the tip structure in the same location as the IK chain part, and will create keyframes at the selected time as well.

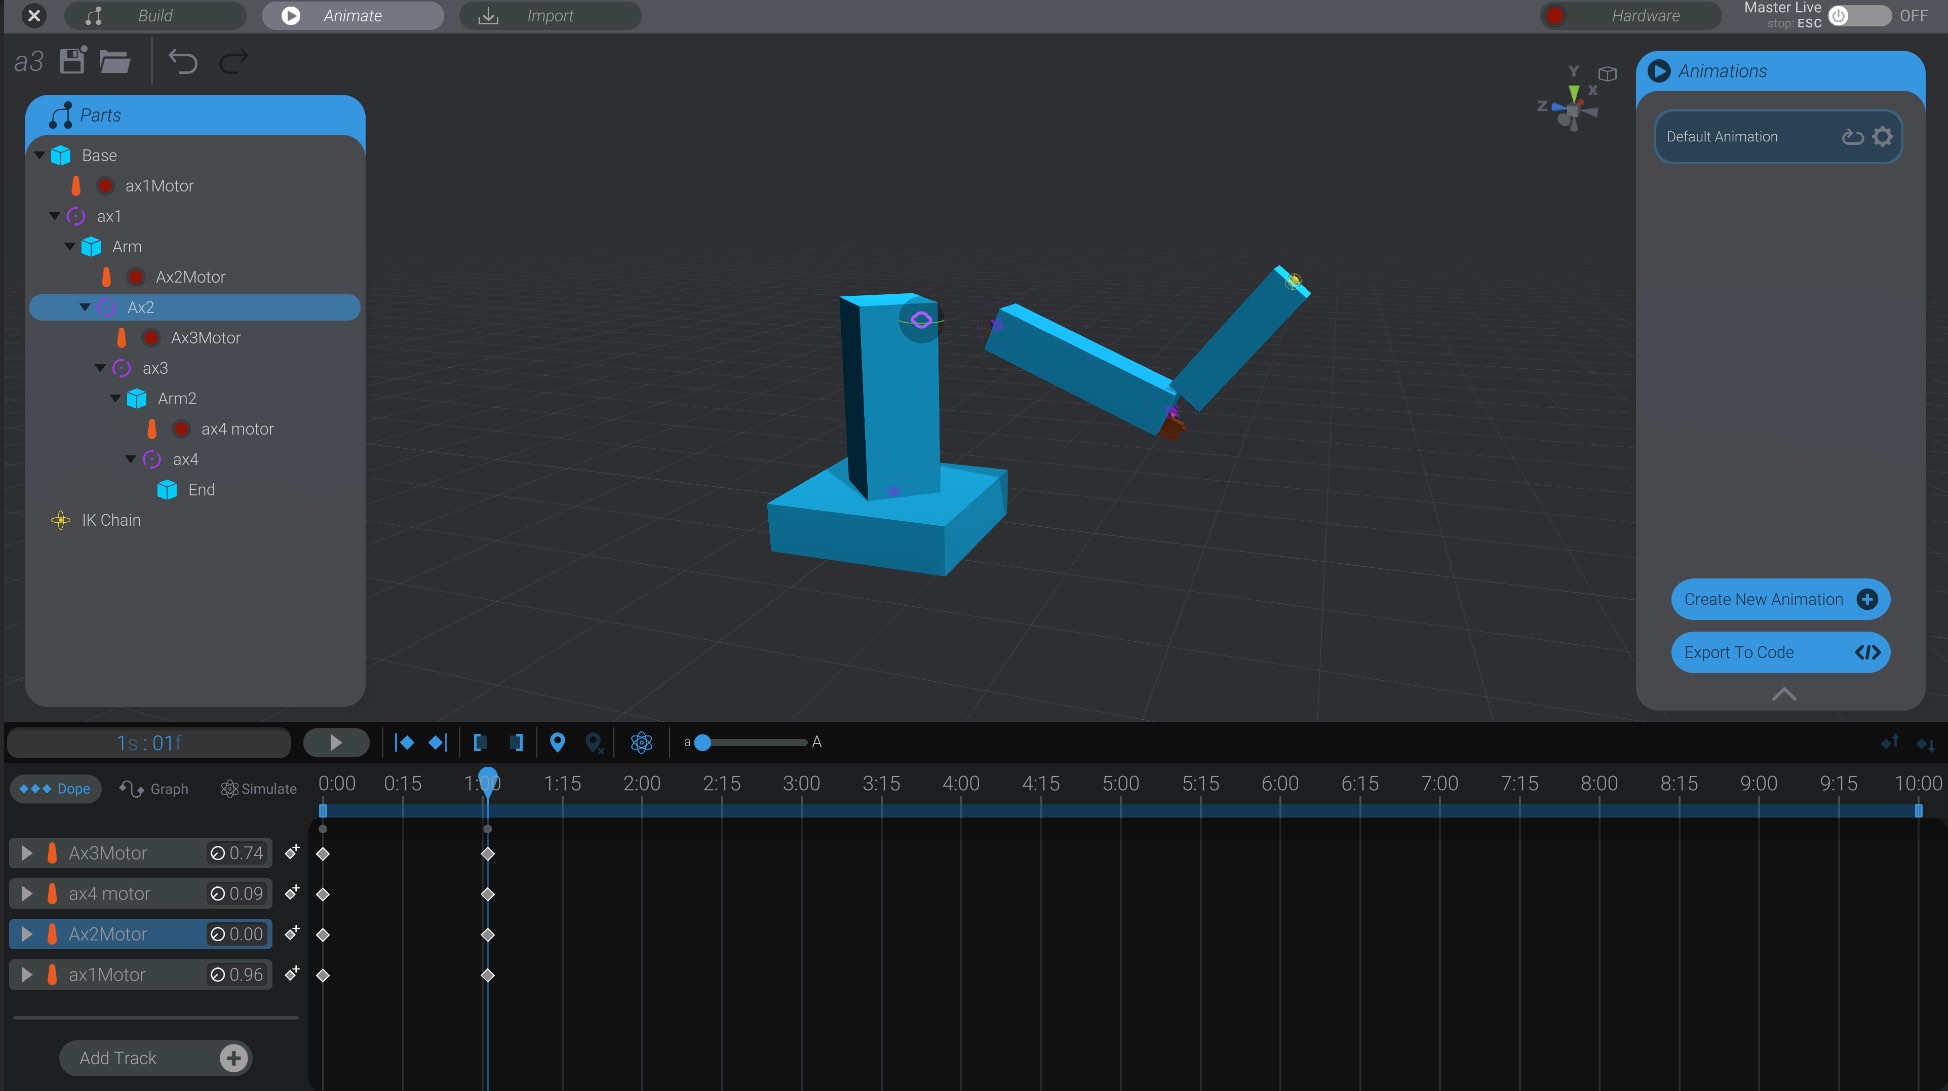
If you move the animation scrubber to a different time, and then move the IK chain part to a new location, you’ll create new keyframes at that new time.

You’ll see that as you scrub between the two sets of keyframes, you’ve created two target positions for your robot using IK and the IK chain part.
The IK chain part only sets poses while you are dragging it. Unless you drag the IK chain part, you can animate identically to how you did previously (using forward kinematics). This means that even though you have an IK chain set up, you can still move individual joints. The IK chain will only try and set positions if you drag on the IK chain part itself. This means you can still edit keyframes and animation curves as you previously had, even if they were created by moving an IK chain.
What if, for example, you wanted to keep the tip structure of an IK chain reaching toward the target position, but move or animate the parent joints further up the chain? In the arm, hand, and apple example, this would be keeping the hand in the same position touching the apple, while moving the shoulder and elbow around.
You can do that in Bottango too, using IK!
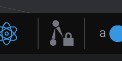
While IK lock is on for an IK part, any movements you make on one joint in the IK chain, will cause all the other joints to move to try and reach the IK target.
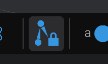
You’ll also see a “Lock” icon next to the IK chain in the parts list when this functionality is enabled for an IK chain part.
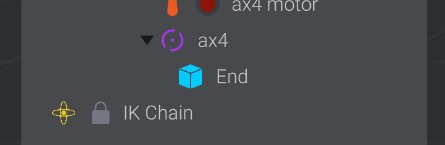
Select an IK Chain part that has lock enabled, and click the lock button again to disable it.
Another way you may want to constrain your IK chain is to have the end point of the rig try to match the rotation of the target. This can be useful for something like a camera arm, where you want to control not just the movement of the target, but keep the camera pointed in a certain direction.
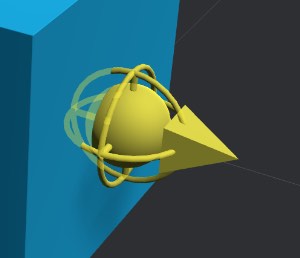
At the bottom of the IK Configuration panel, when you have an IK Chain selected in configure mode, is a toggle to “Match Target Rotation.”

This is disabled by default. When you enable it, you’ll see an orientation hint show up on the IK chain target:
With “Match Target Rotation” enabled, in the Animate view, when you rotate the target the end point of the chain will try to maintain that same rotation as the IK chain solves for a target pose.