Essential Topic for learning Bottango.
If you’re using an Arduino Uno R3, Arduino Nano, or Arduino Mega, you can use the options in the Bottango app itself to install the stock Bottango firmware, no need to use the source code. As well, if you have purchased a kit or hardware from Bottango, you should update the firmware on your hardware using the Bottango app.
For any other microcontroller, included in the .zip archive that contains the installer for the Bottango application is an open-source Arduino framework C++ codebase that makes up the Bottango firmware. You’ll use the Arduino IDE or a tool like that to upload from the source.
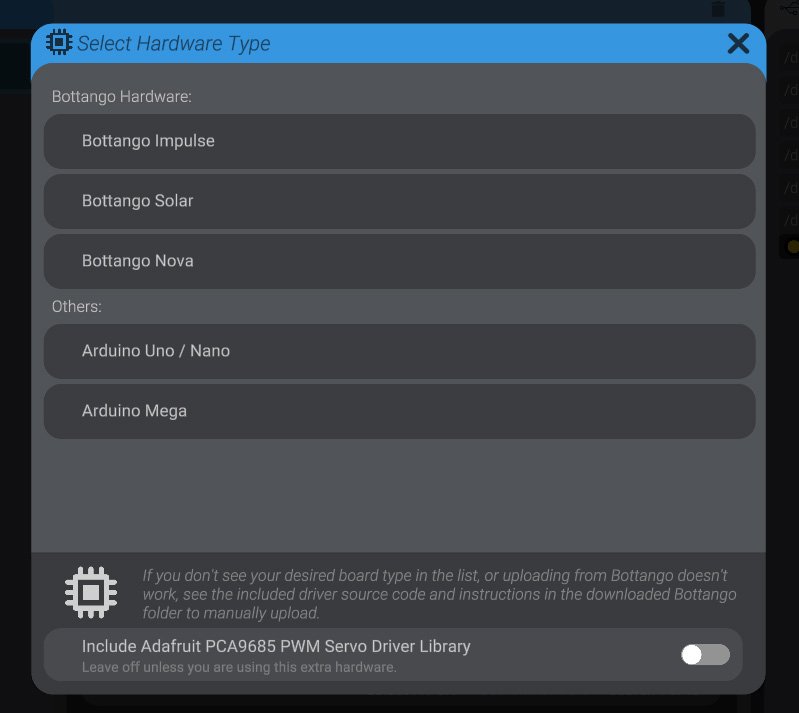 When uploading, you can also enable an option to include the library and enable support for the Adafruit 16 channel PCA servo driver. Only enable this option if you are using that specific hardware in your build.
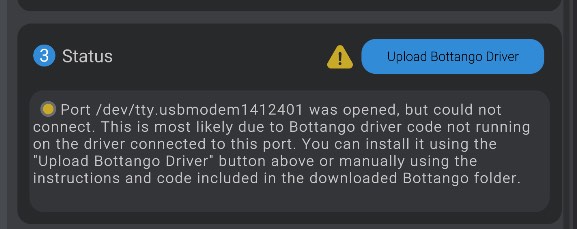
After a failed upload, before you try again, you should unplug and then re-plug the driver.
If this does not work, or you don’t see the board type you’re trying to use, don’t despair! You can always fall back to installing from the source code via the Arduino IDE.
Often, when you install a new version of Bottango, you will need to update the firmware on your devices before you can connect to them again. You will follow the same steps to update as you did to install the firmware initially.