Setup Bottango Solar
In this final step, we’ll get the new pro circuit board (Bottango Solar) attached and get all the cables in the right place.
Parts Needed:
- Bottango Solar
- M3 short nylon bolts
- Phillips head screwdriver (provide your own)
- speaker cable labels
Remove Servo 1 from the Cable Bundle
Section titled “Remove Servo 1 from the Cable Bundle”We’re going to reroute the servo cable bundle, but first we need to remove the number 1 servo cord from the cable bundle. You should have added the number 1 servo into the bundle at the last “hook and loop” cable tie. Temporarily undo that tie, just enough to remove the number 1 servo cord from the bundle, then retighten it. If you have the number one servo cable in other ties, remove it from those as well.
Unroute the cable bundle so it is free and clear, off to the left hand side (Captain Cogbrow’s left) of the back plate.
Add cable labels to the speaker cables
Section titled “Add cable labels to the speaker cables”We’re going to add the speaker cables to the bundle of servo cables, but we’ll need to remember which one is which. We’ll mark them with numbers not used by the servos (1 - 7).
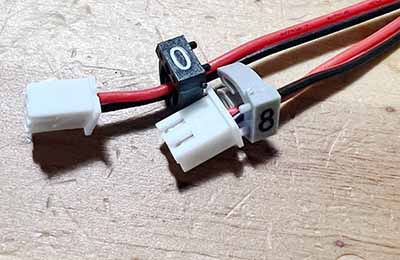
Take the left side speaker cable (Captain Cogbrow’s left), and add the cable marker “0”. Take the right side speaker cable (Captain Cogbrow’s right), and add the cable marker “8”.
Add the Speaker Cables to the Bundle
Section titled “Add the Speaker Cables to the Bundle”Undo the “hook and loop” cable ties, one by one, add the speaker cable in, and then re-tighten. Only add the speaker cables to the “hook and loop” cable ties from the bundle after it exits the back of the wheel, you don’t need to route the speaker cables back to the head and then out again.
Route the Bundle
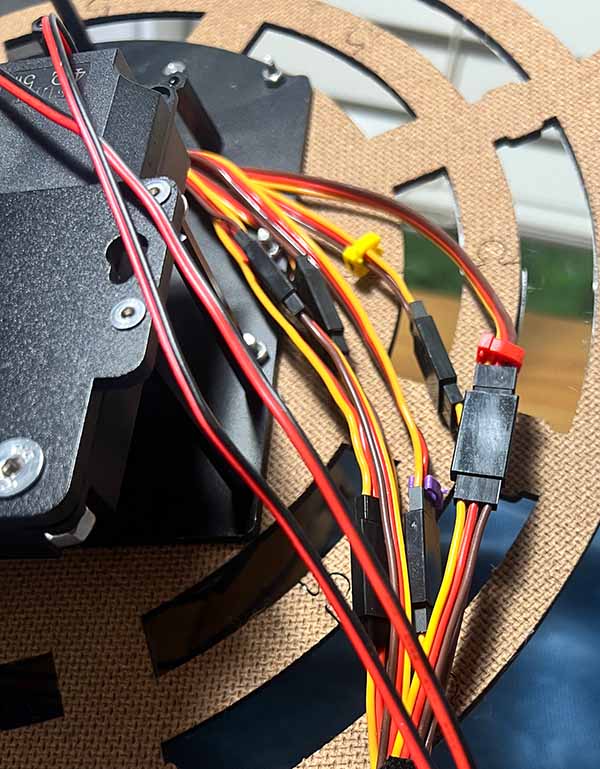
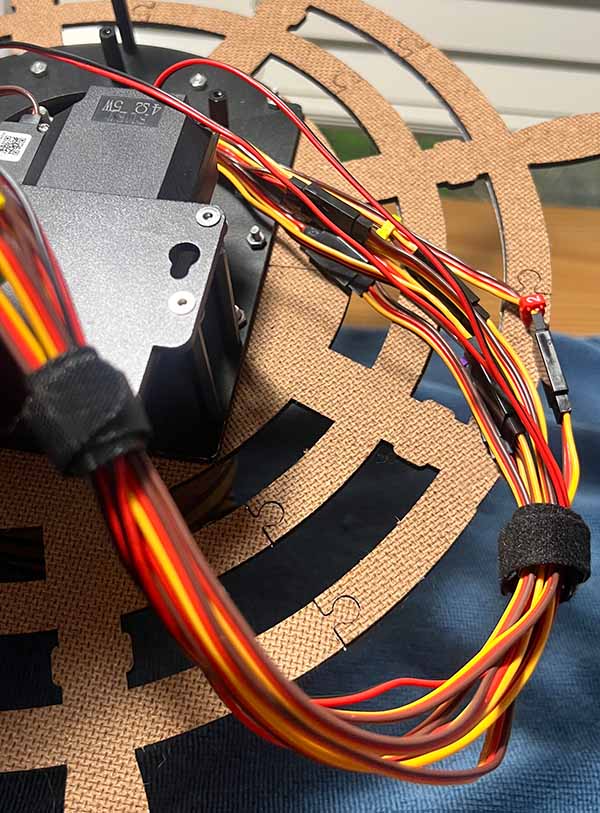
Section titled “Route the Bundle”Route the bundle of wires up into the back brace, between the left side standoffs and the left side speaker (Captain Cogbrow’s left).
Then back down again through the other side, between the right side standoffs and the right side speaker.
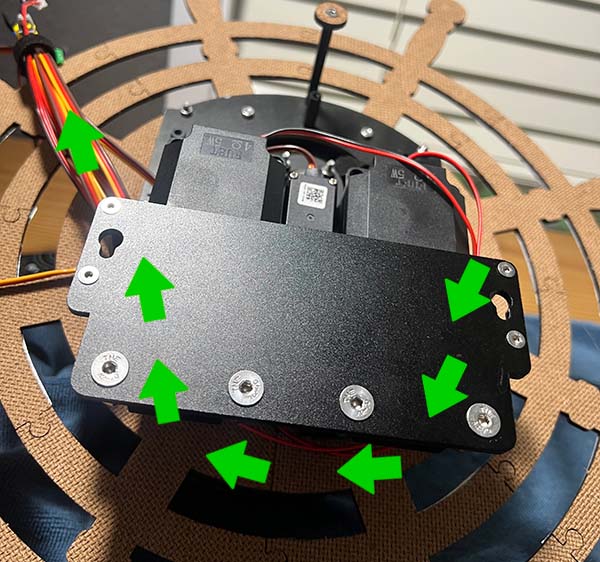
Here’s the end result routing:
Add Servo 1 Back Into the Bundle
Section titled “Add Servo 1 Back Into the Bundle”Untie the furthest out “hook and loop” cable tie, and add the number 1 servo cable back into the bundle, then retighten. You should now have 9 cables in the bundle:
- Servos 1 - 7
- Left Speaker
- Right Speaker
Mount Bottango Solar
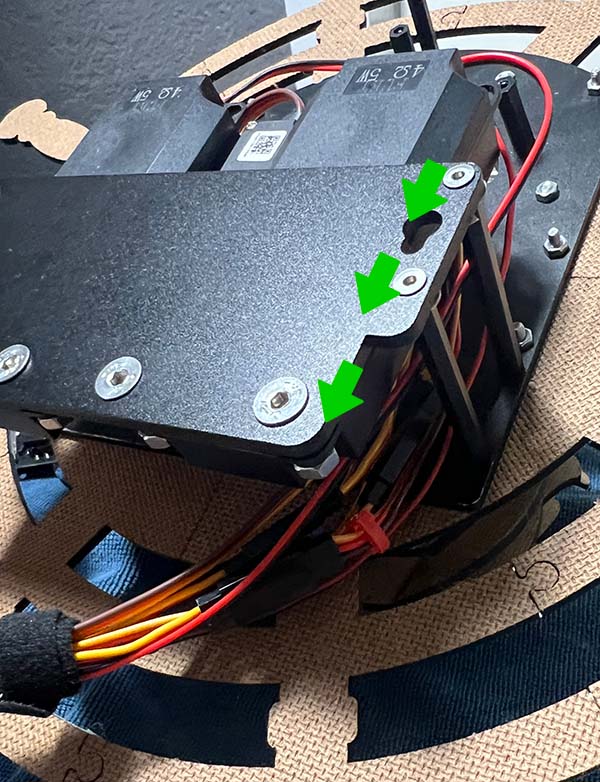
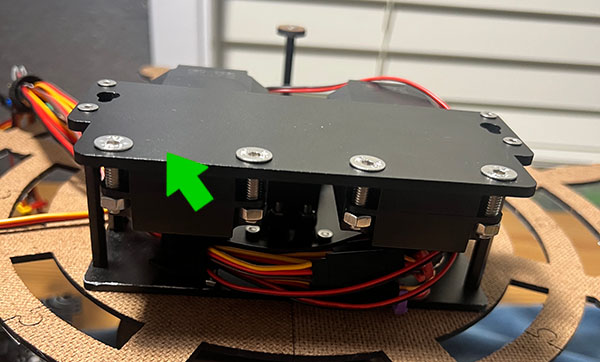
Section titled “Mount Bottango Solar”Use three small nylon bolts to mount Bottango Solar directly to the bottom nylon standoffs, where the previous plastic board mounting plate was needed. Bottango Solar itself has the same mounting pattern as that plastic plate. Don’t overtighten and damage the board, you just want it secured enough that it won’t fall off.
The mounting holes will only line up in the correct orientation shown:

Plug In Servos
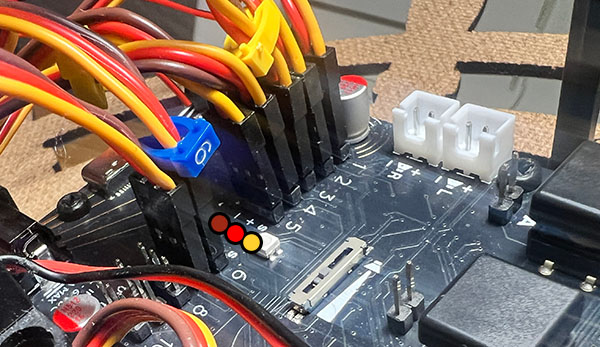
Section titled “Plug In Servos”One by one, for all 7 servos, plug them into the correct servo header, in the correct orientation.
Remember the color guide, and follow the guide on the Bottango Solar board:
- S is Yellow
- + is Red
- - is Brown
Plug In Speakers
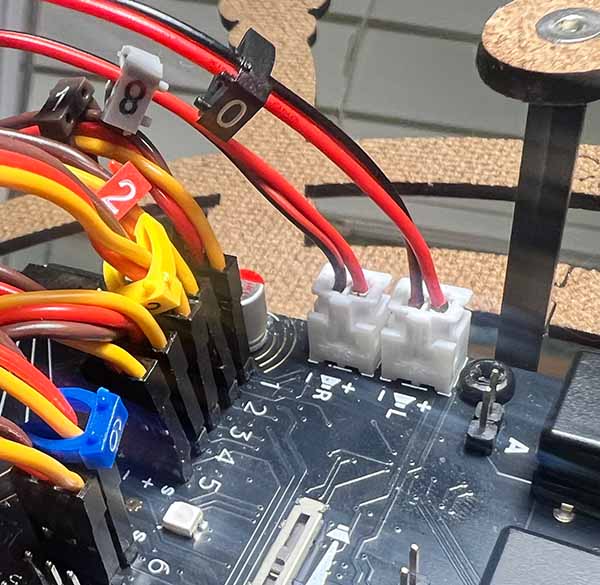
Section titled “Plug In Speakers”Plug the left speaker cable (with the “0” clip label) into the speaker port with the “L” symbol. The black cord is on the ”-” side and the red cord is on the ”+” side.
Repeat with the right speaker cable in the “R” port.
The speaker hookups will only go in if oriented correctly. If you ever need to remove a speaker once hooked in, pull up from the plastic jack on the cable, not the cable itself.
Next Up
Section titled “Next Up”In the final short section, we’ll double check a few things and make sure everything is wired up correctly.